The Desk
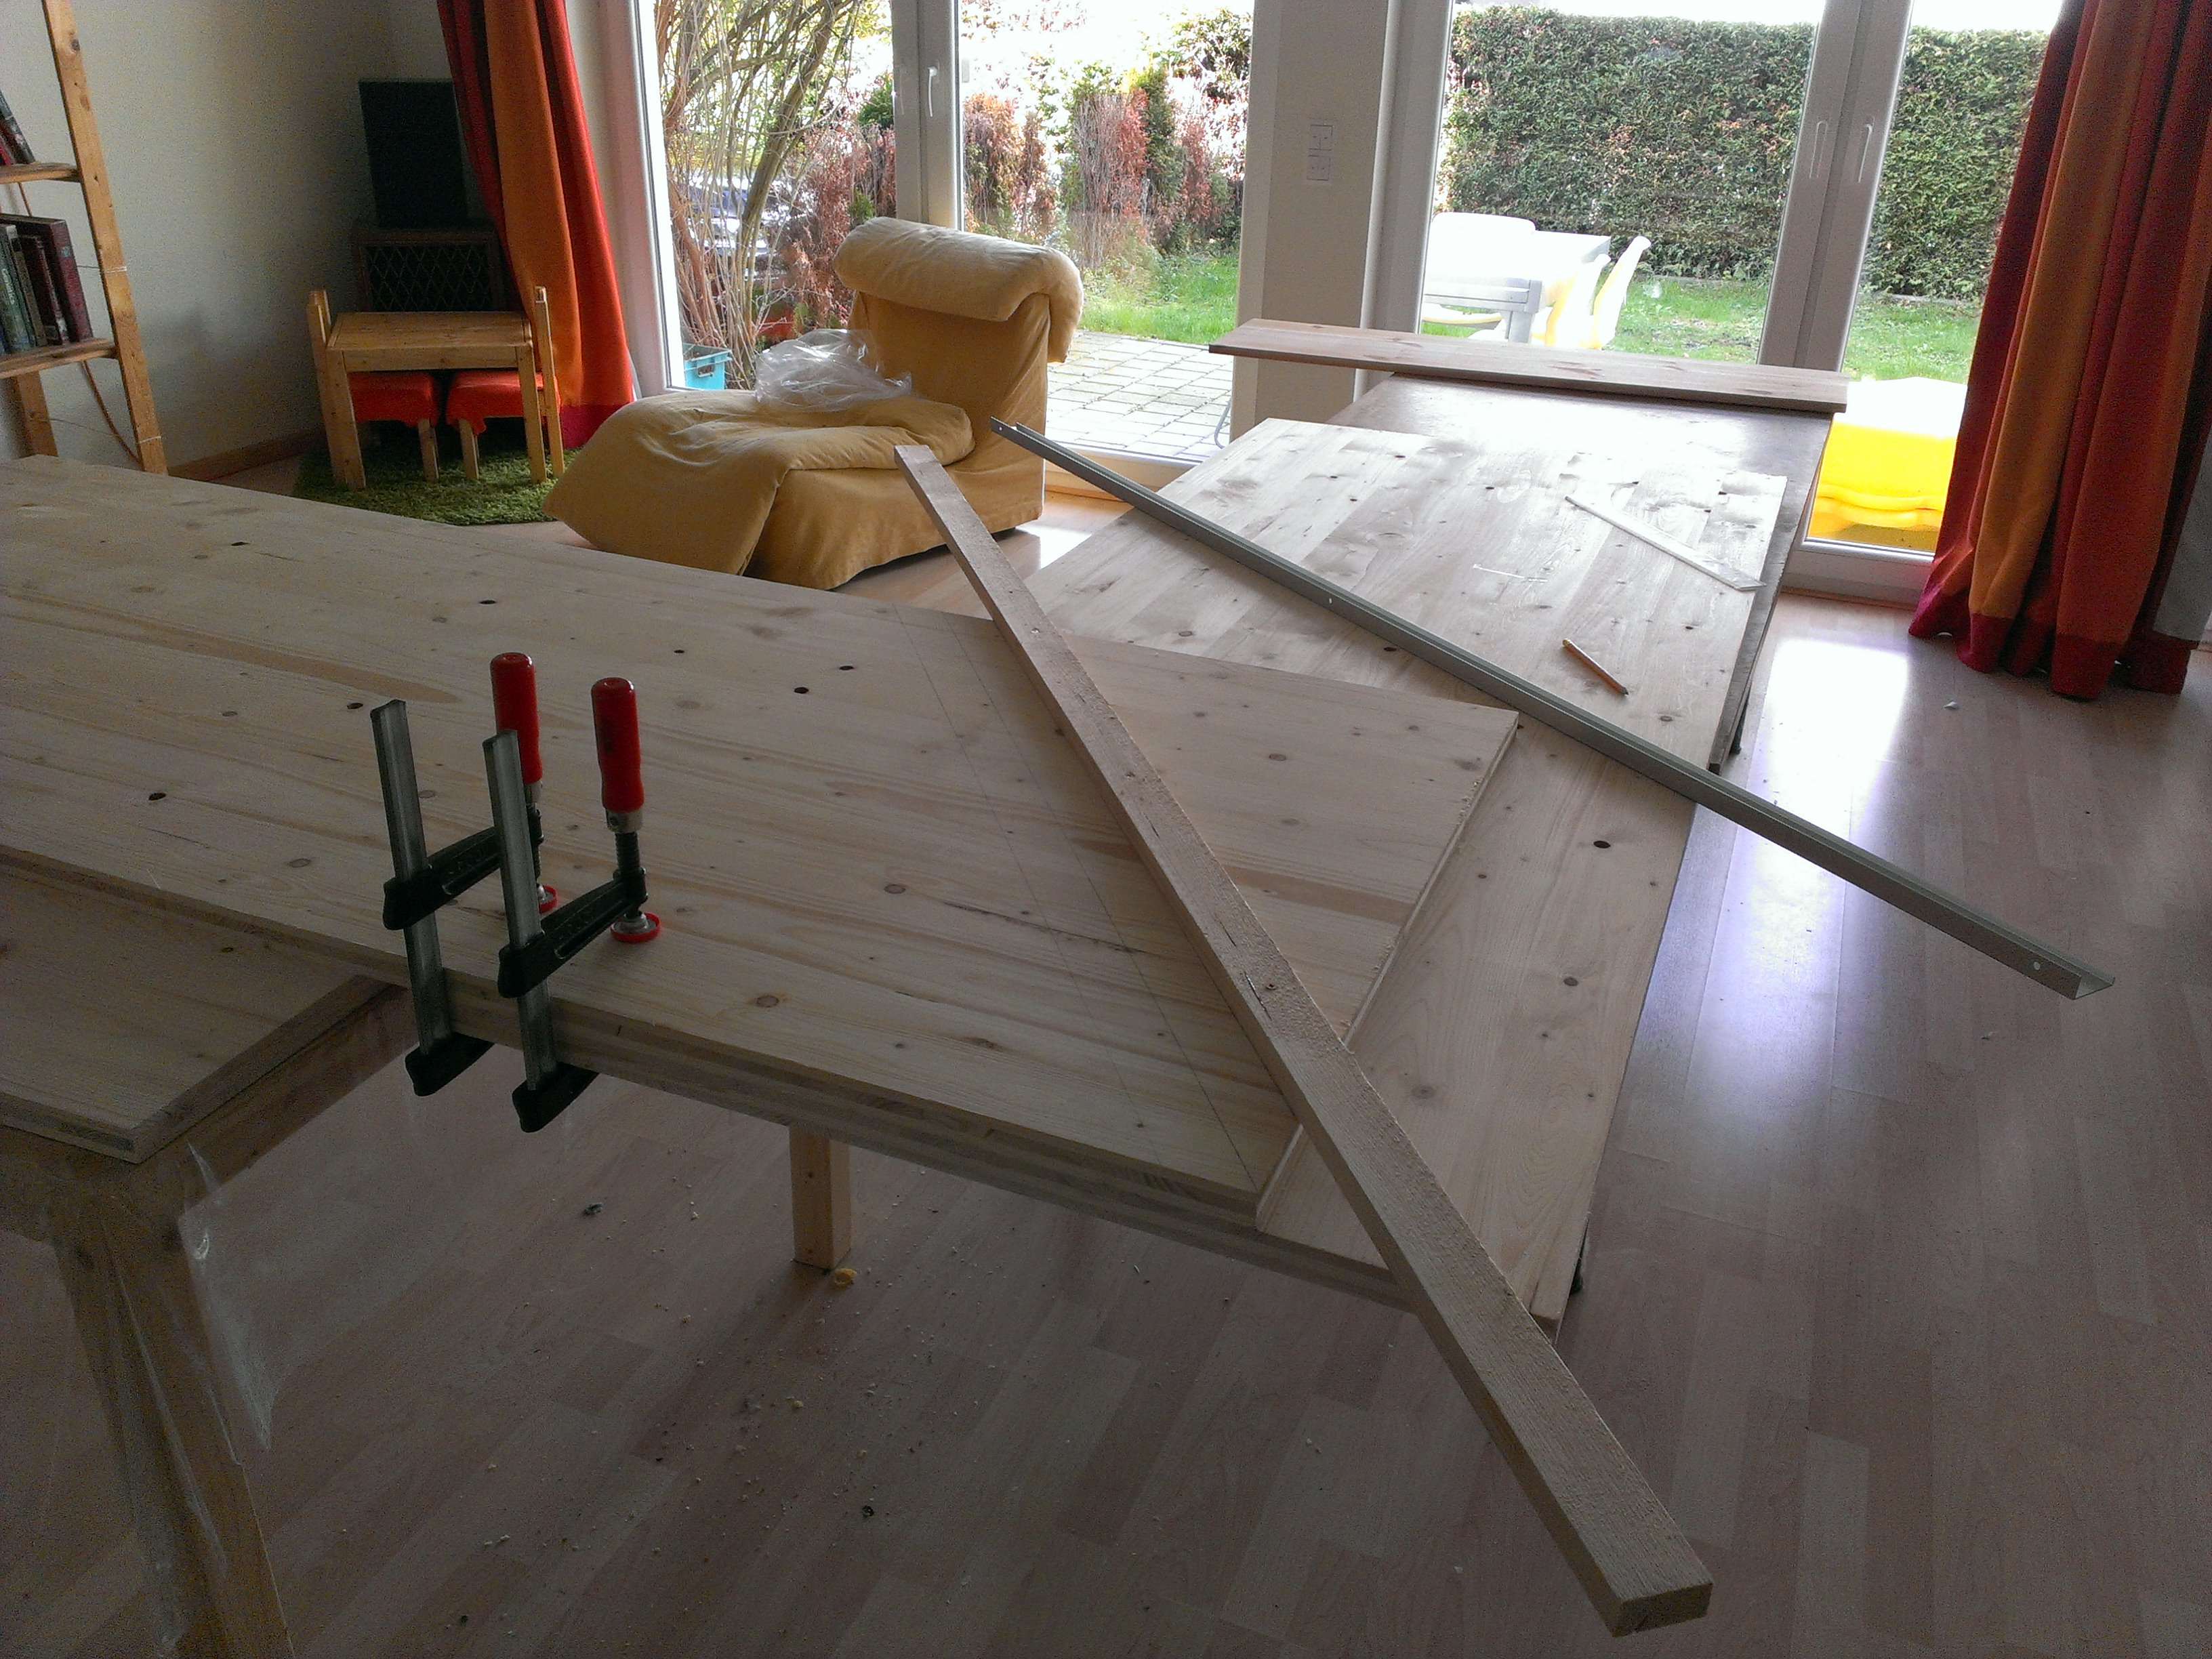
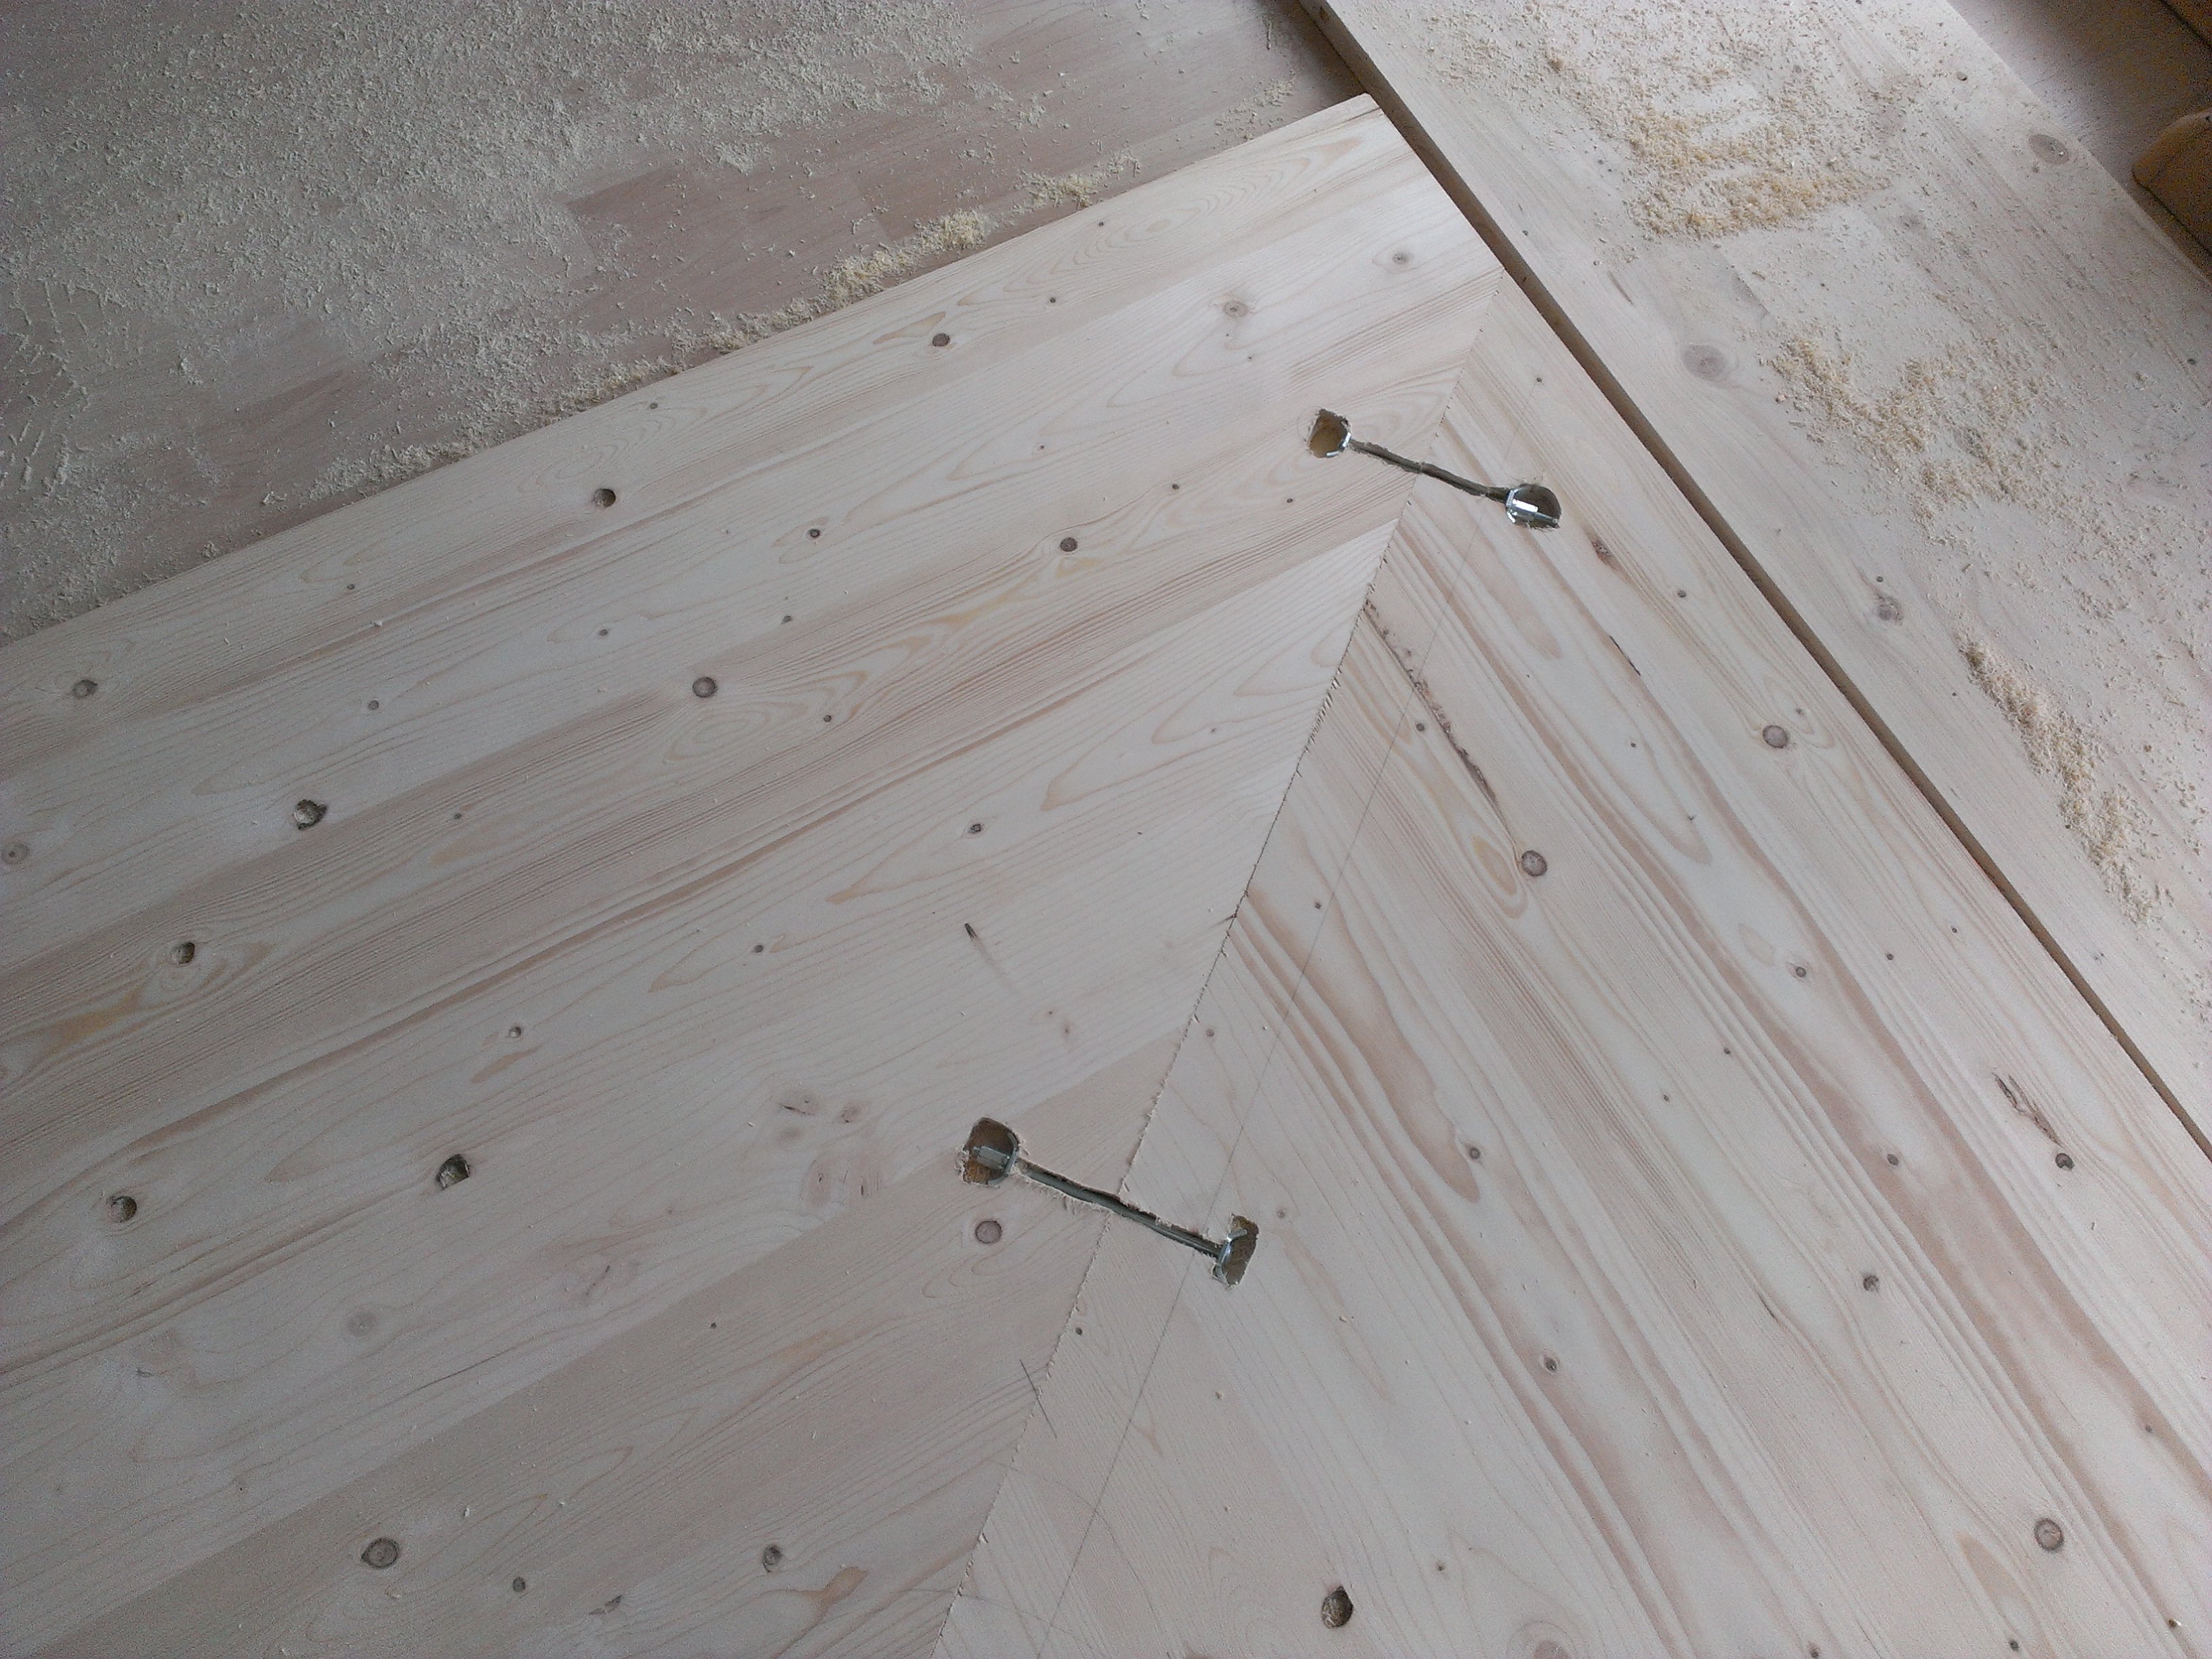
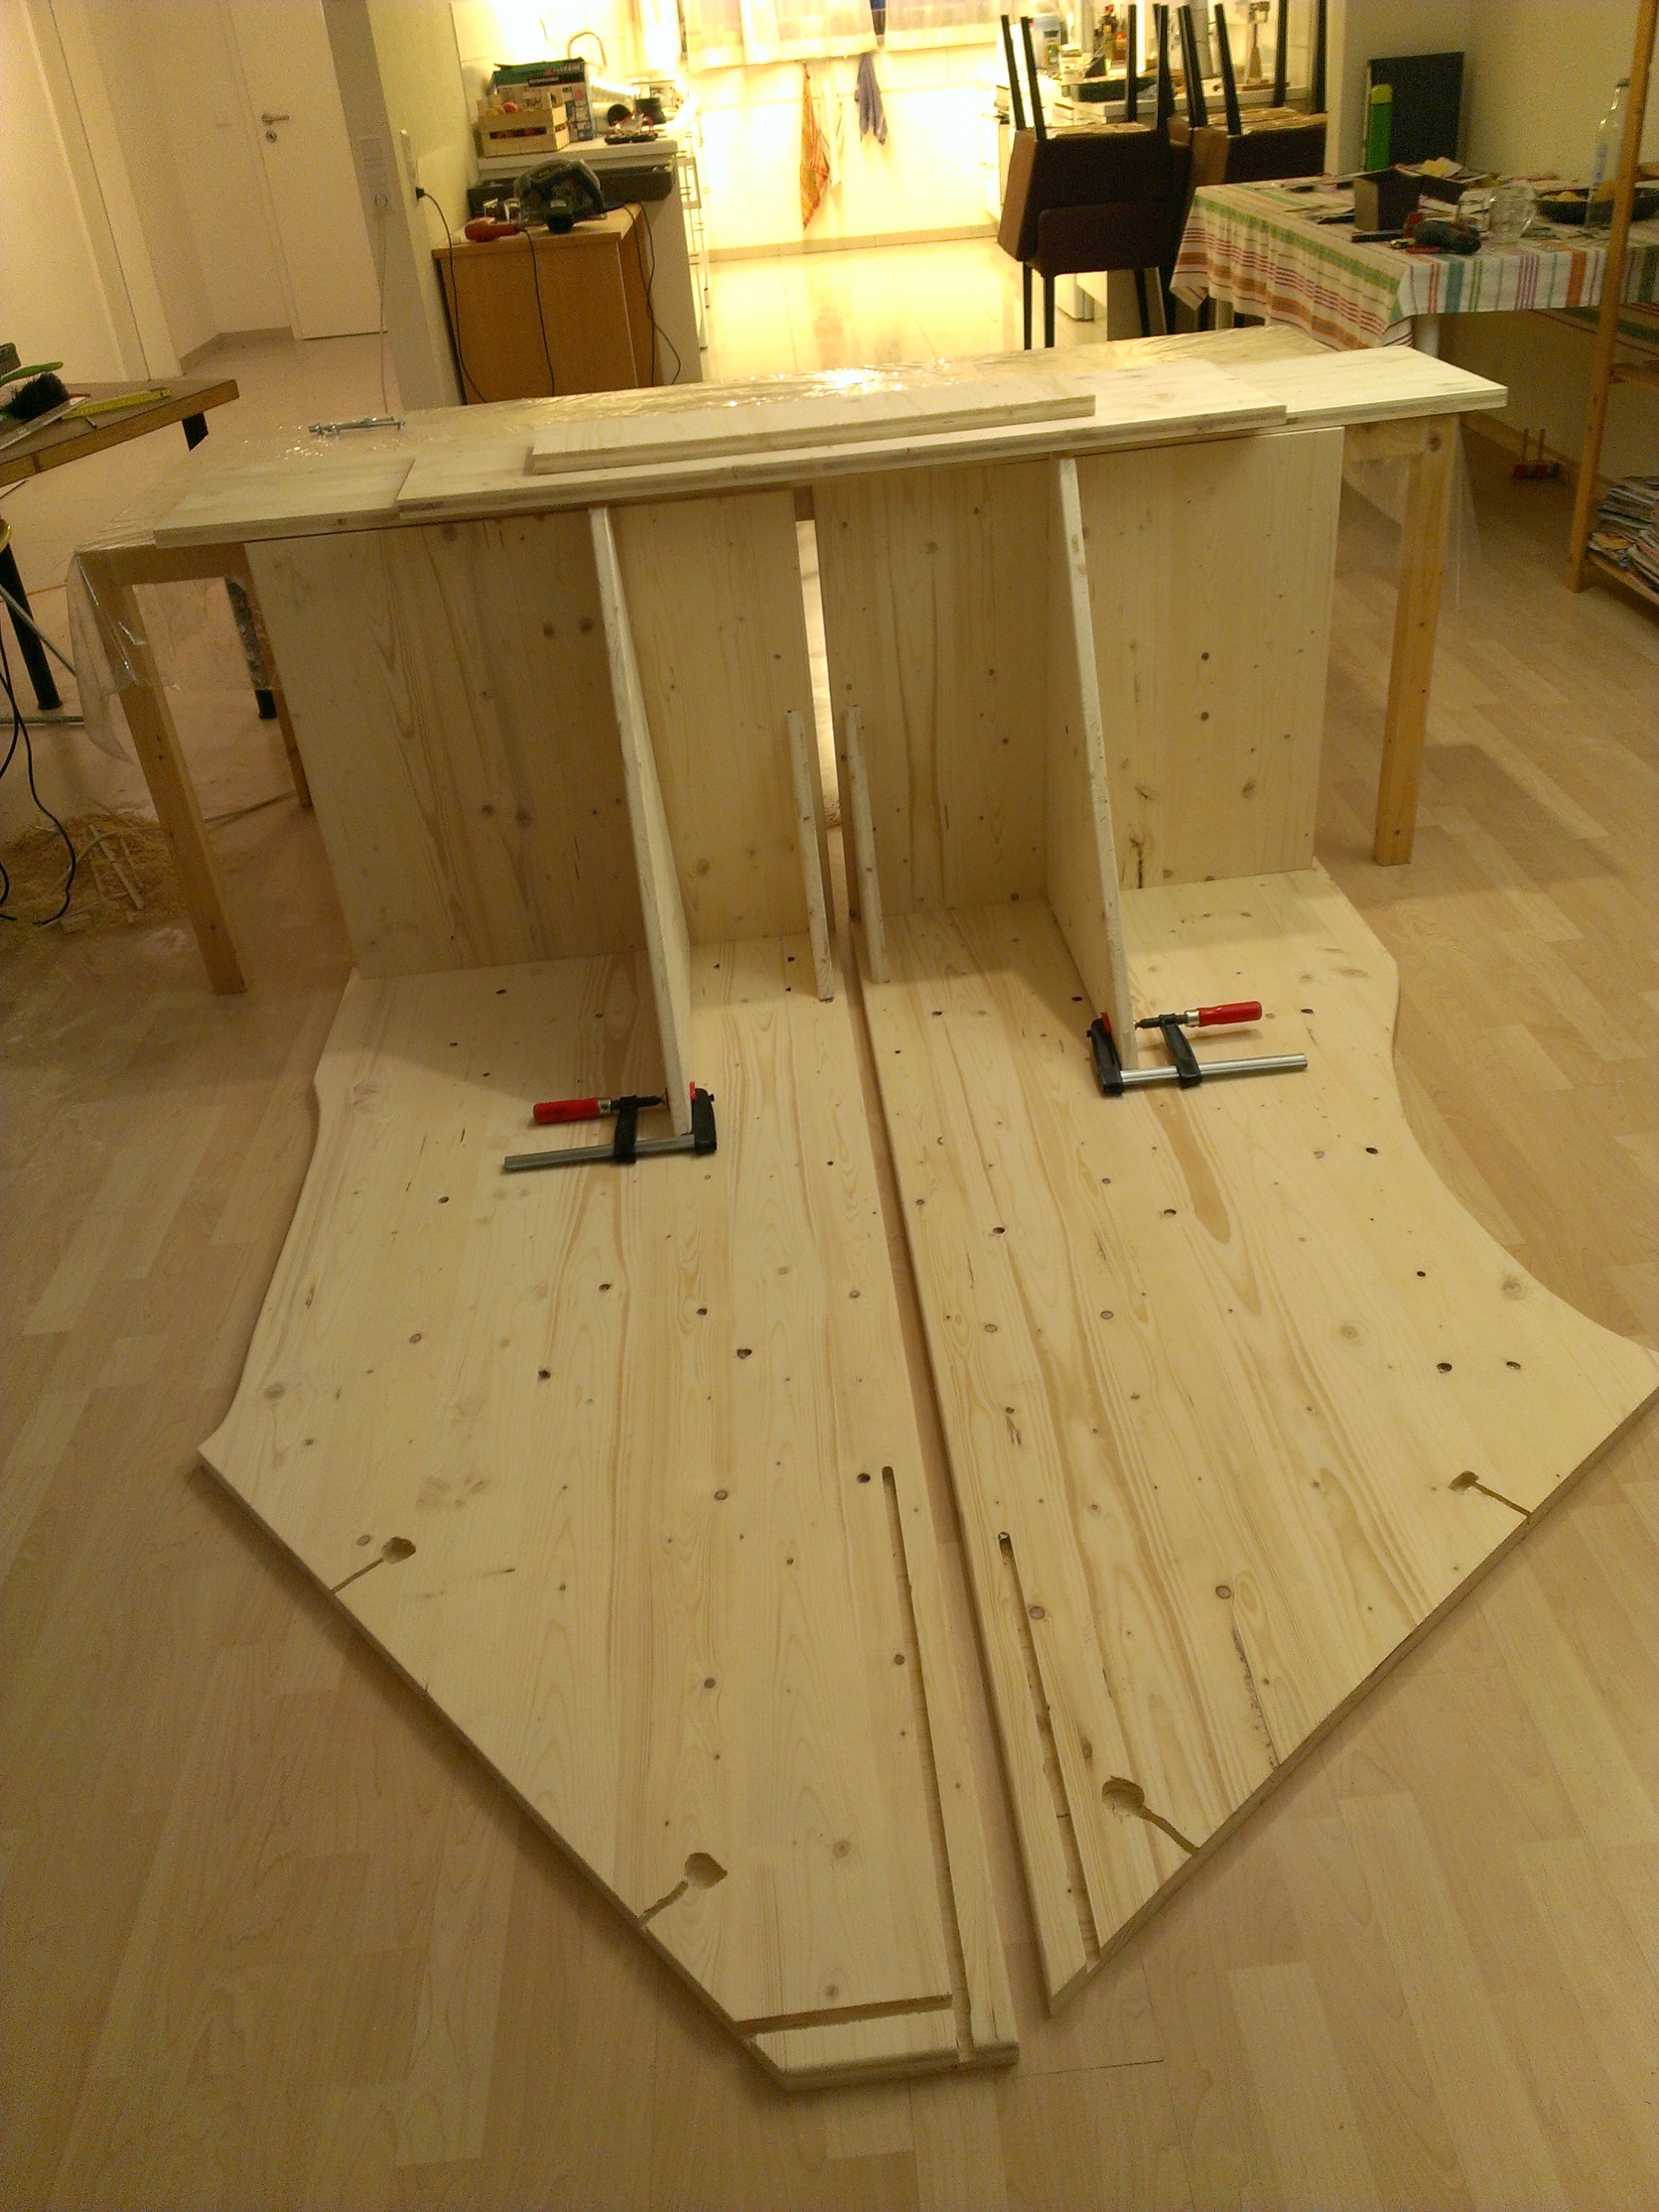
Because my previous desk was two tables and a chair, my wife decided that I would make one from scratch. The biggest problem was cutting the two pieces of three layered wood such that the errors in both cuts would compensate. Both with regard to the angle as well as with regard to the horizontal variations.
The easiest solution is to cut them both at the same time, in the same direction.
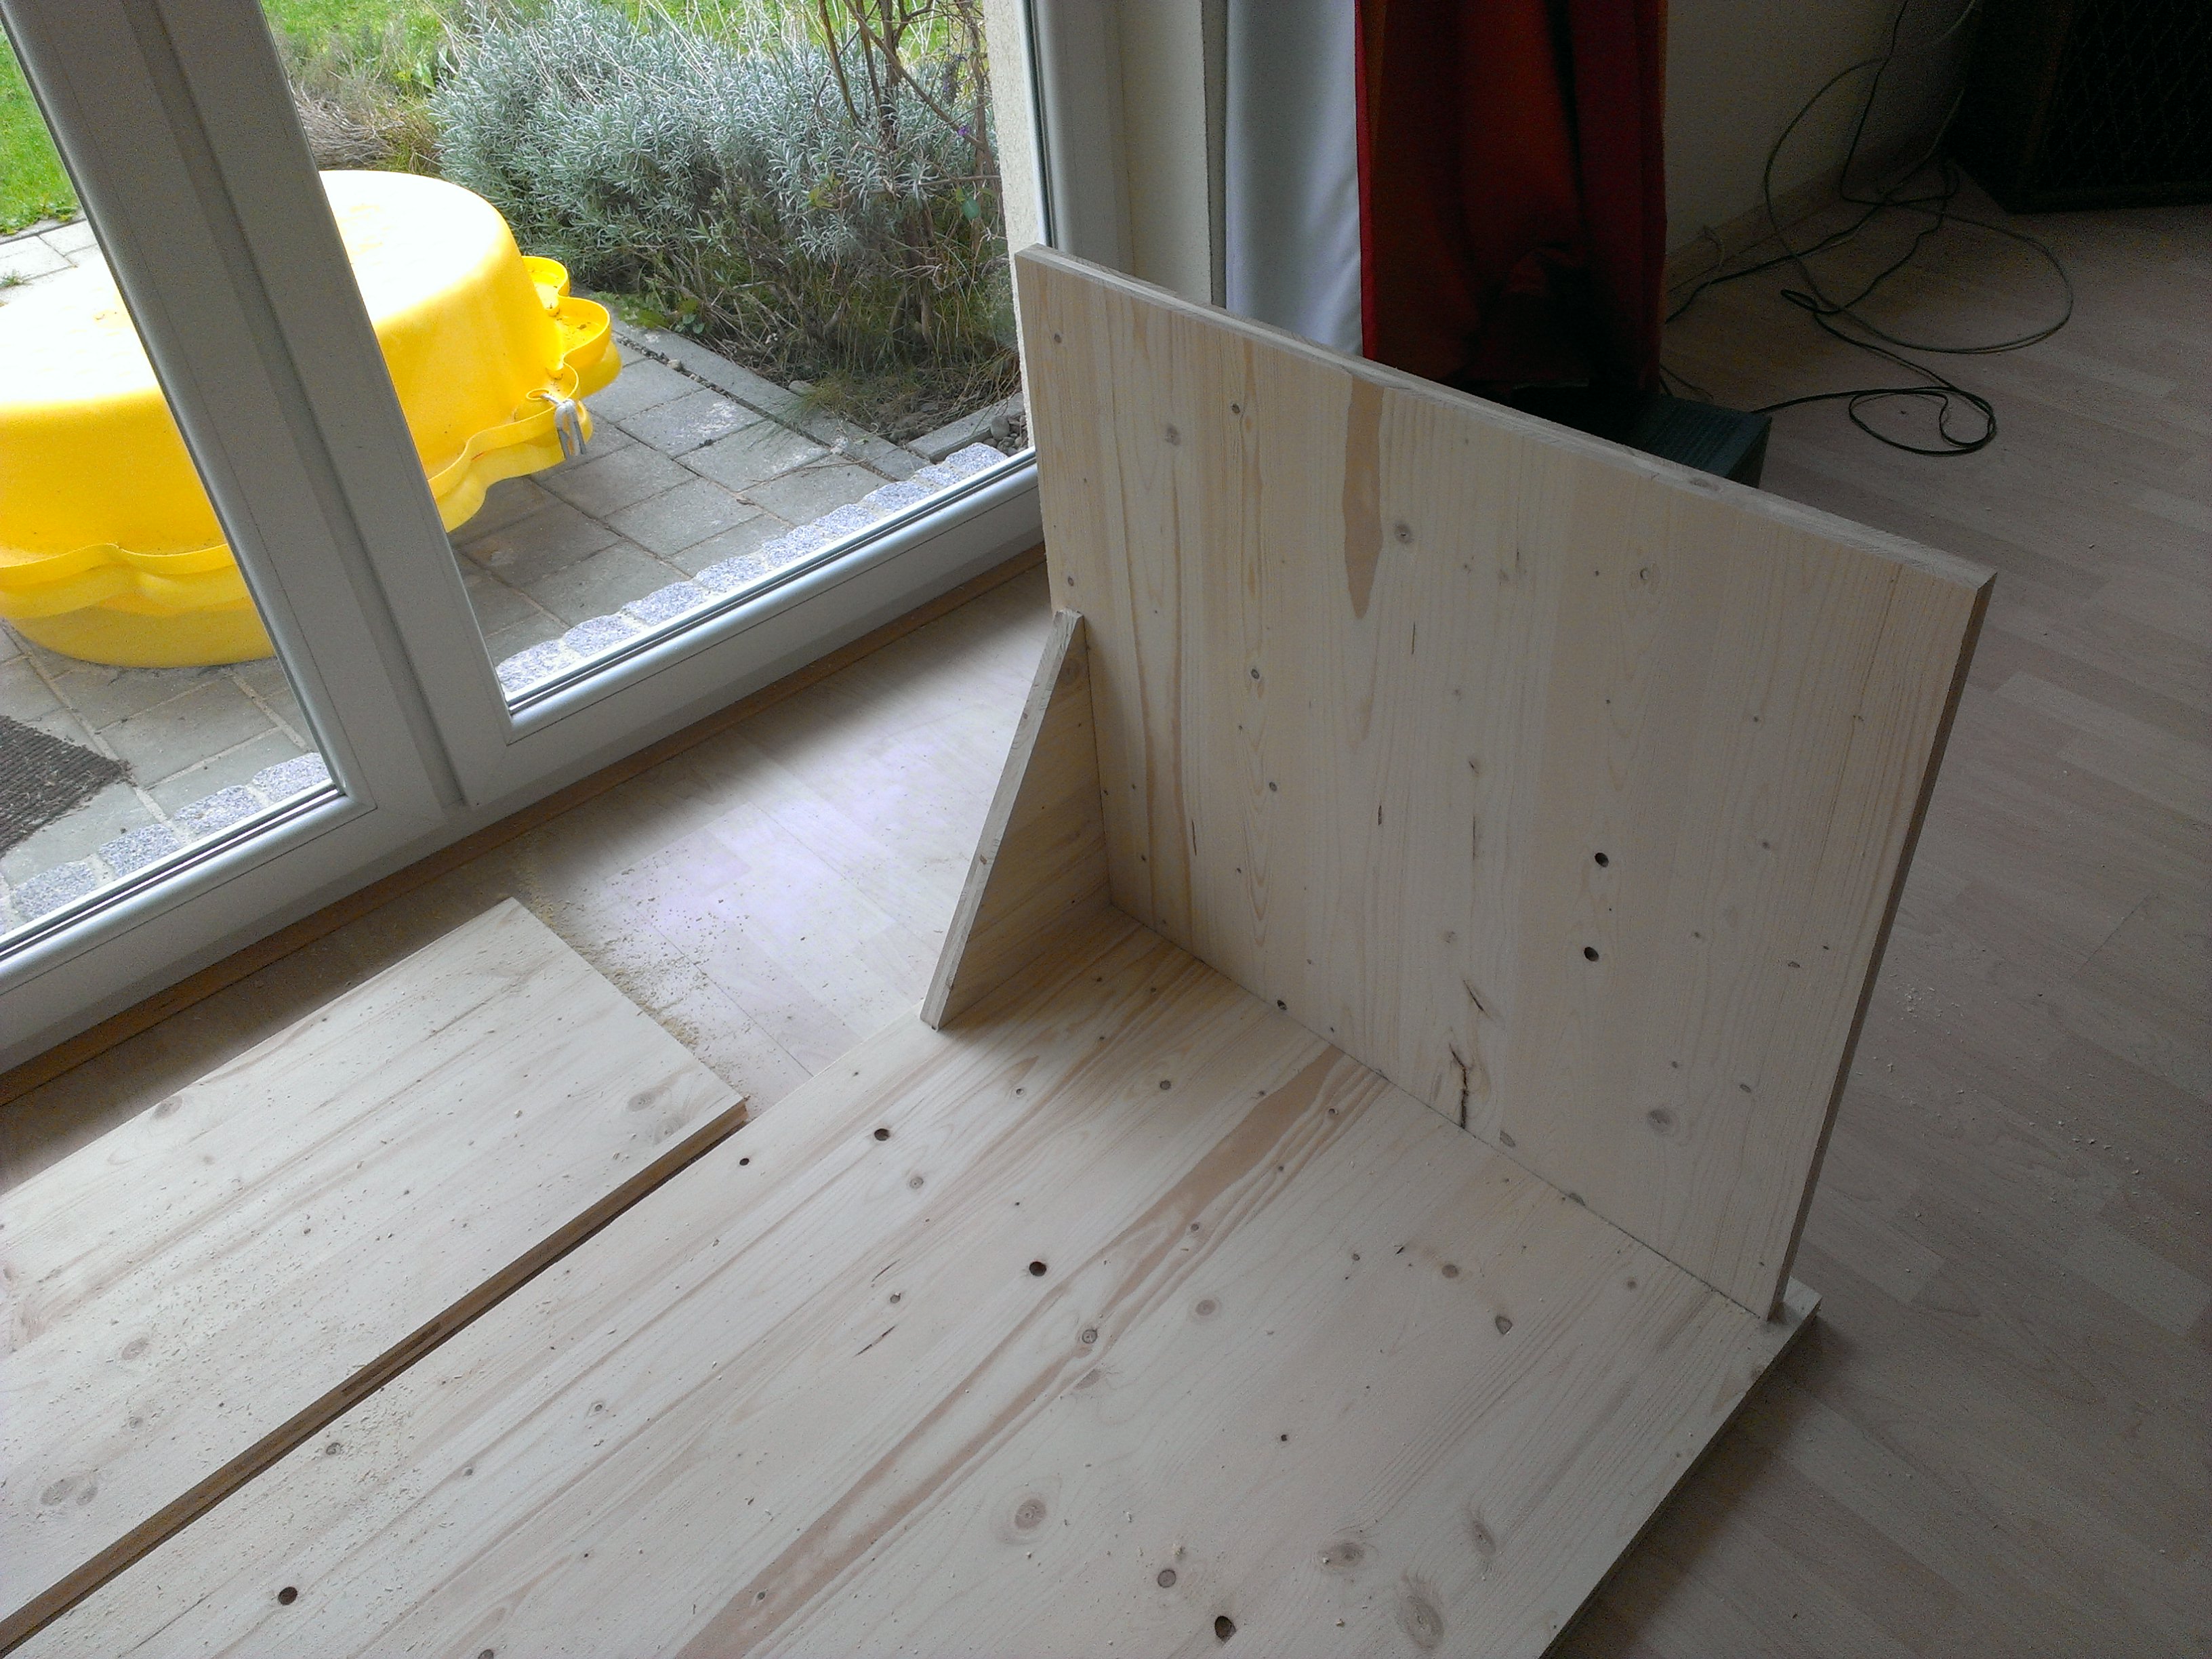
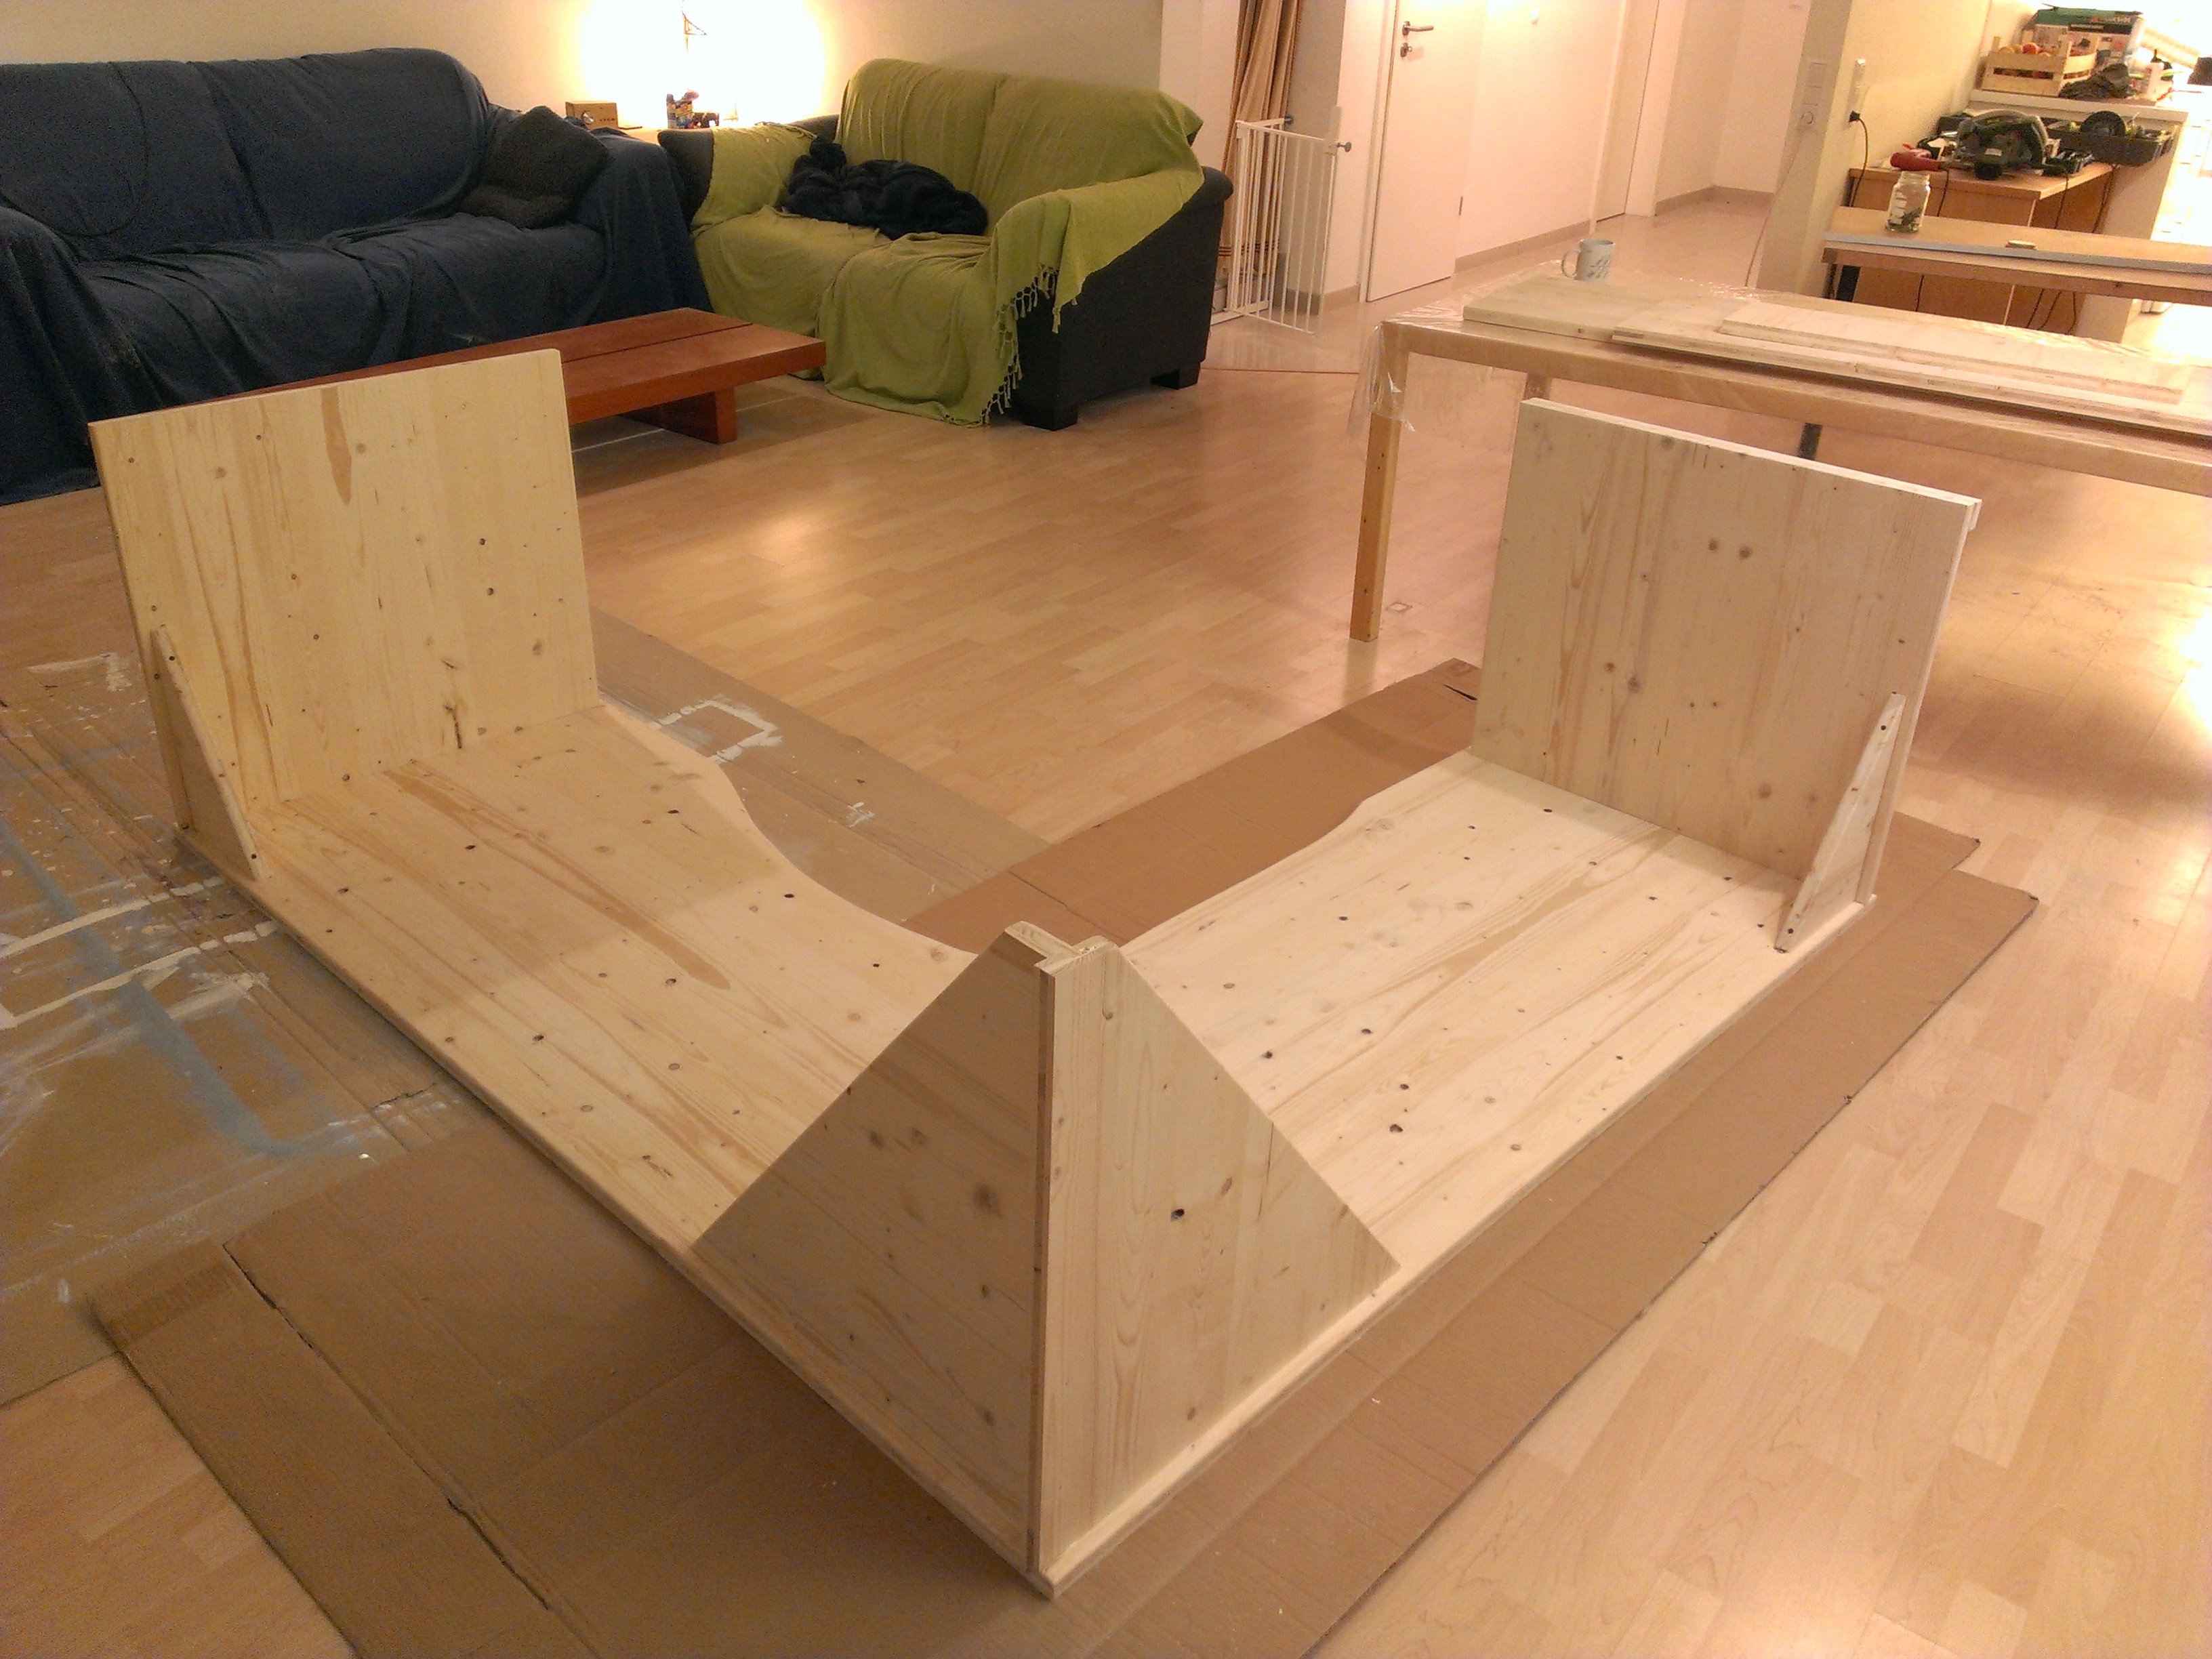
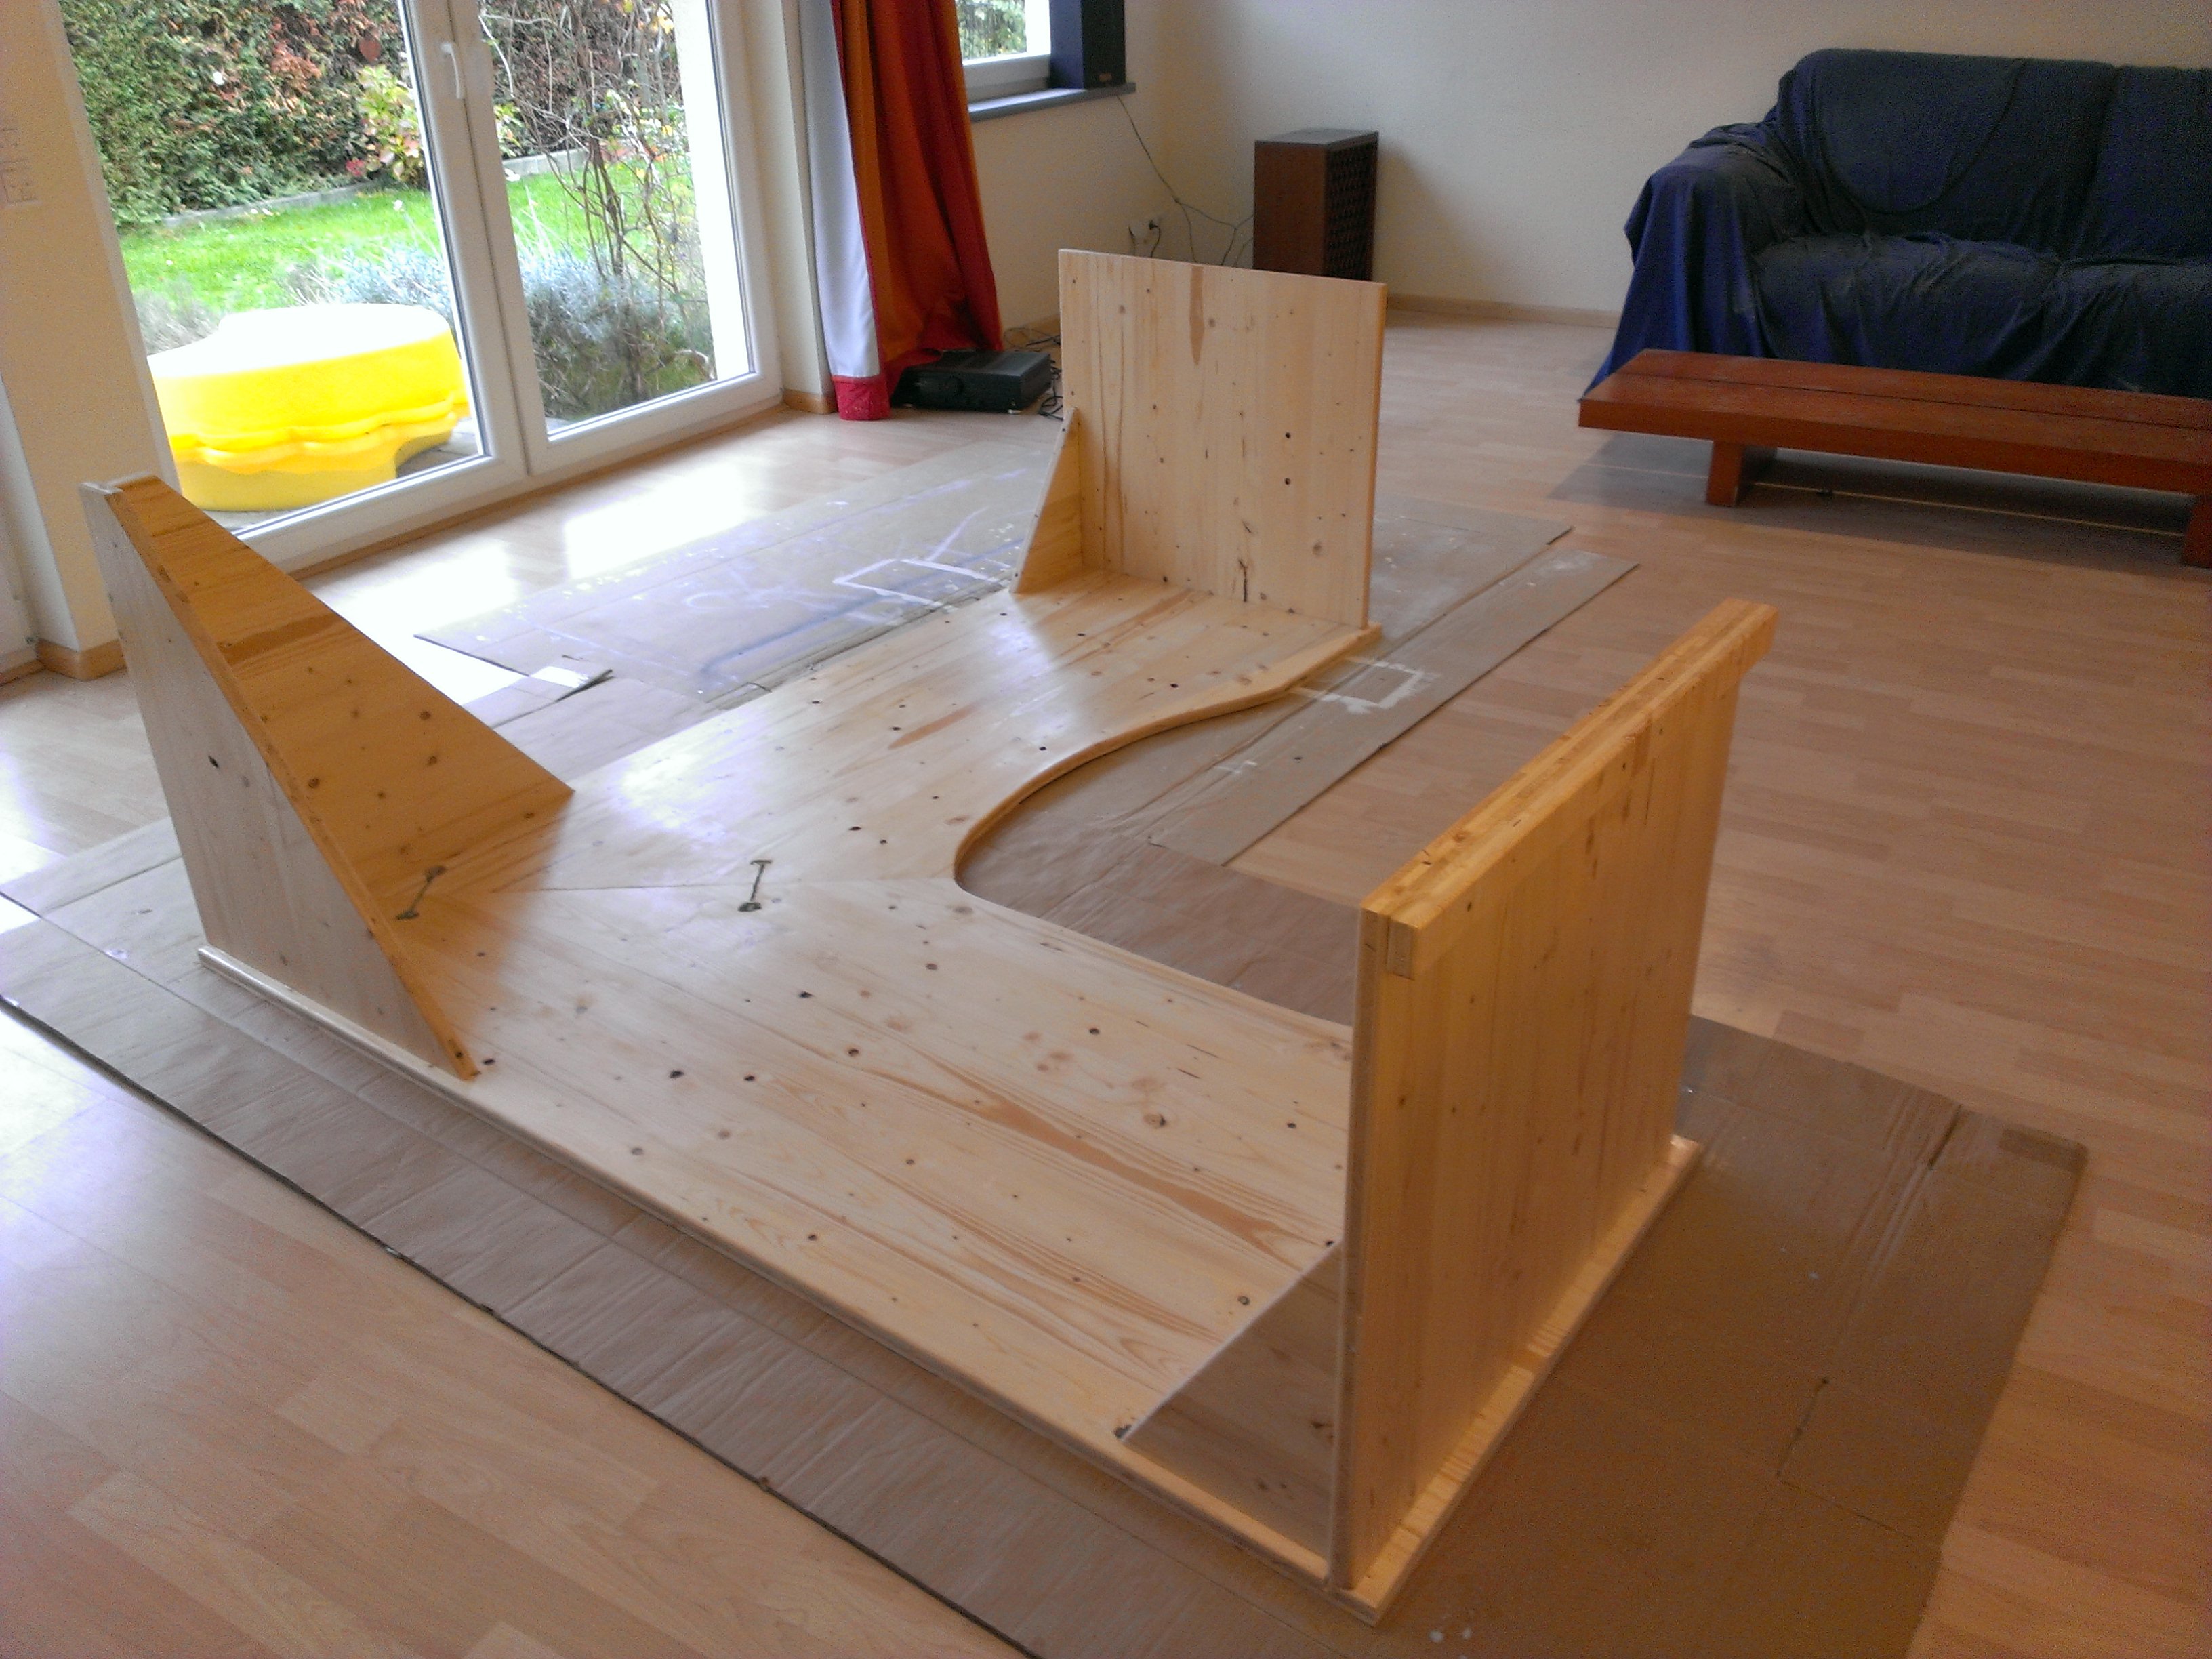
Once that was done, we made the legs and fitted them.
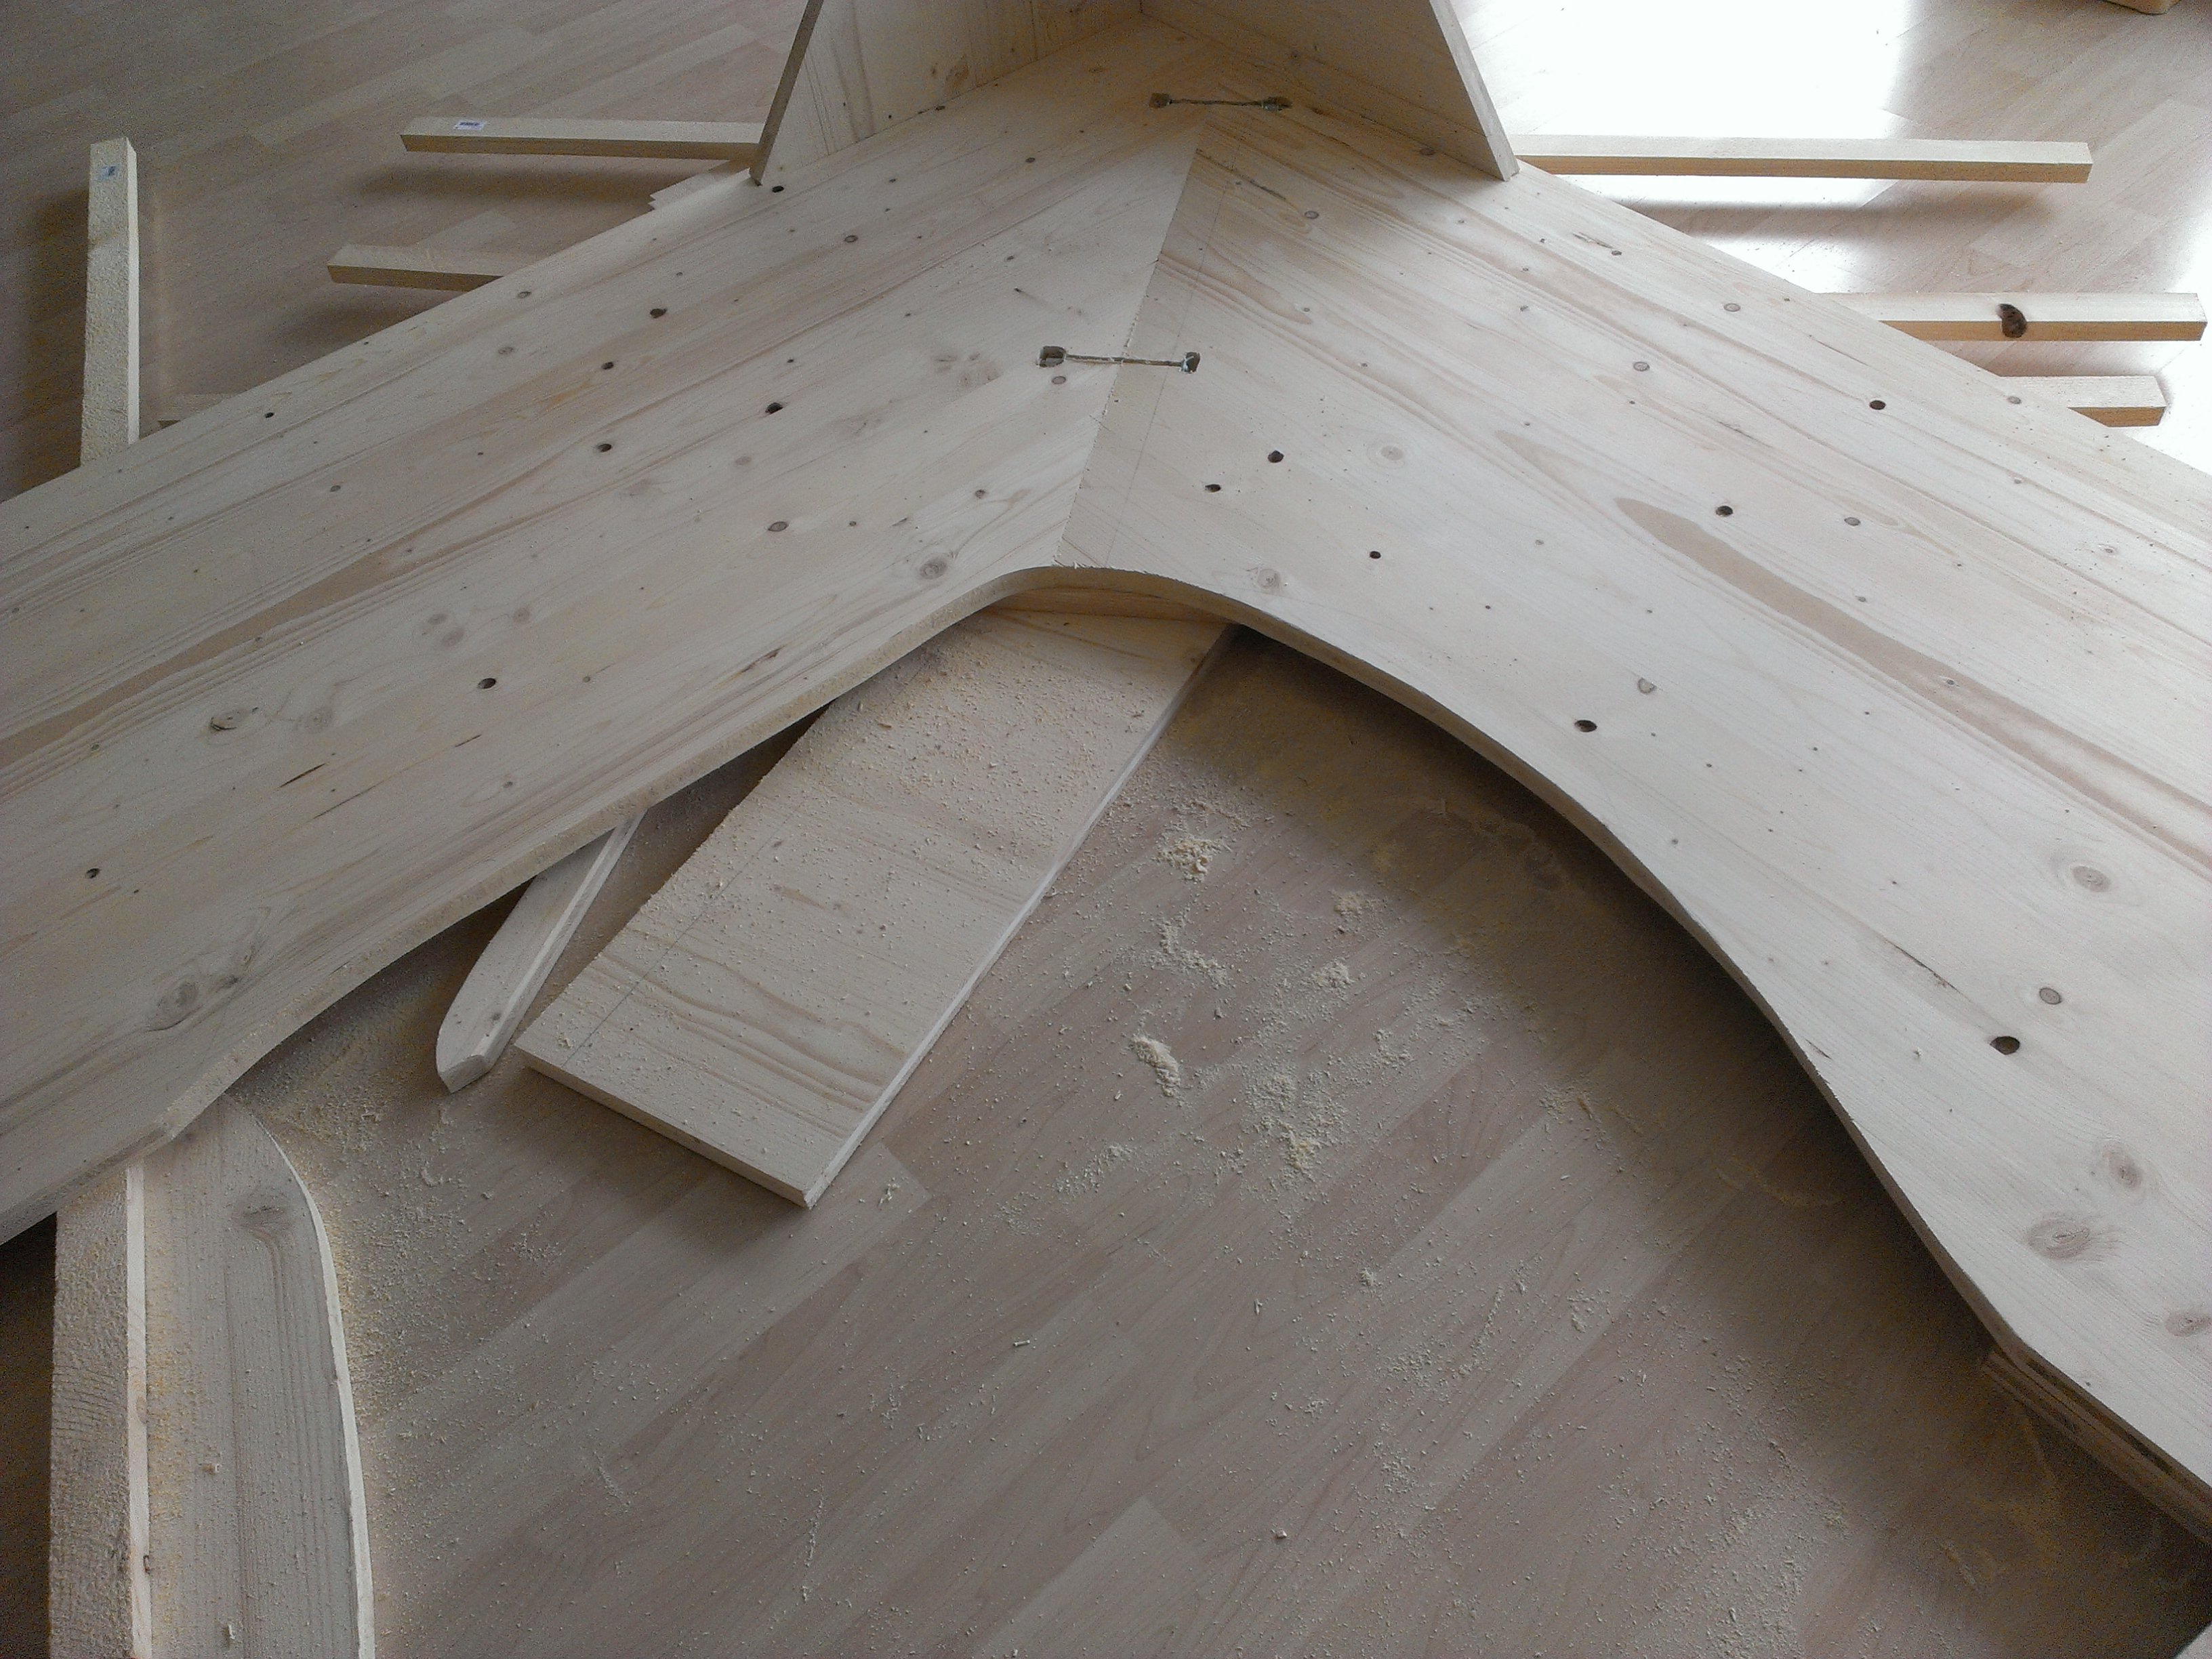
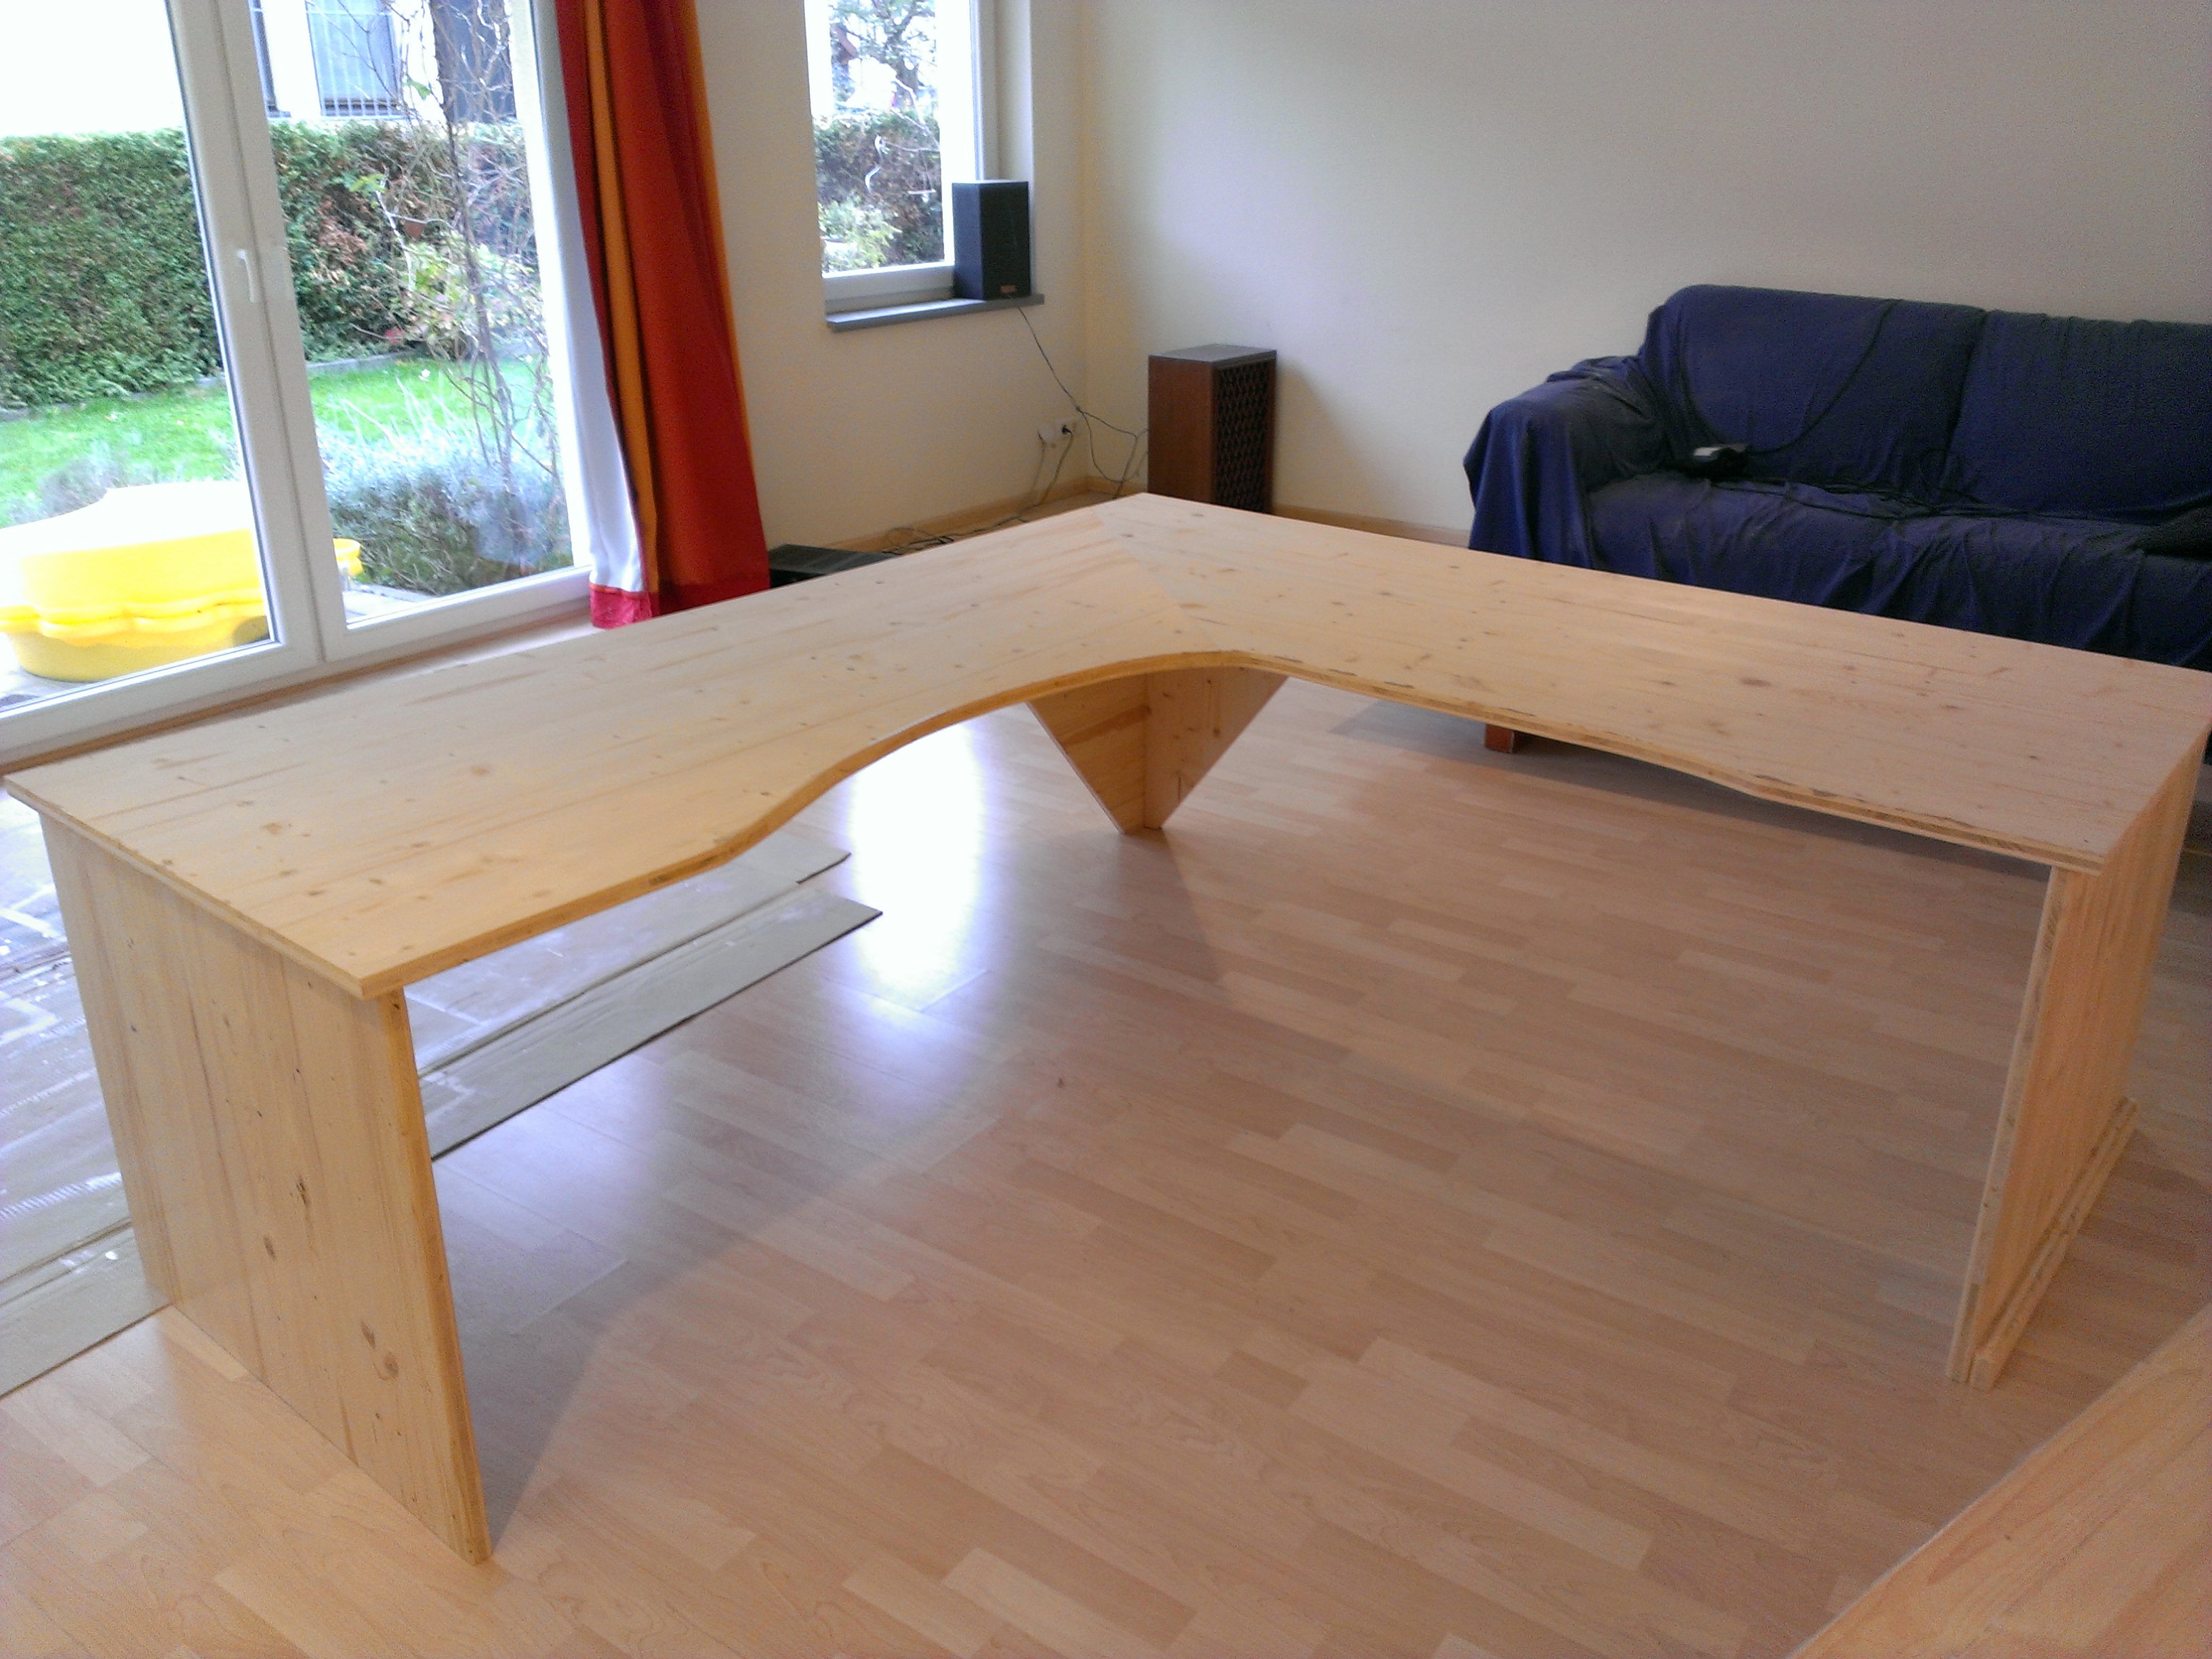
We added an organic form because we needed place to actually sit on. The two plates placed together only allowed for 120 cm free room. Cutting out 20 cm we gave us a bit more leaway and opened up the desk. Furthermore, cutting out this form allowed us to cut ‘through’ the seam which made it fit even better.
Then we glued them in place. For a change we actually made them fit in a pi/2 angle. One of those things which requires a bit too much fiddling for me to really bother with it. Yet it does matter if you are going to look at this every day.
Once done with that, the paint job started. 2 layers for legs and bottom side. 3 layers for the main surface. With 10 hours between each layer this adds up to quite a waiting time.
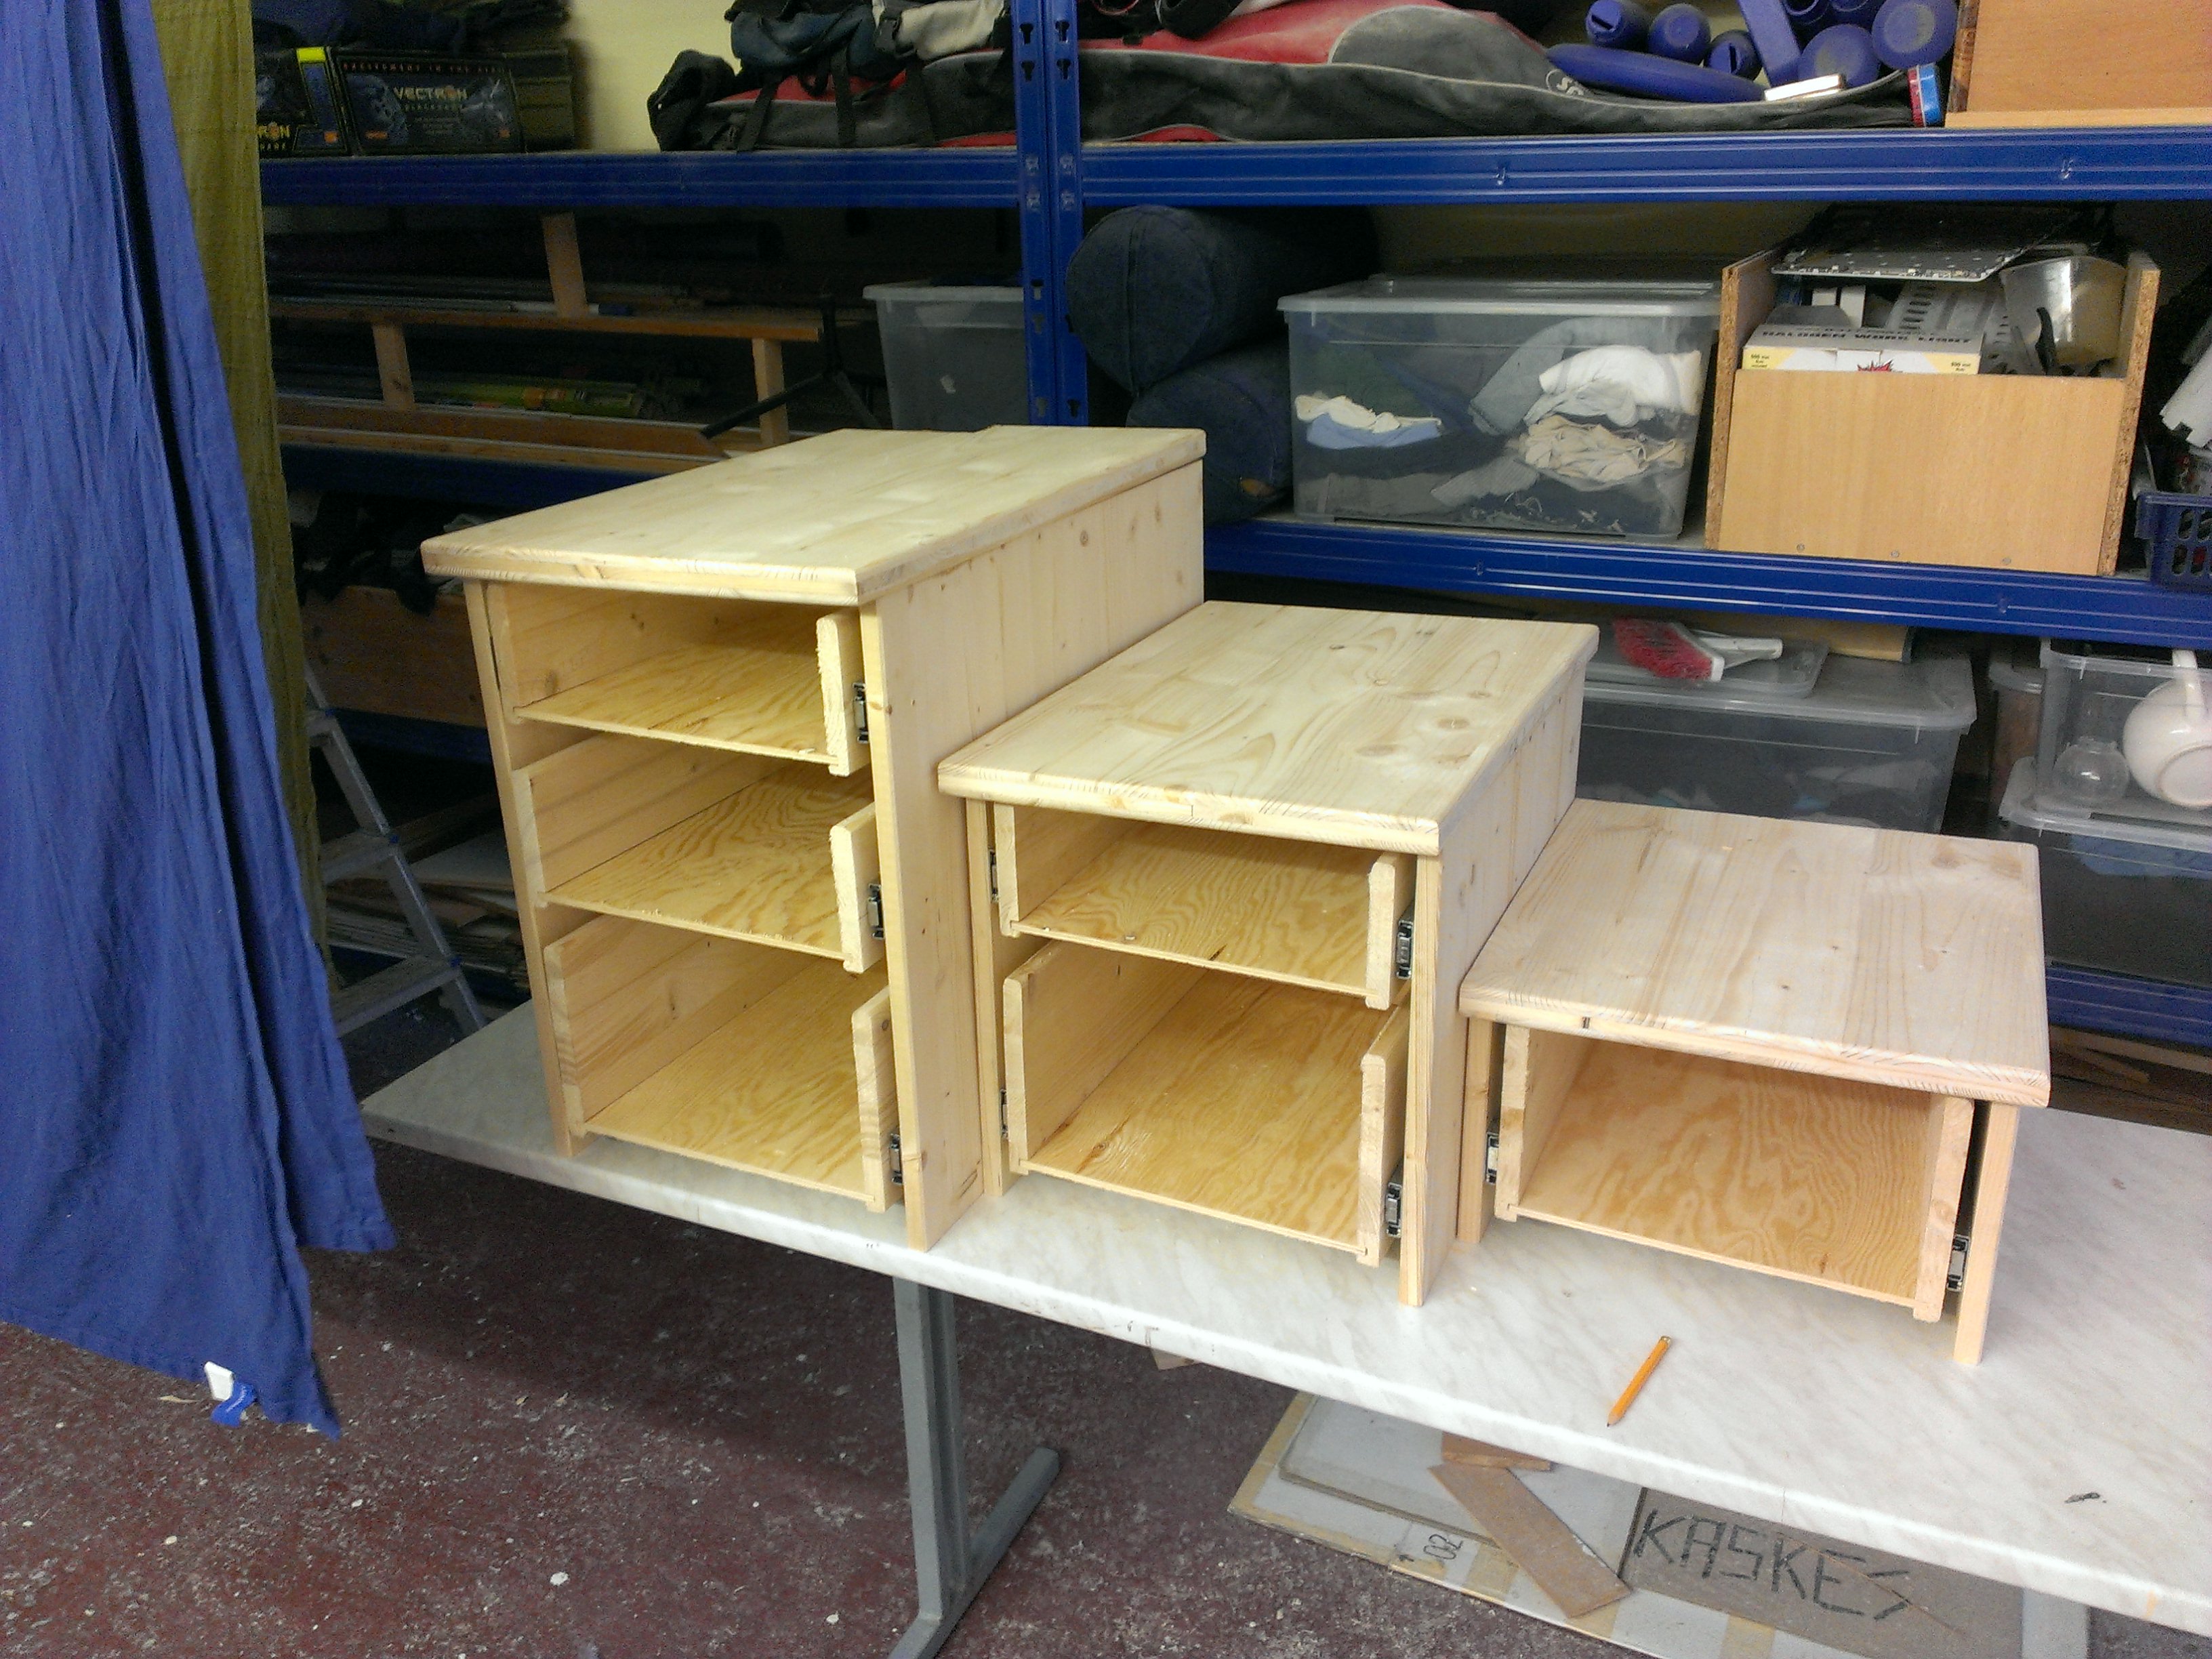
The cabinets
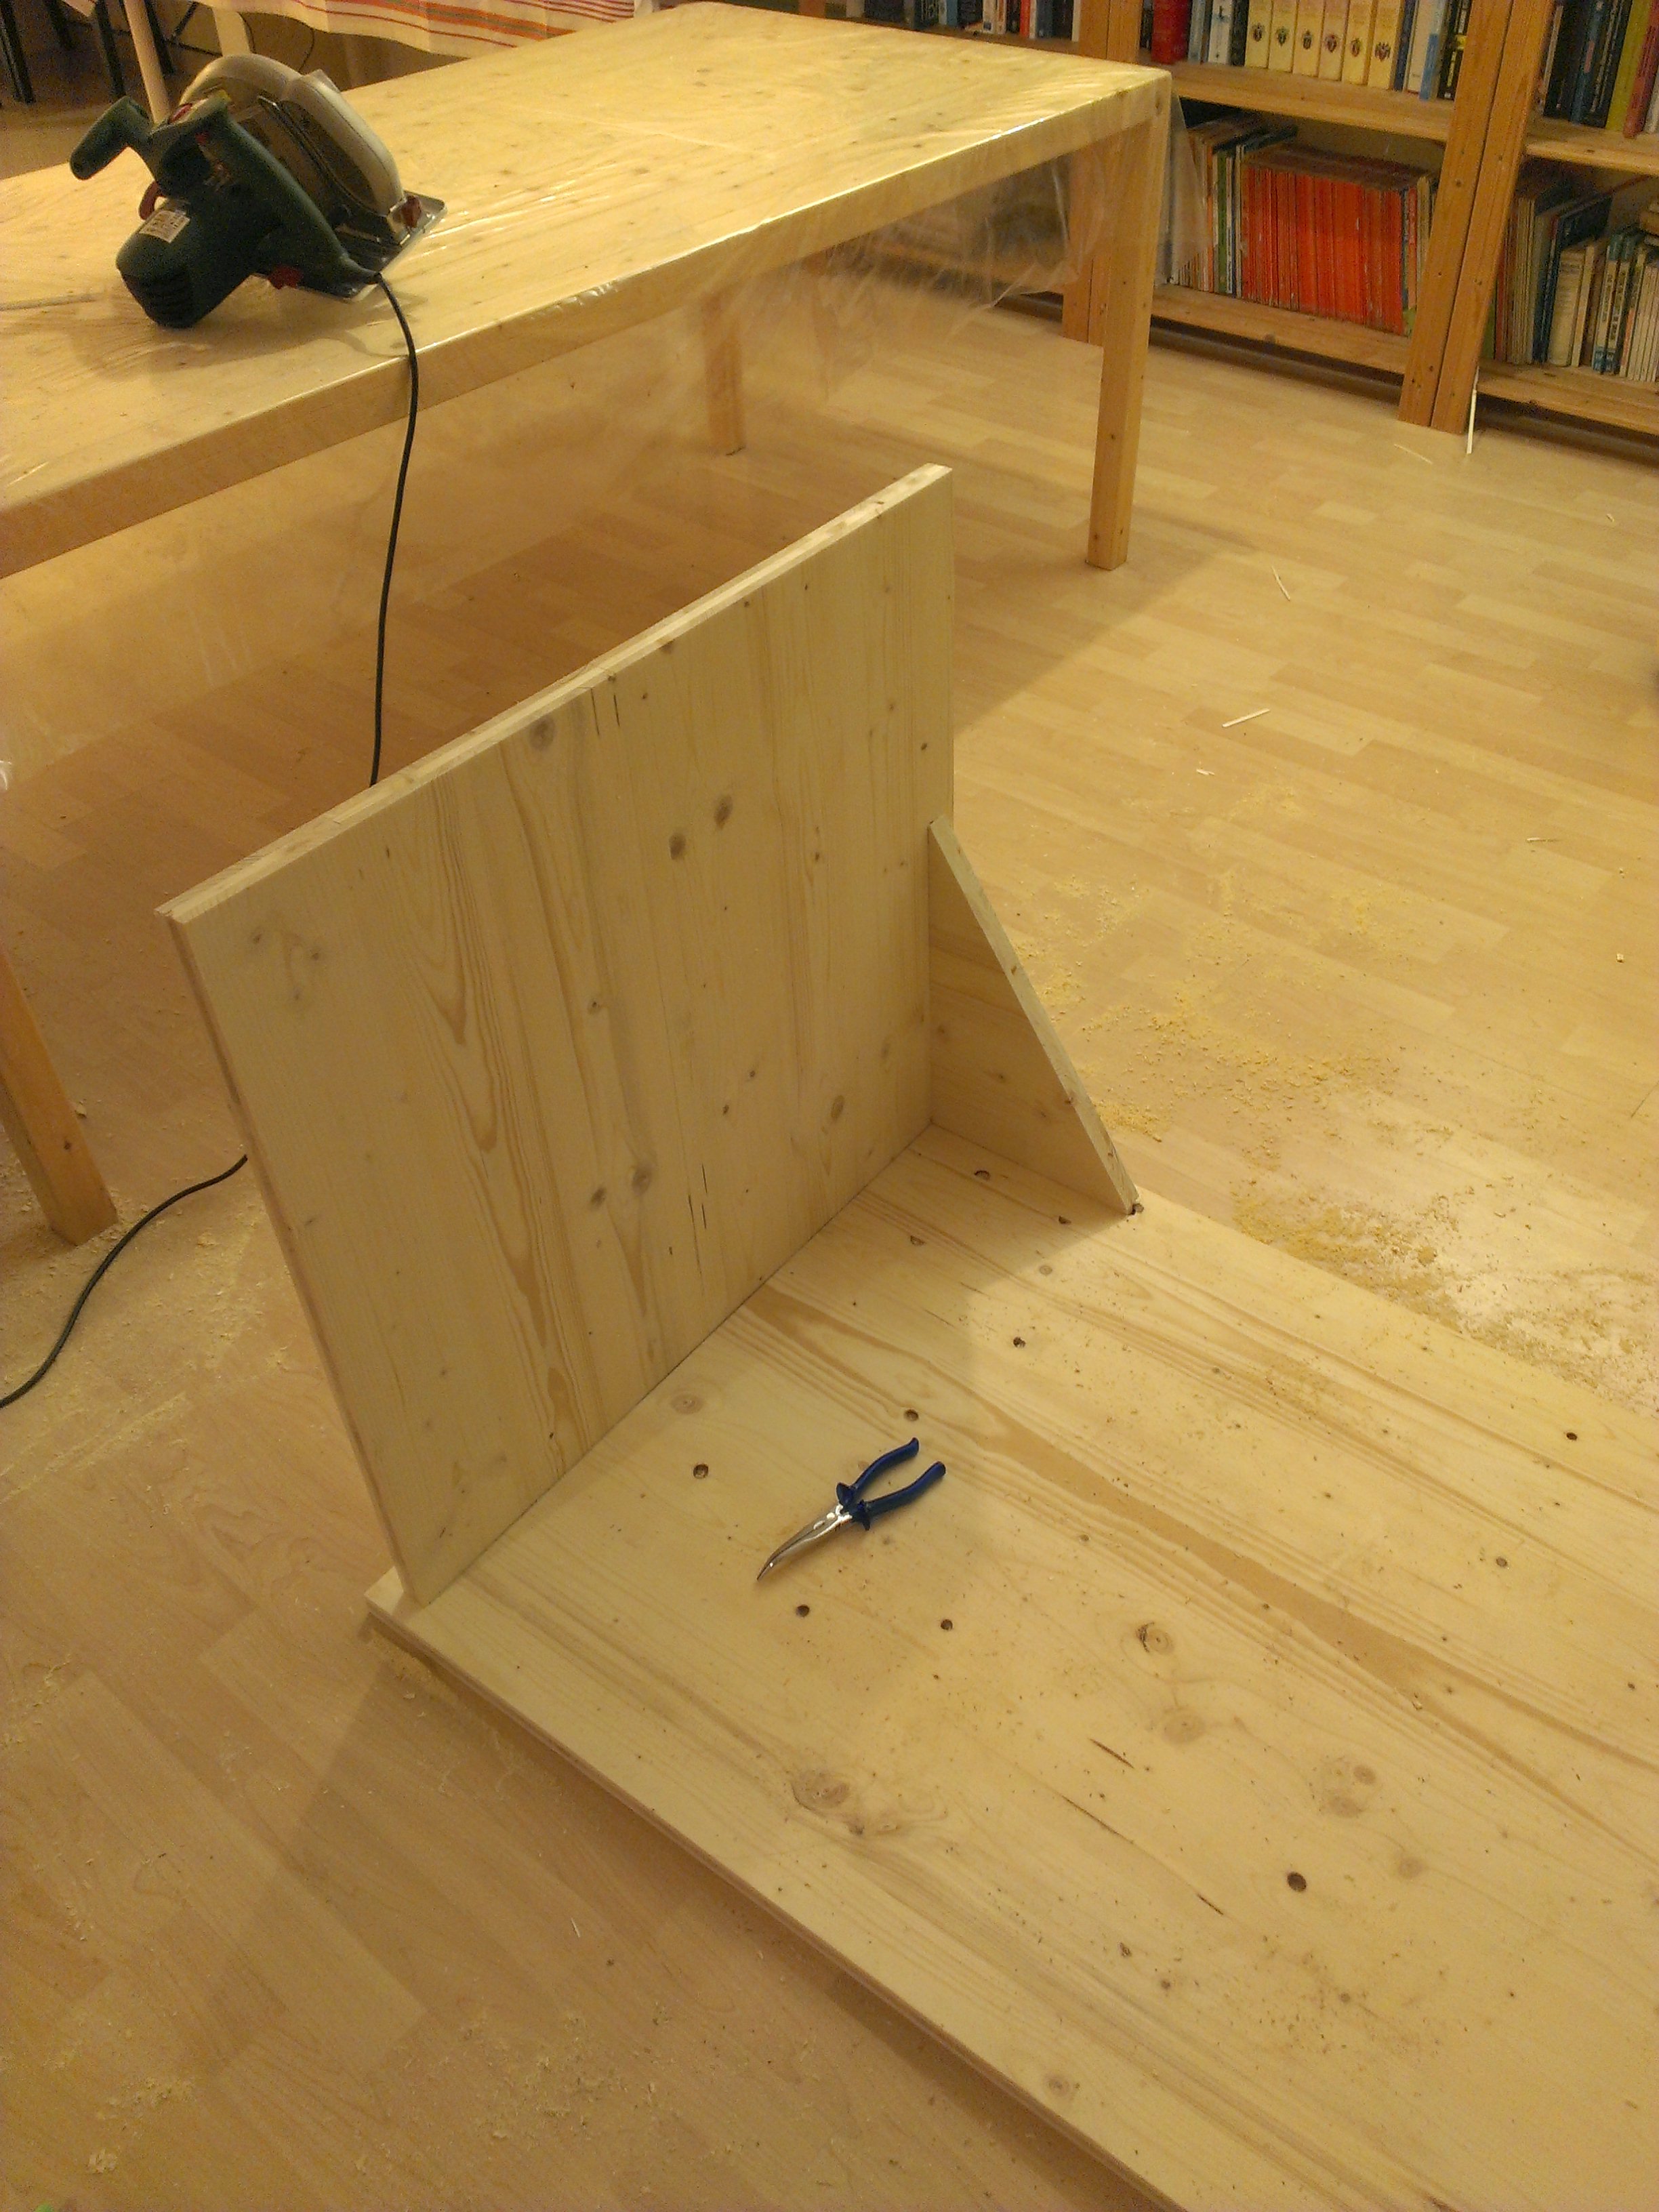
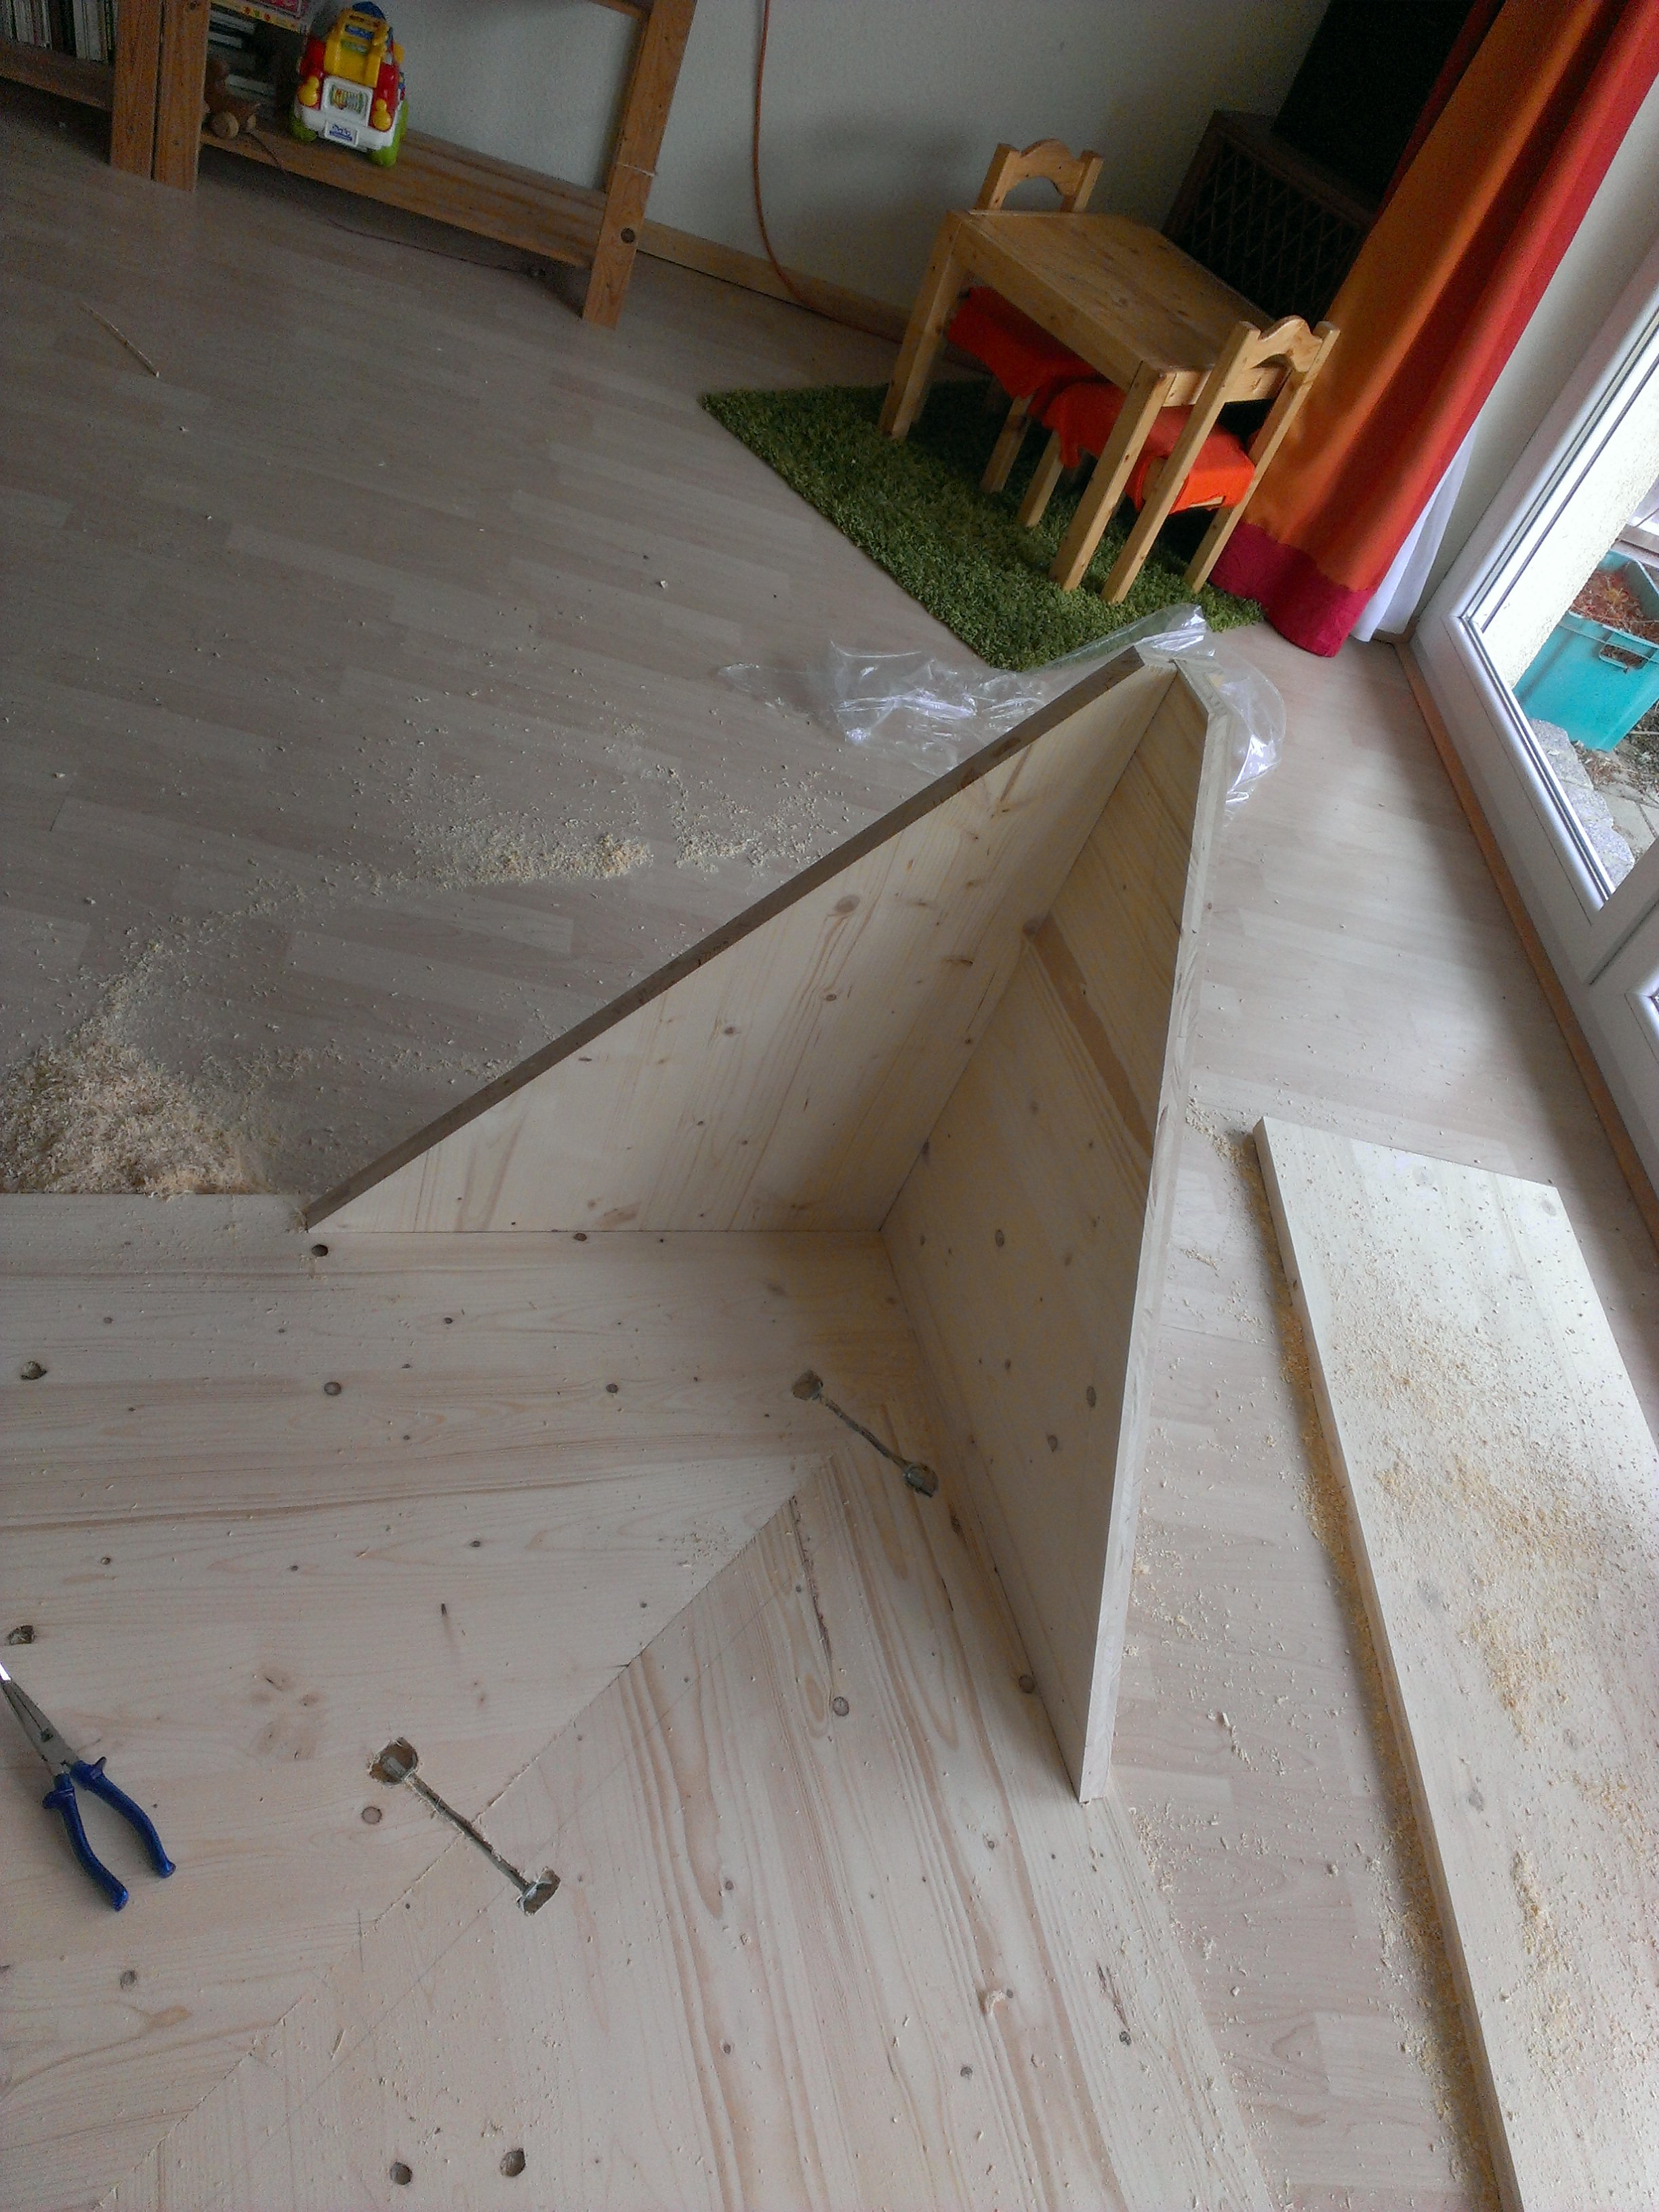
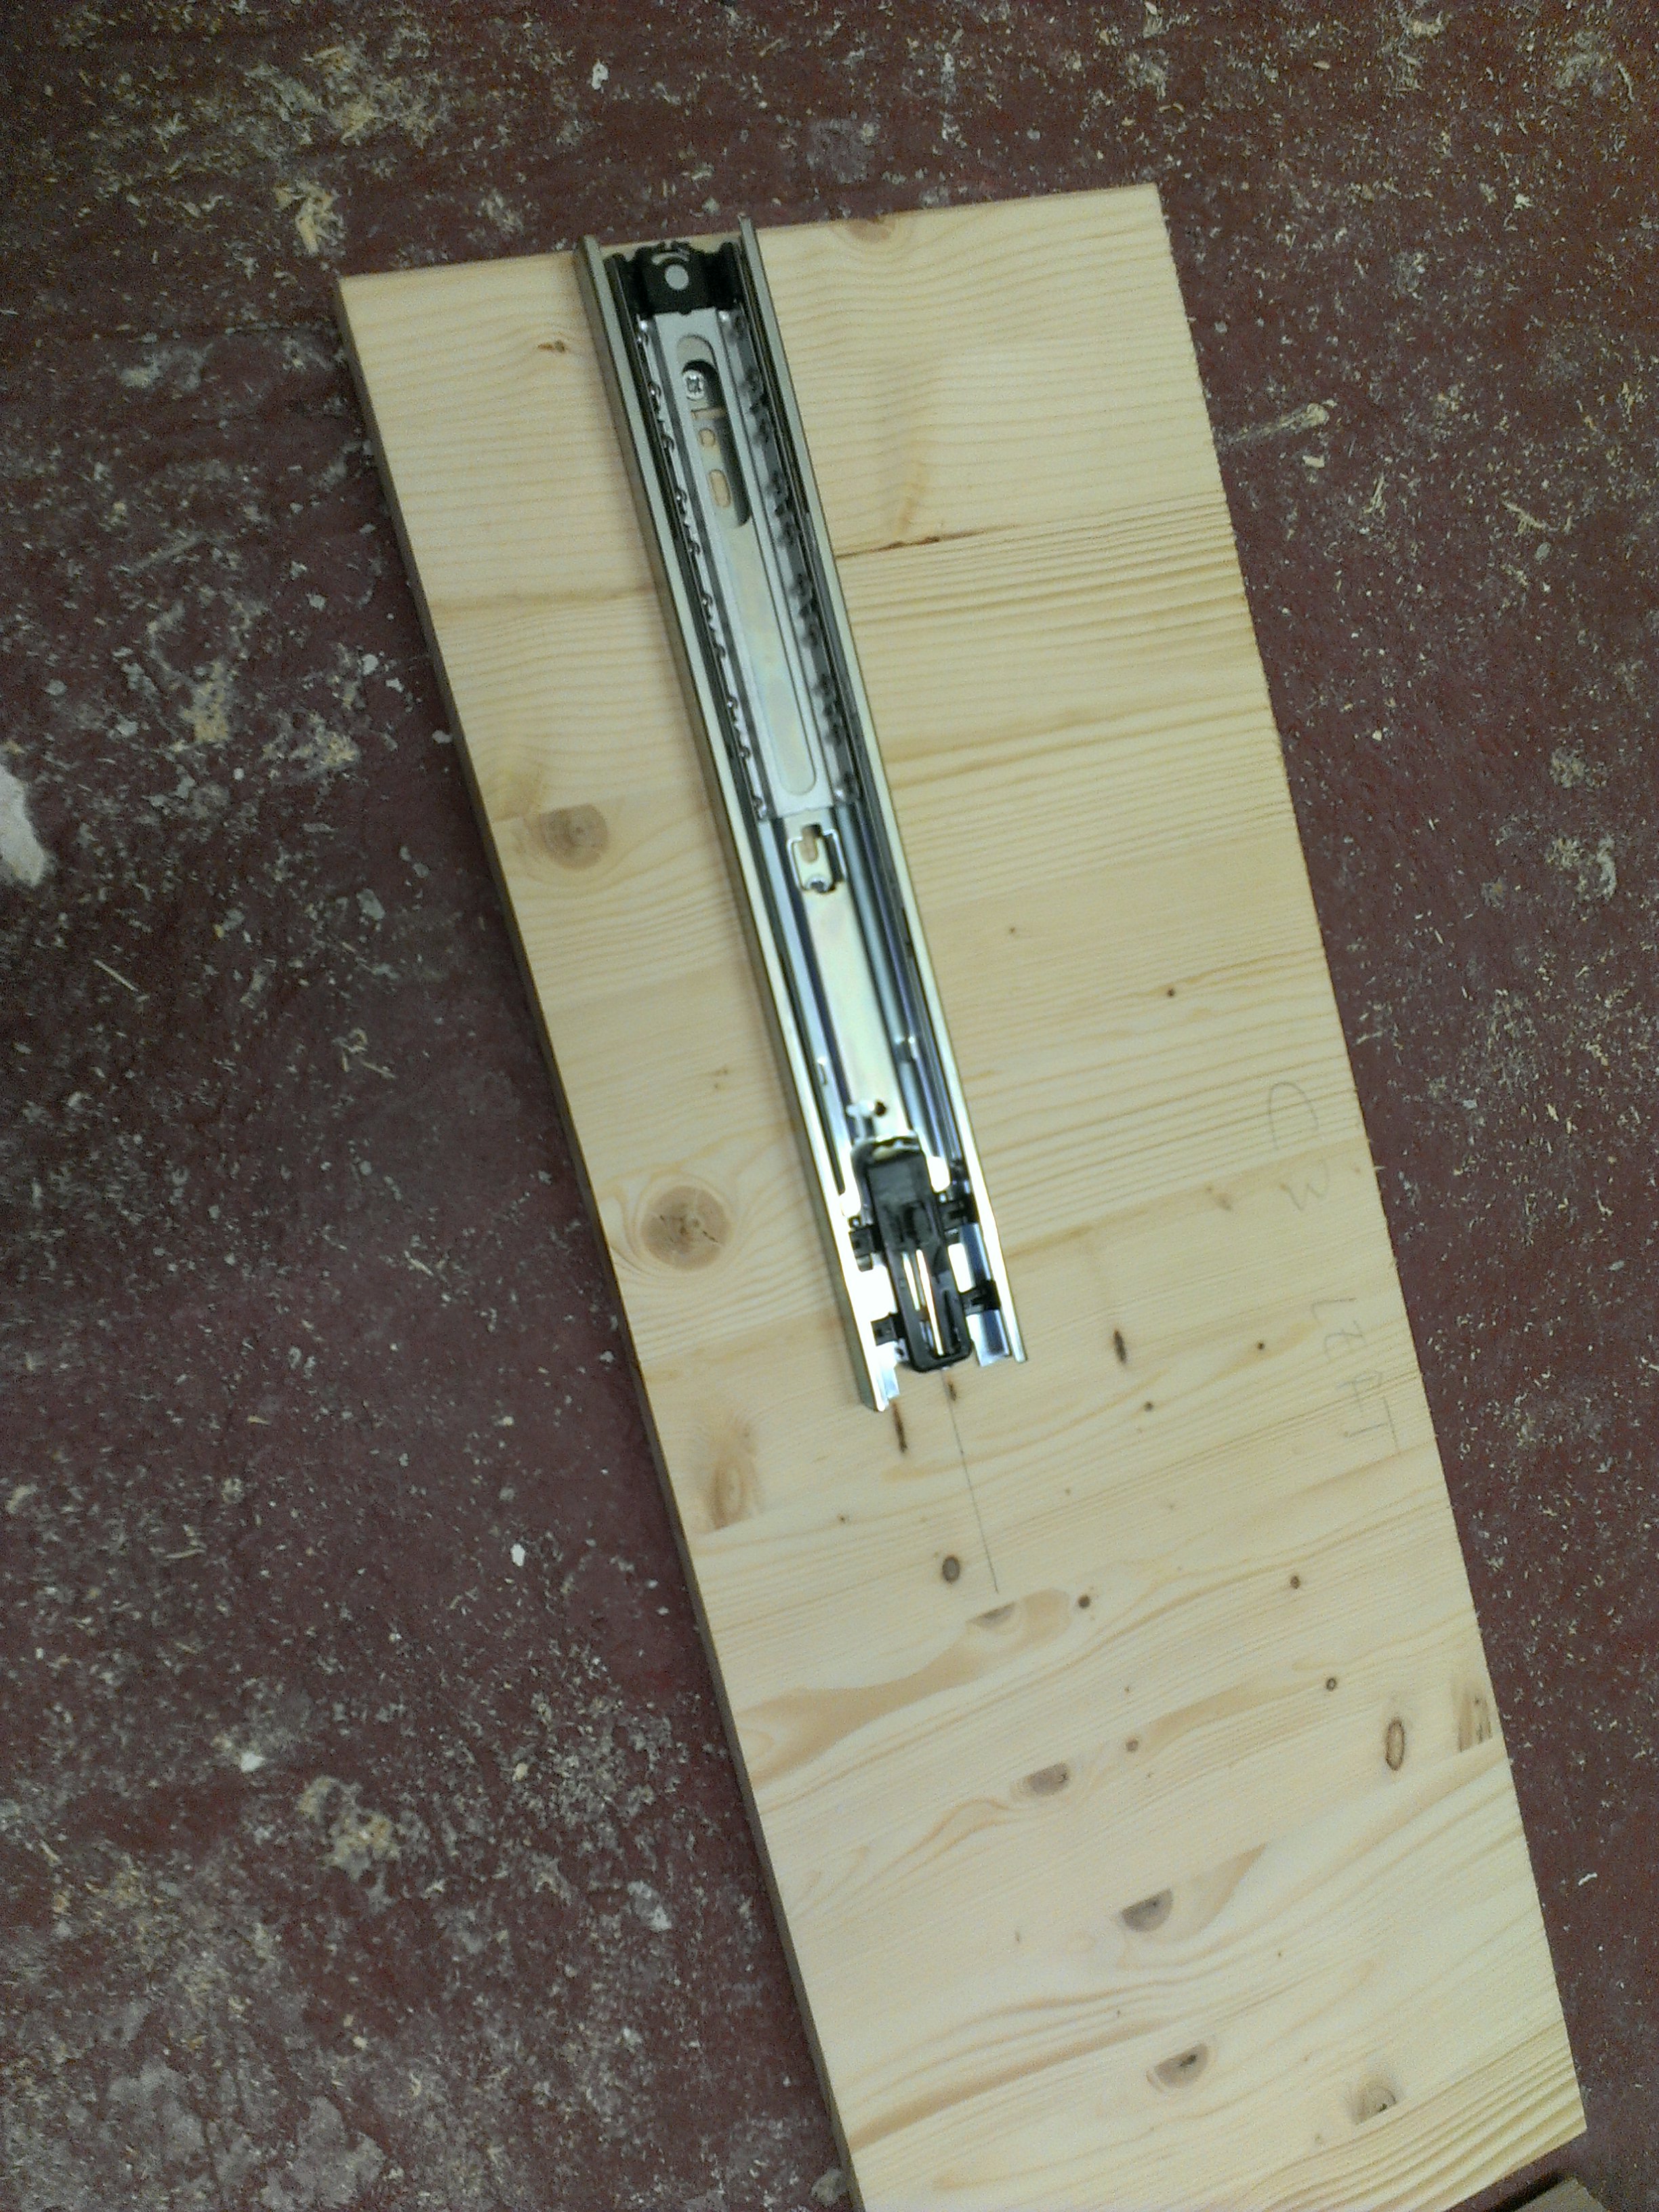
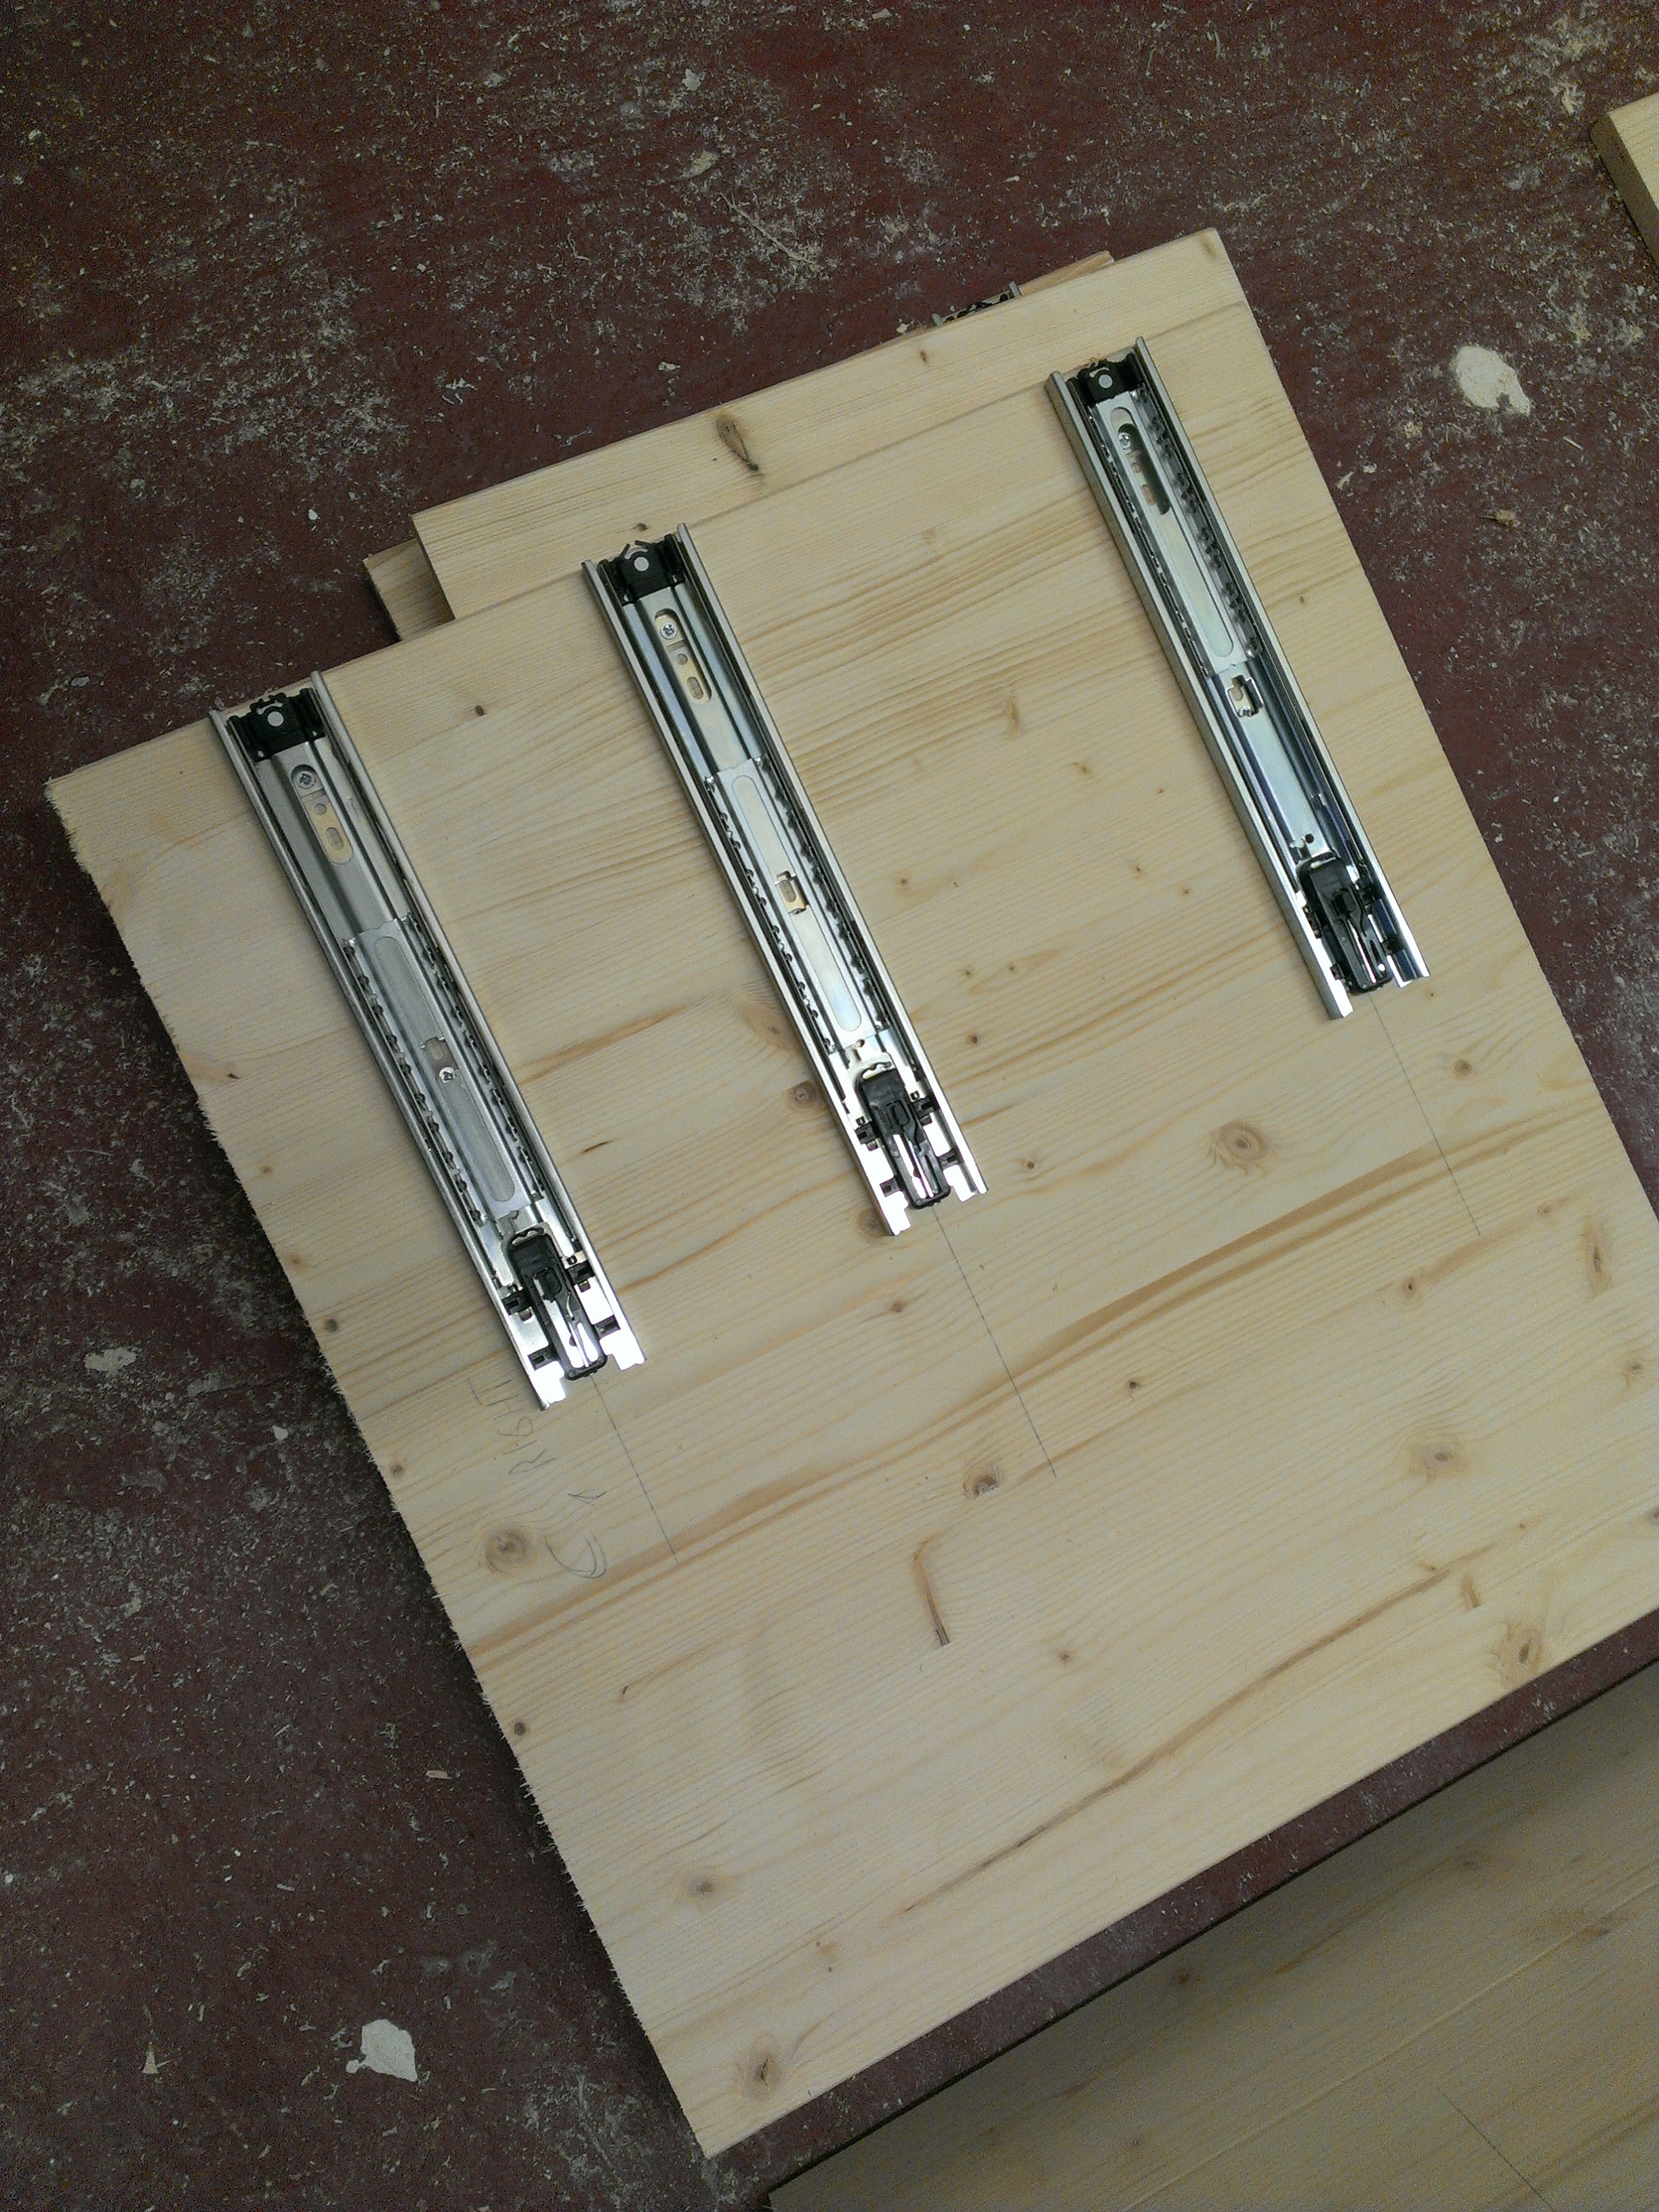
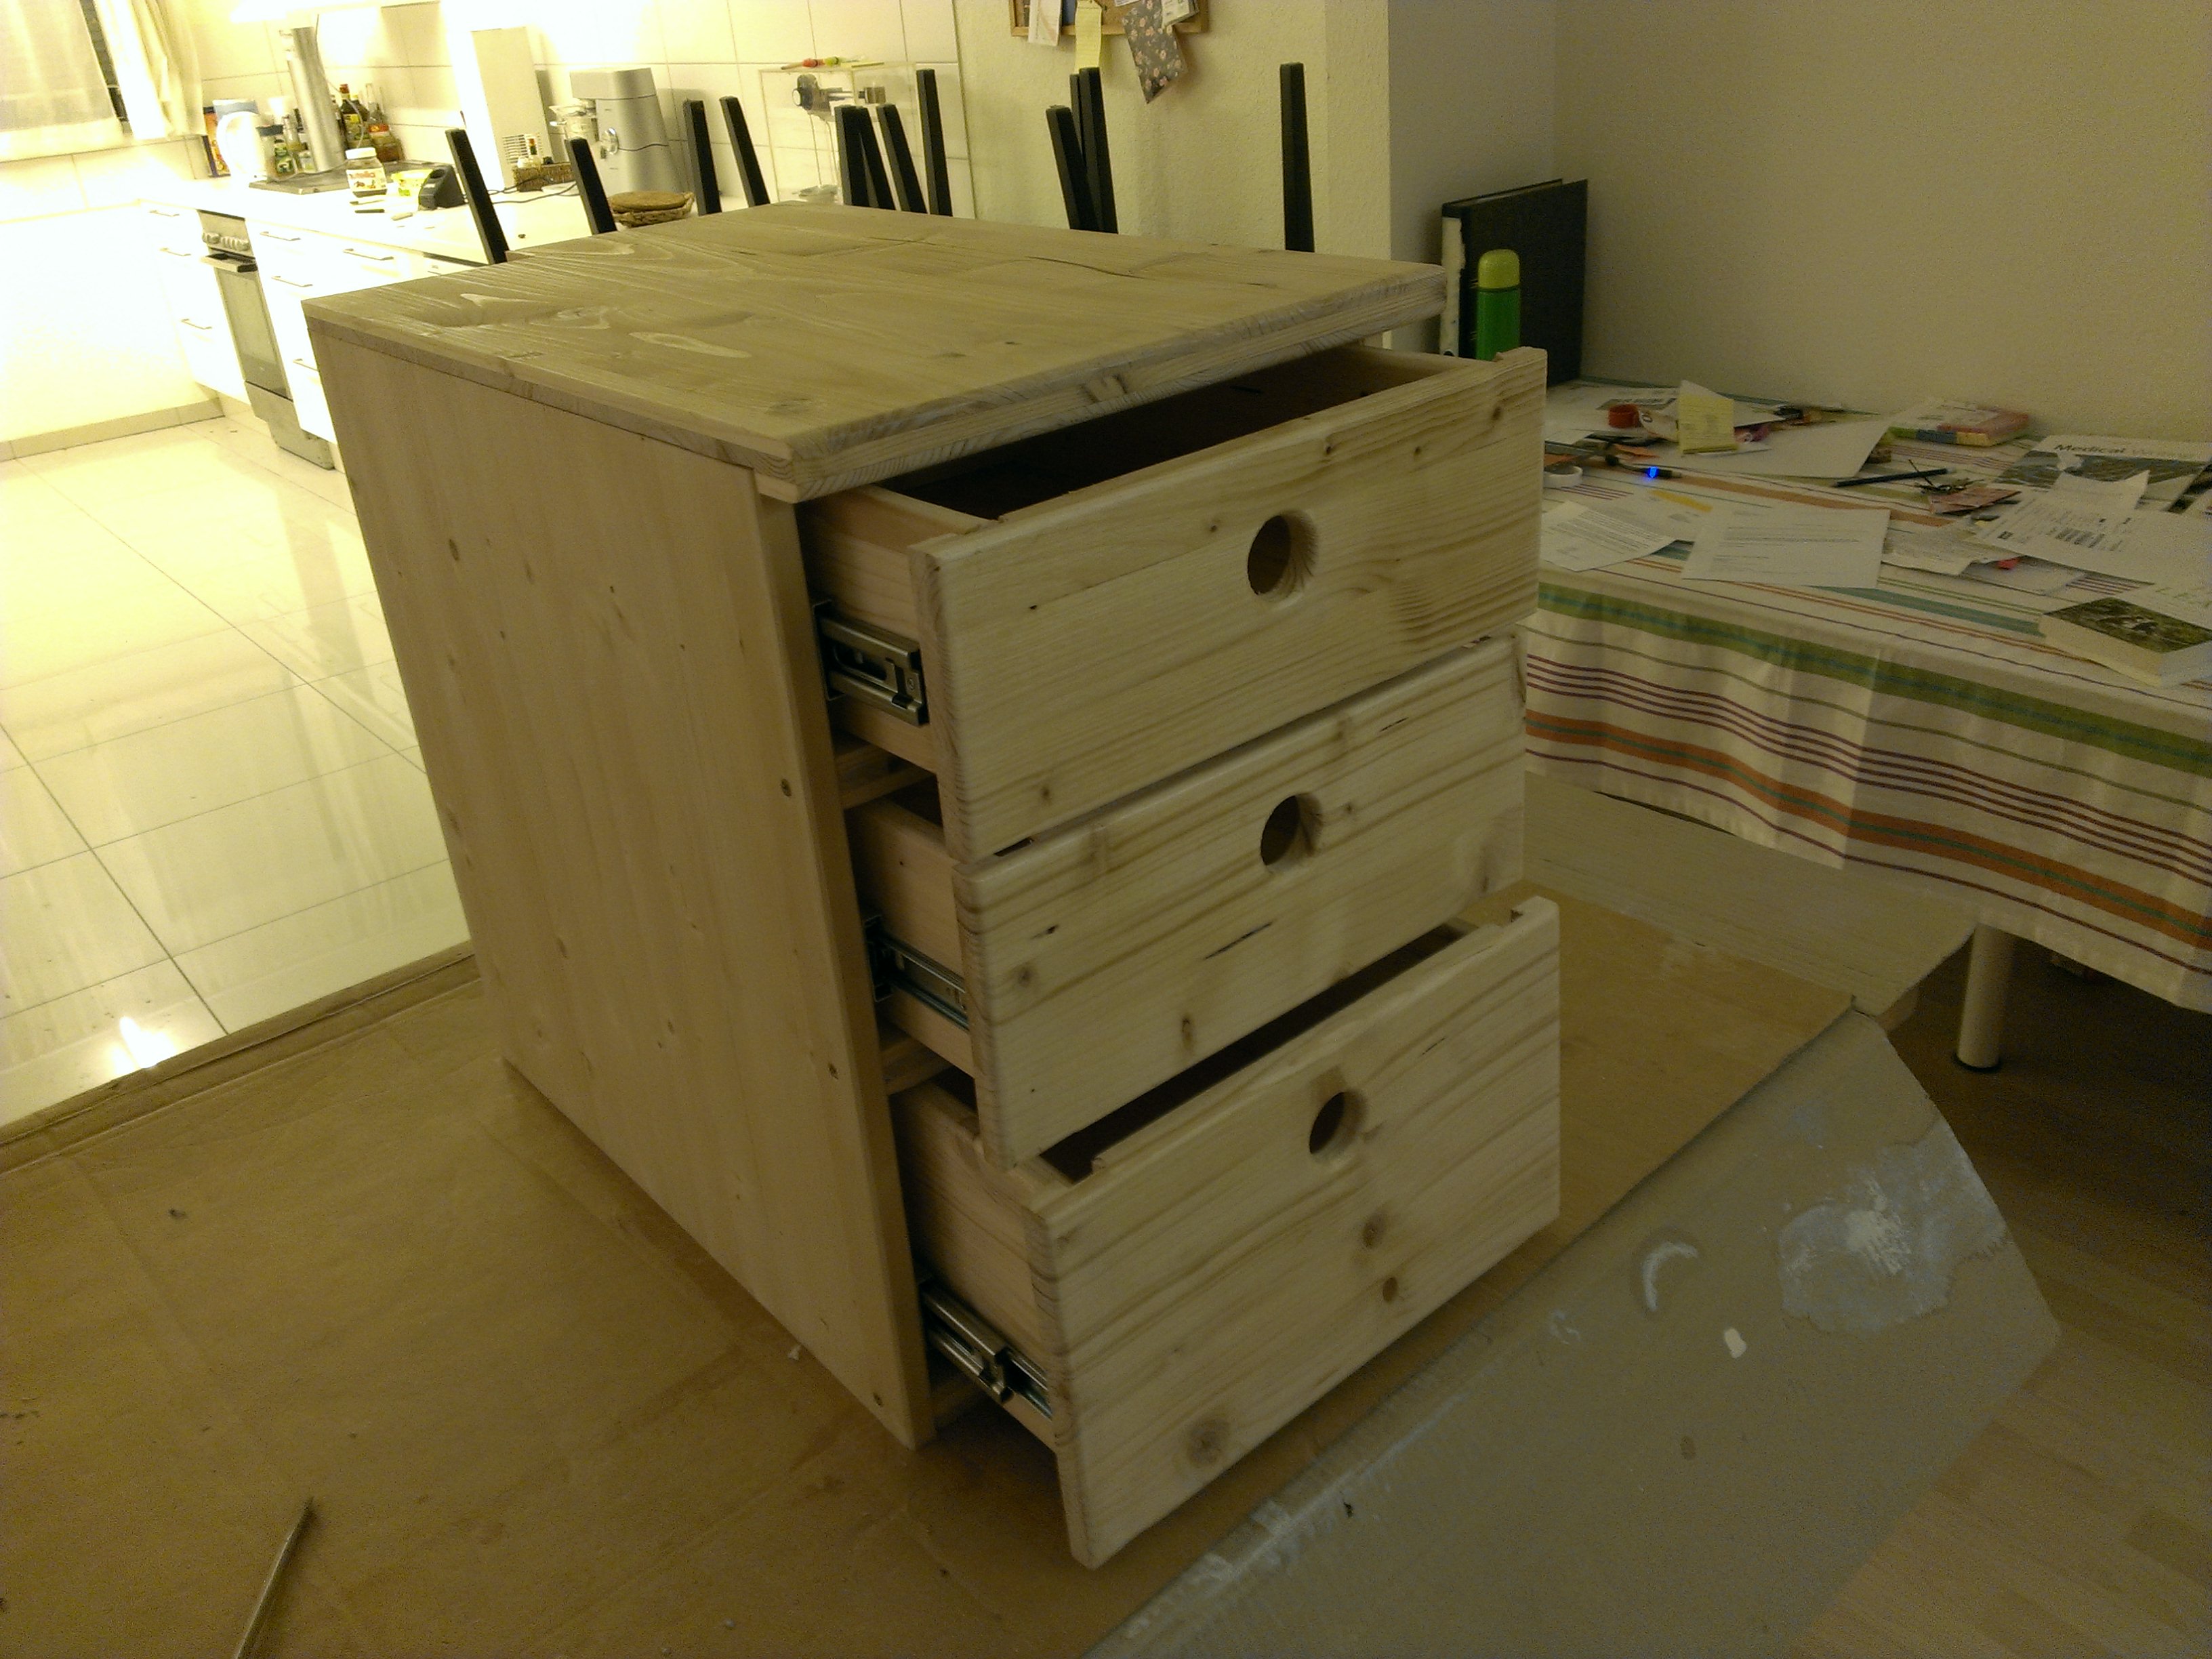
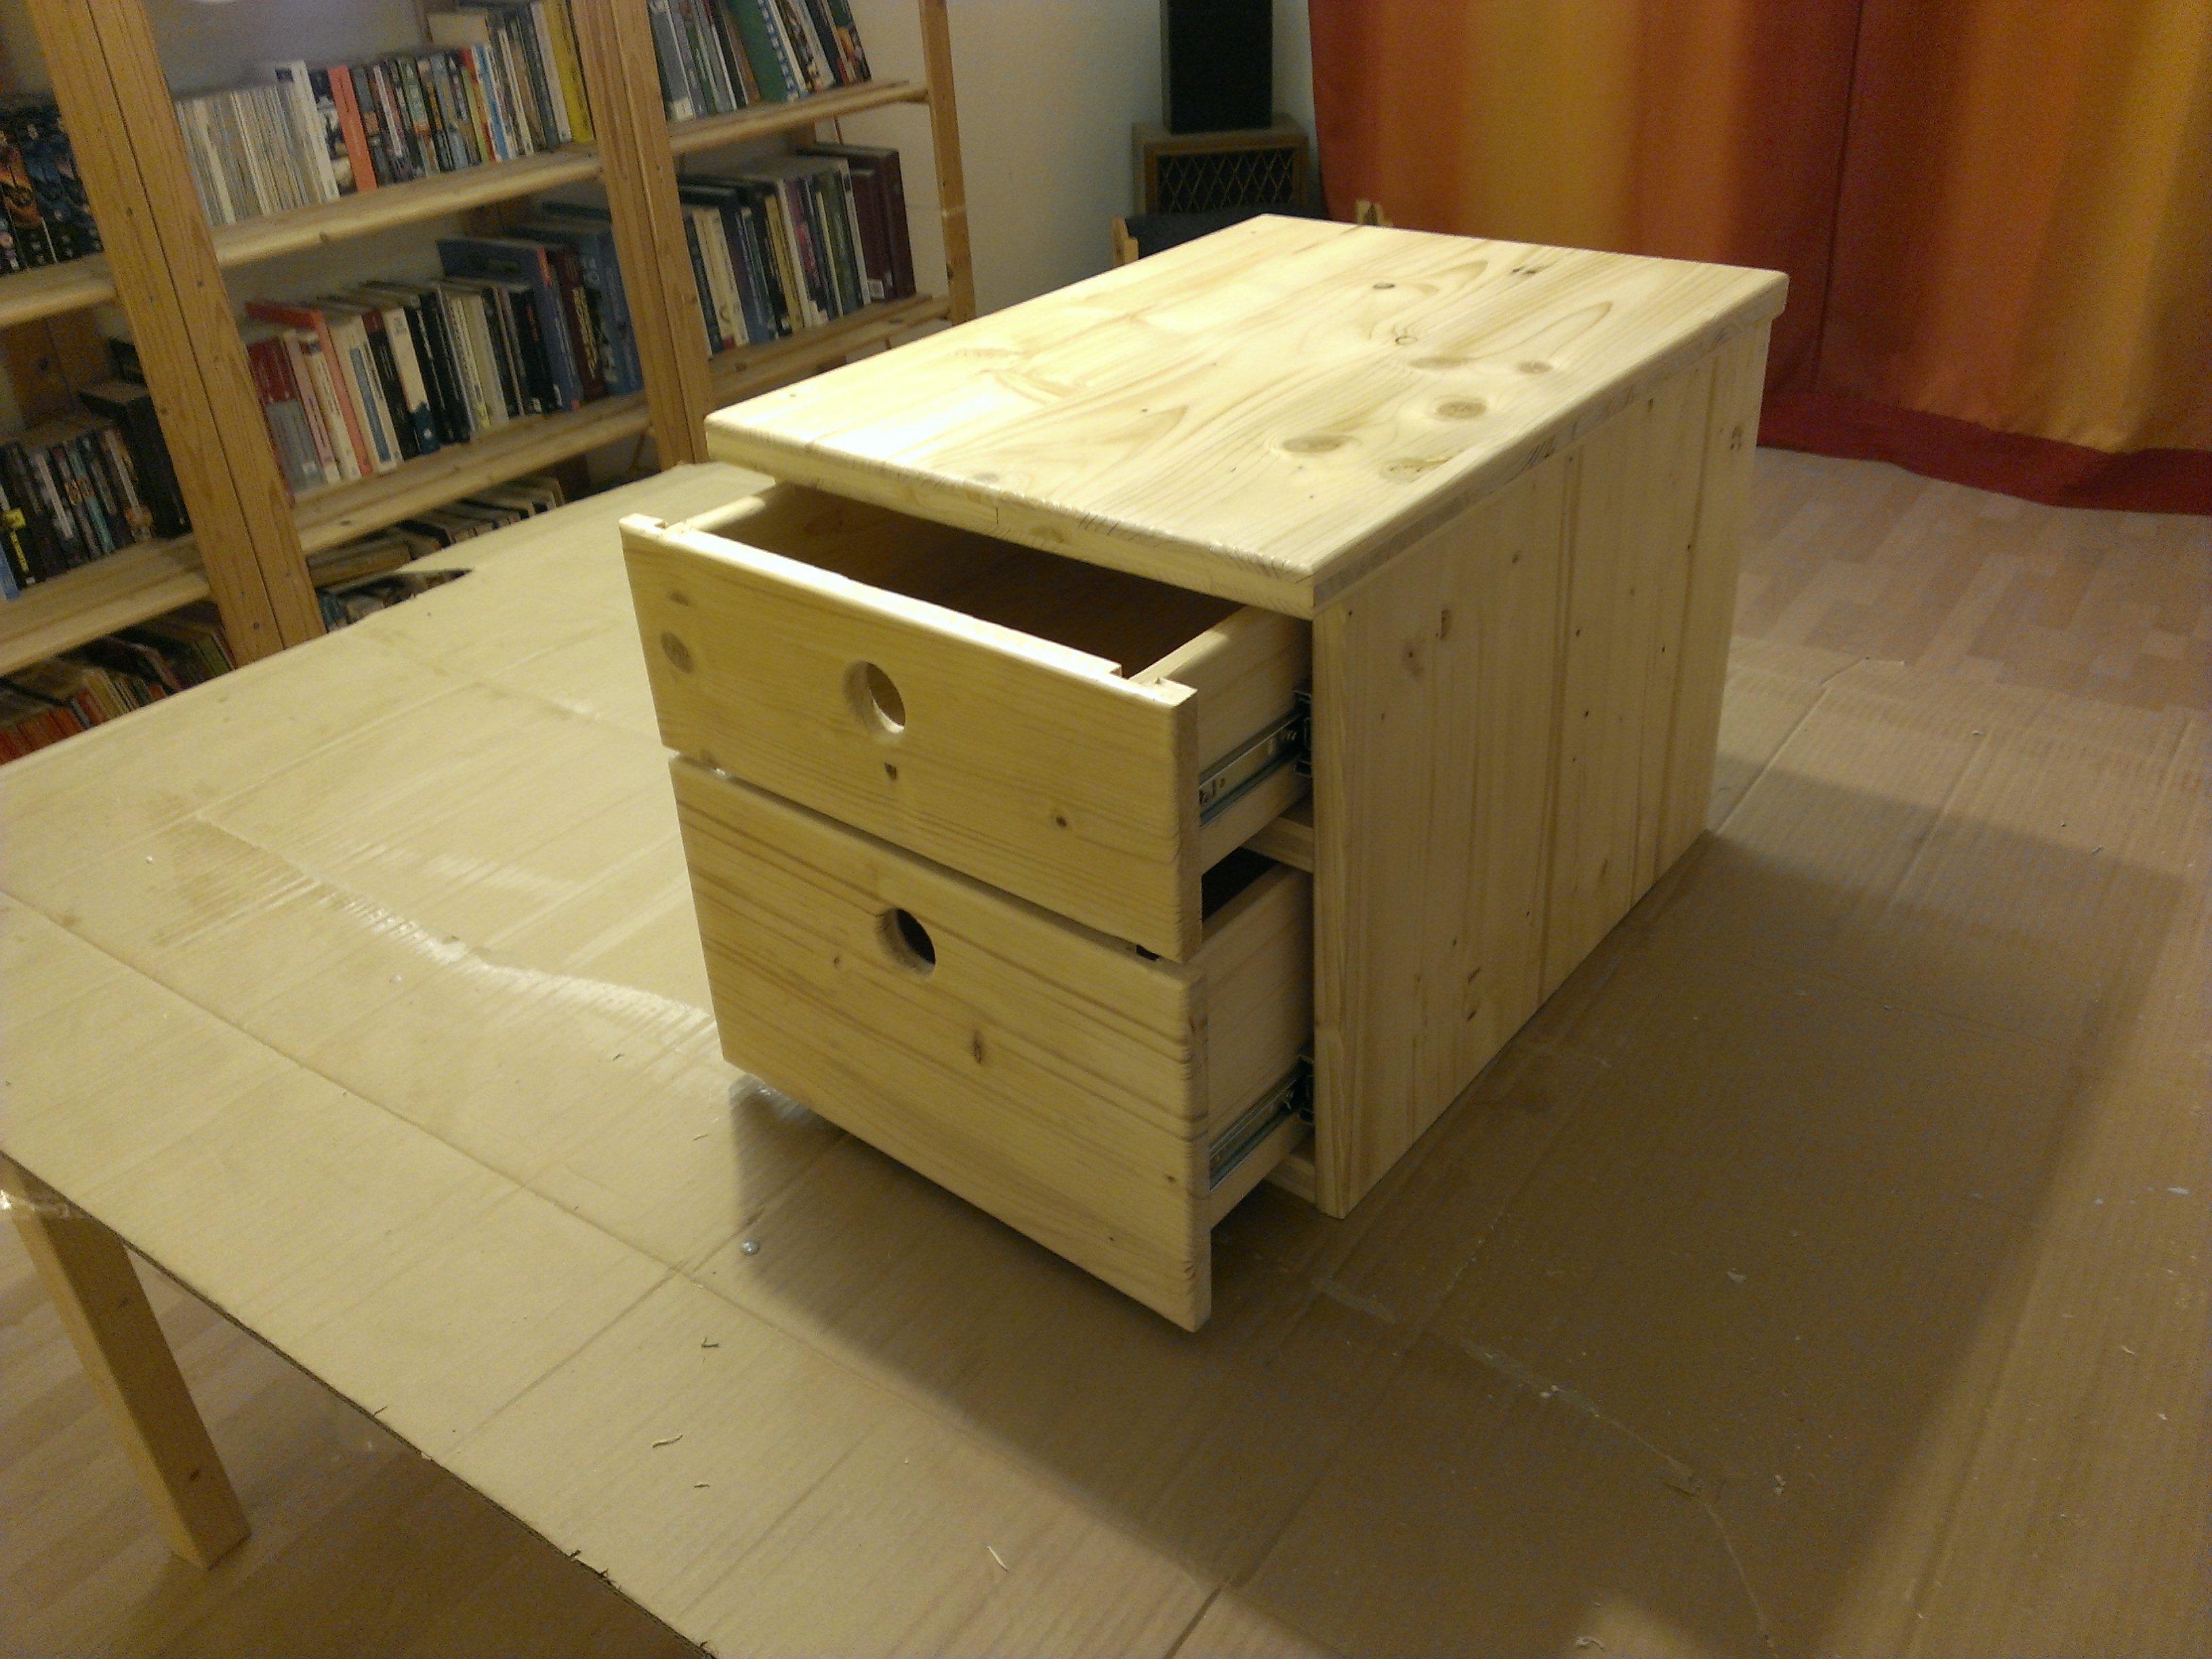
The side walls of the three cabinets
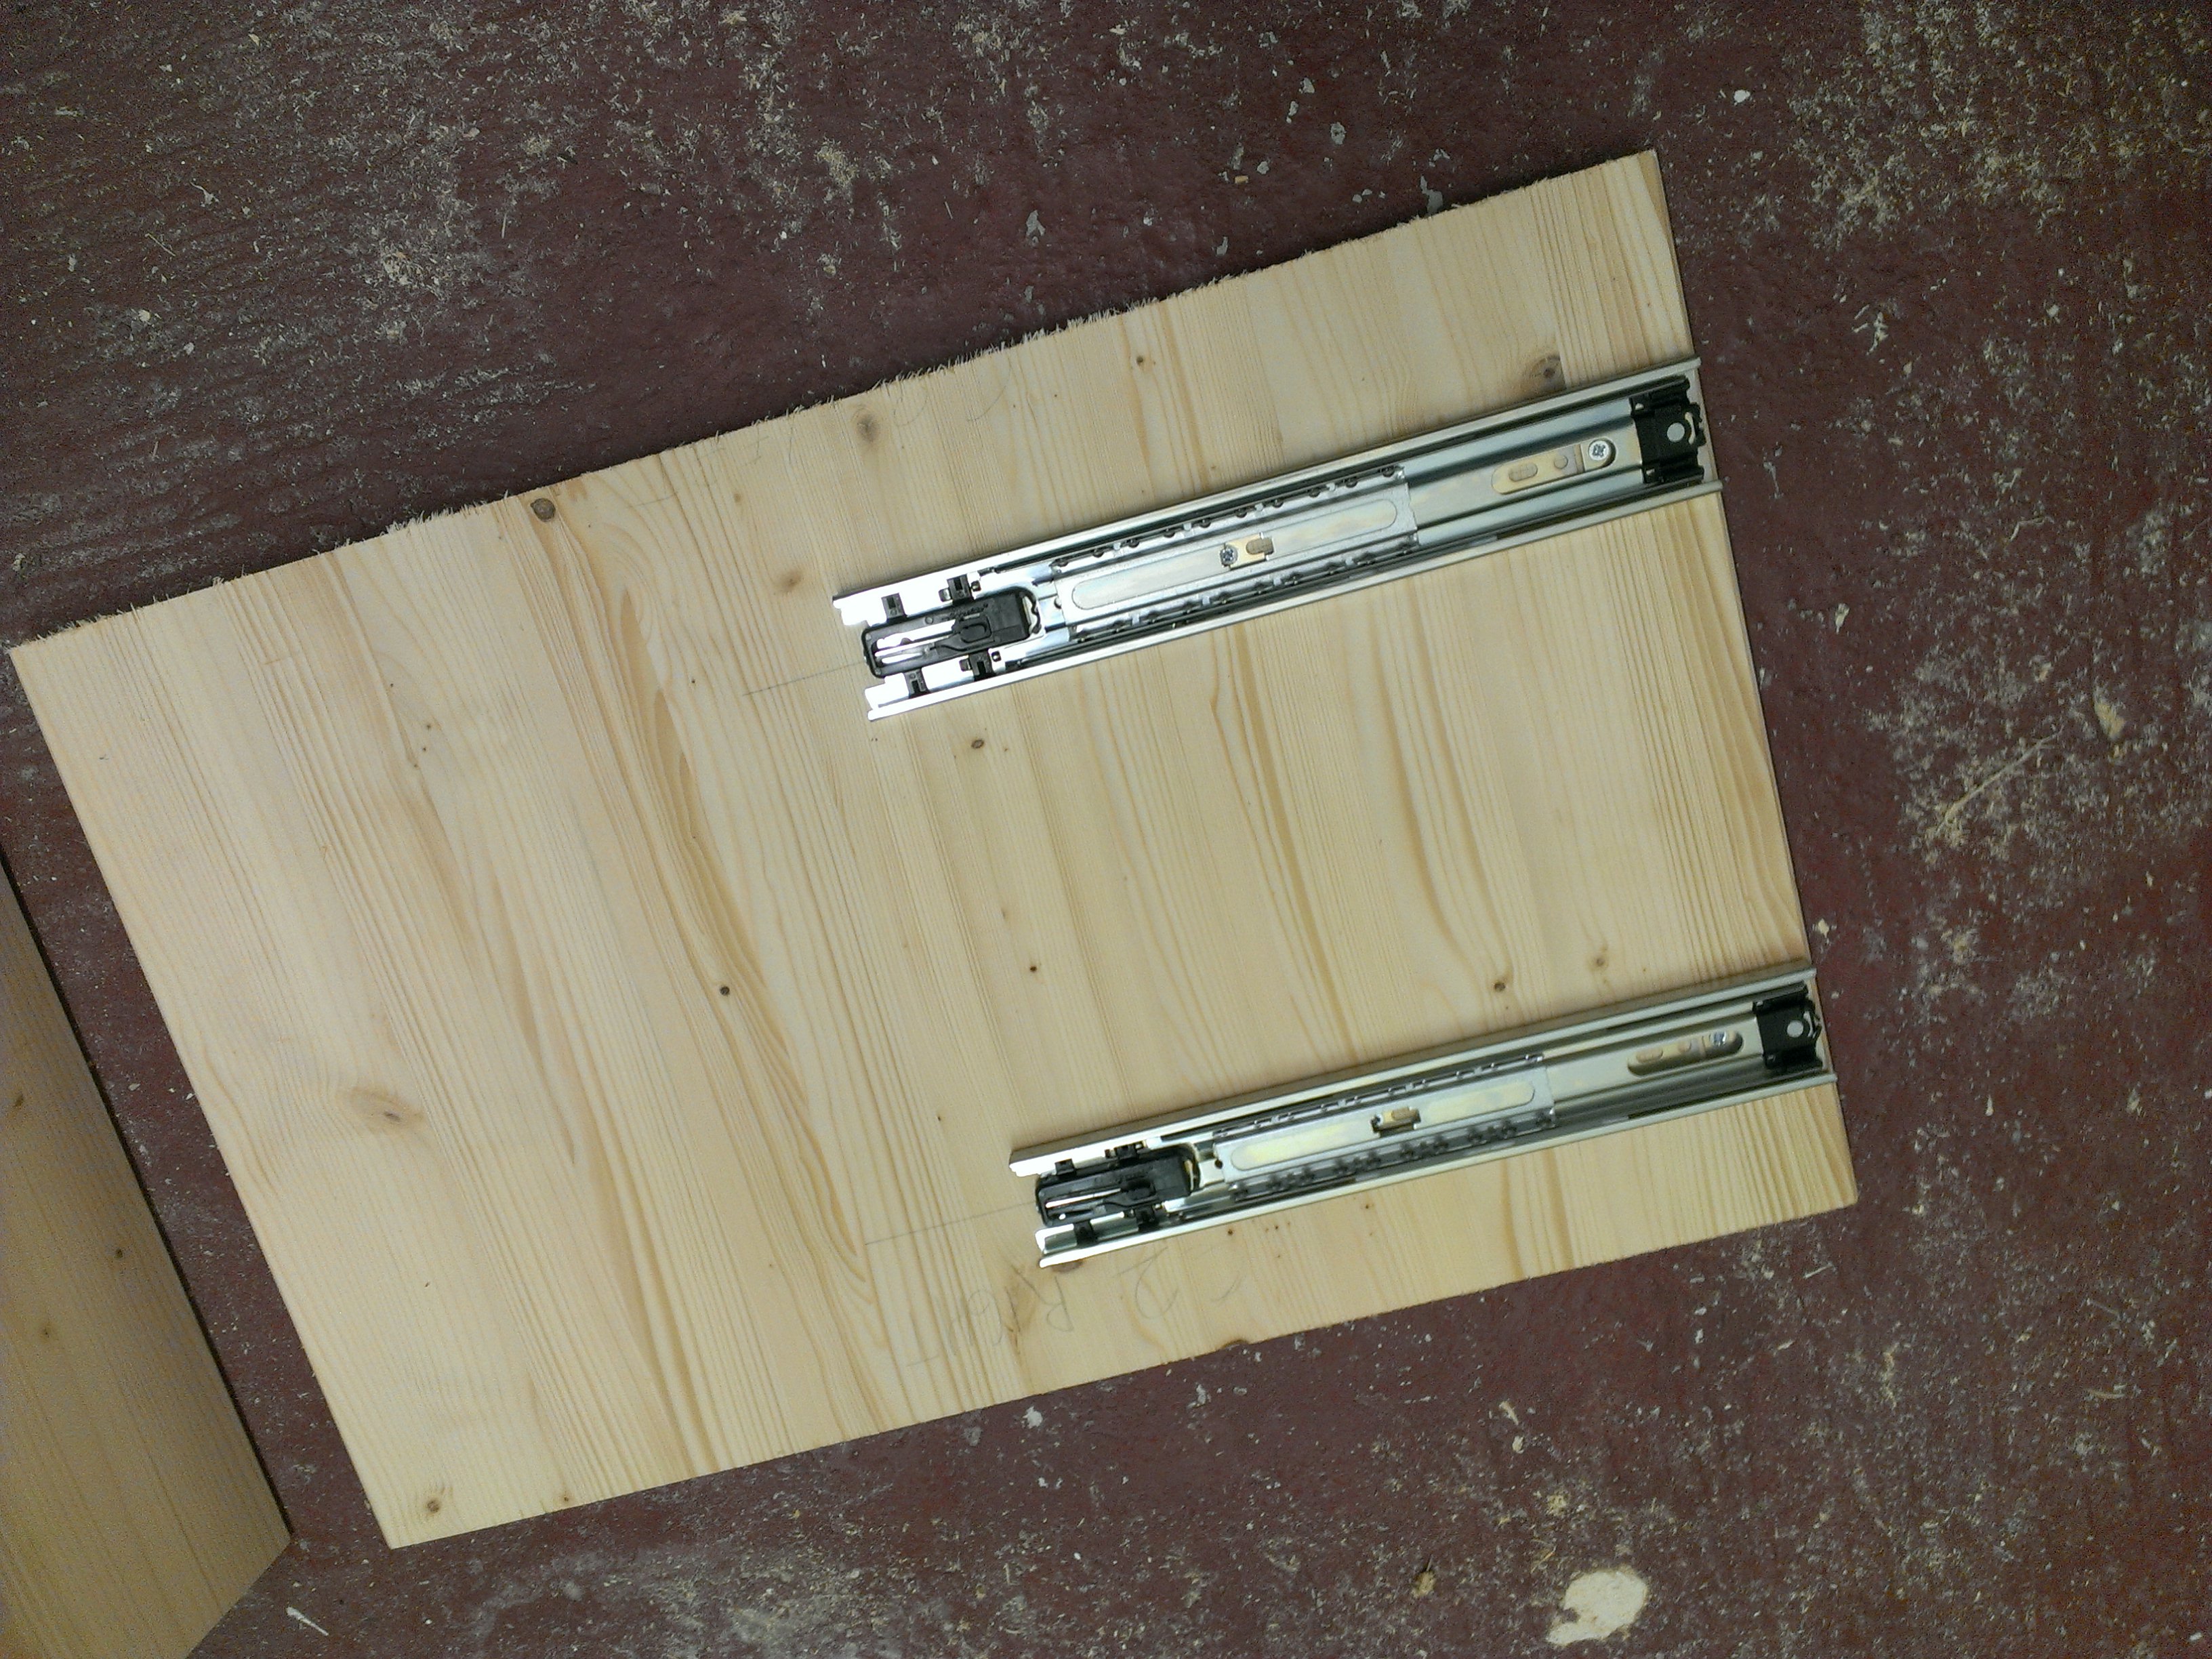
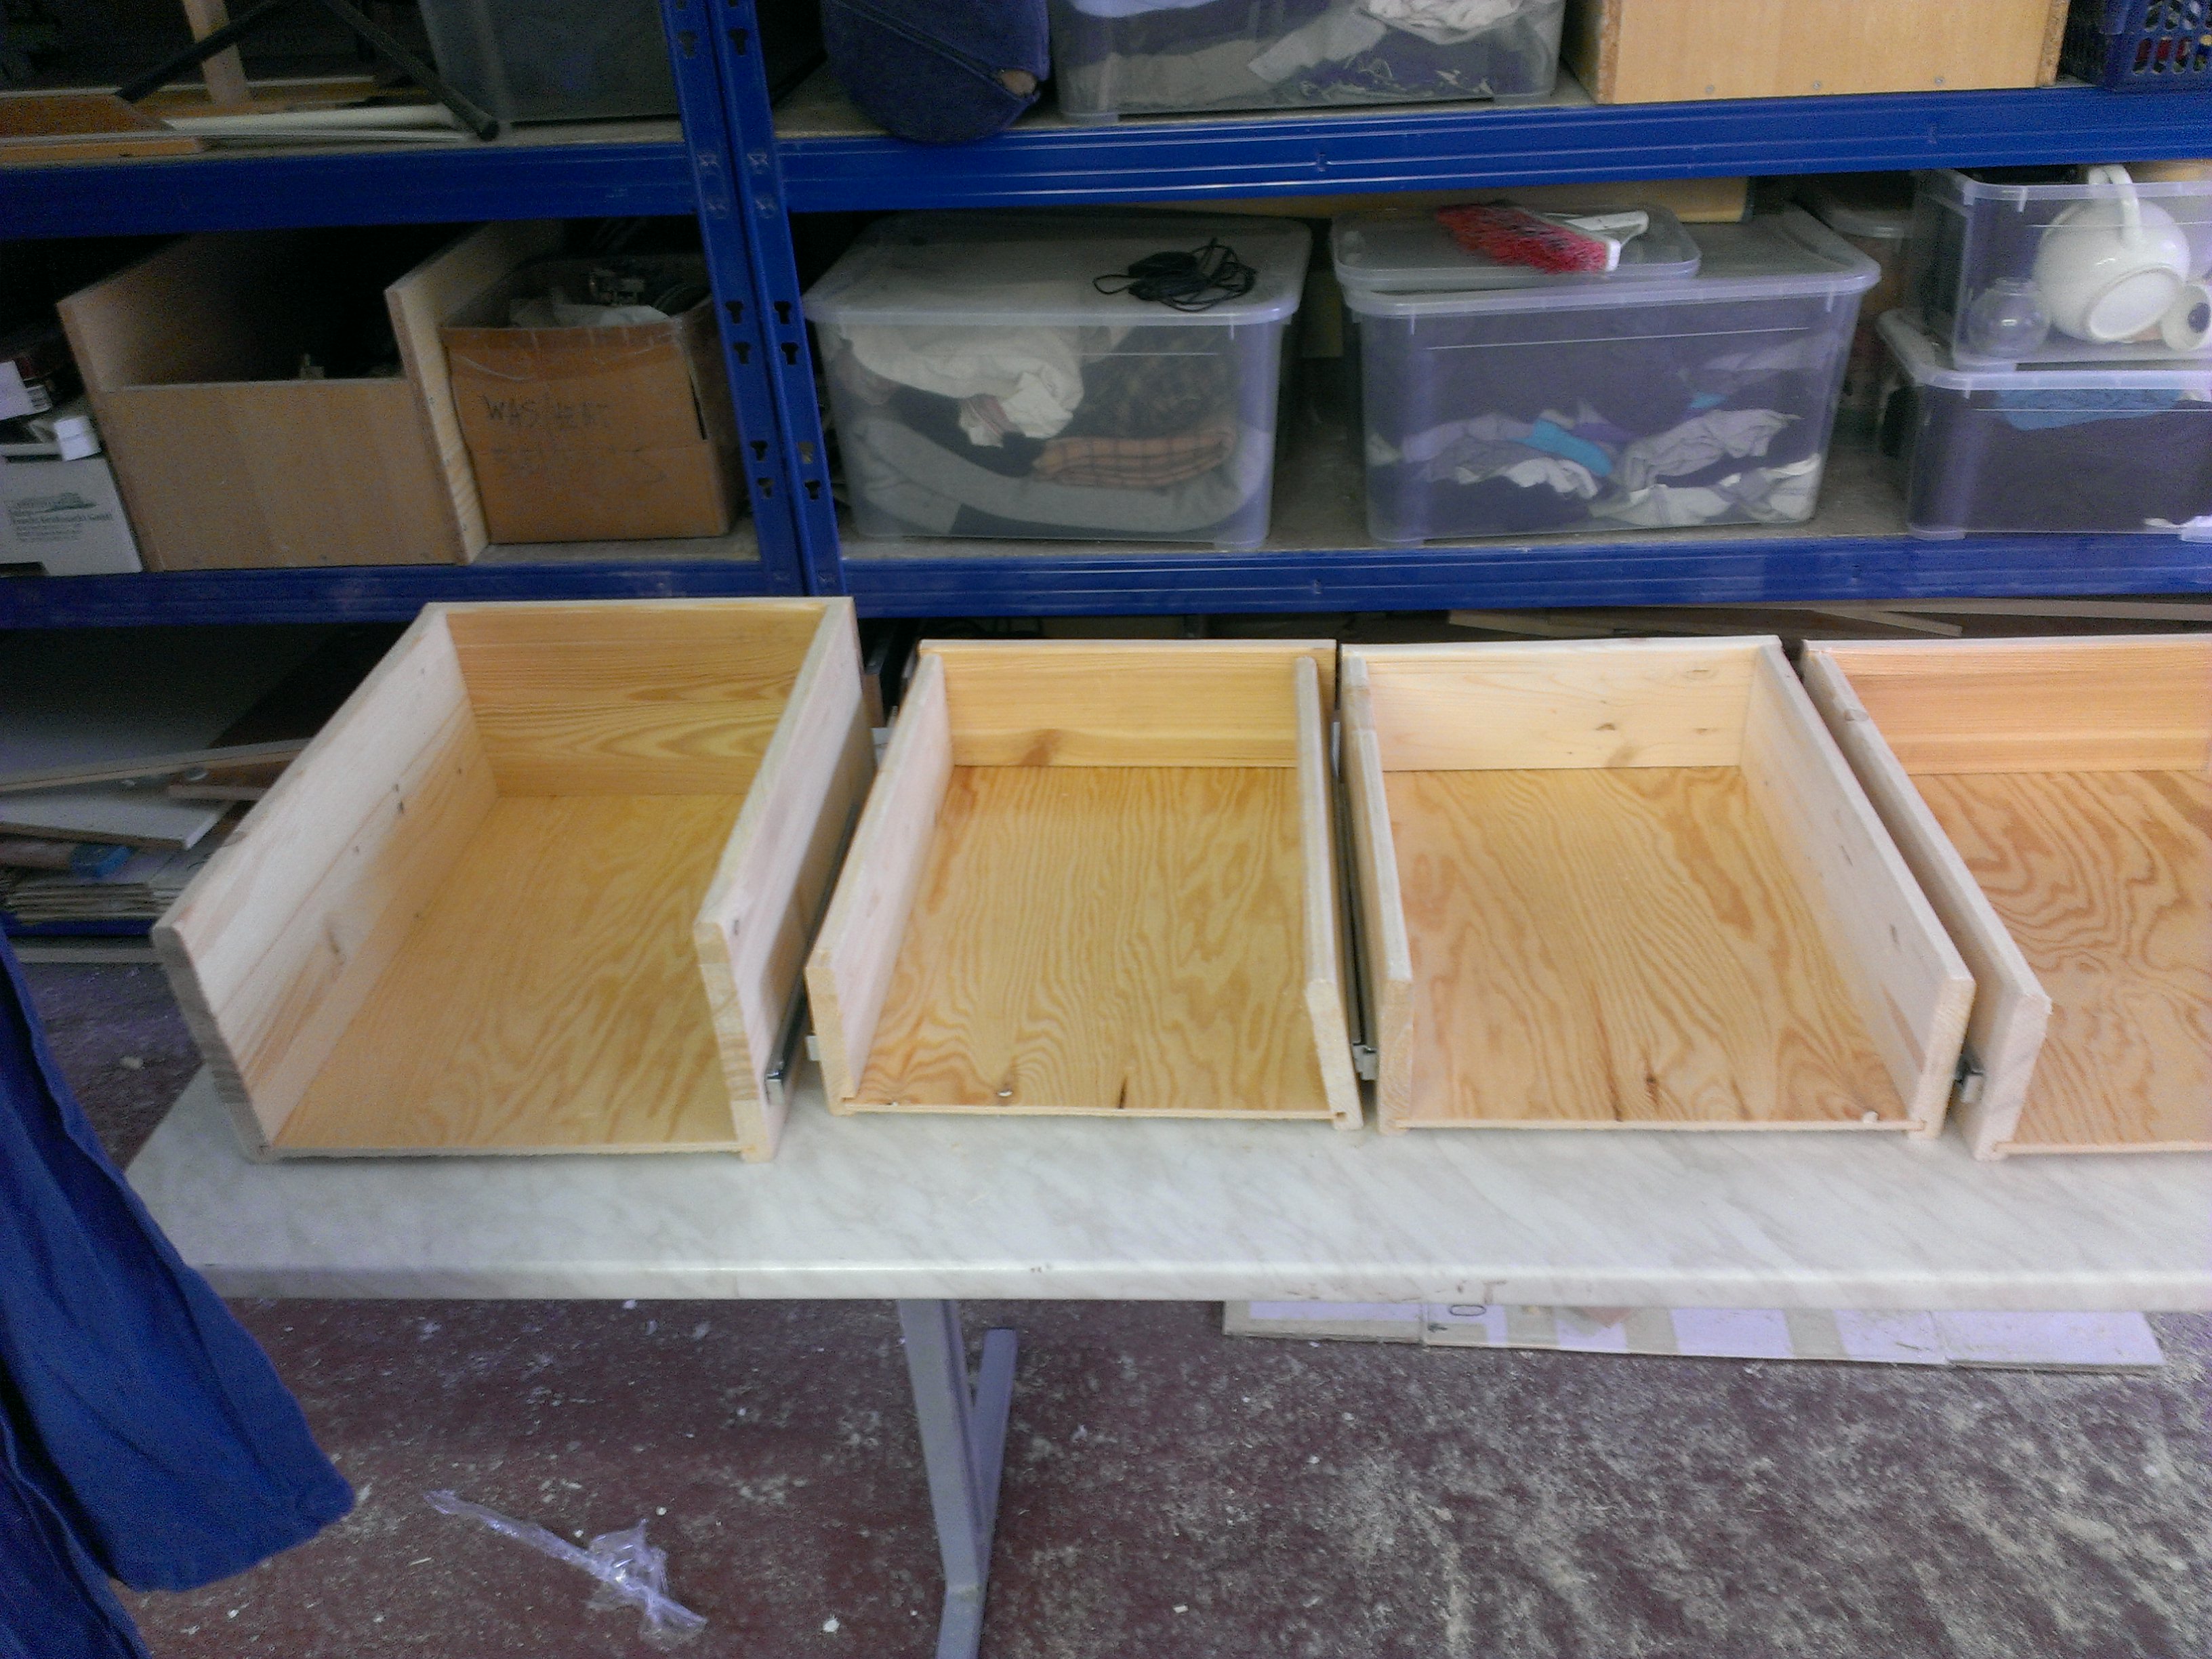
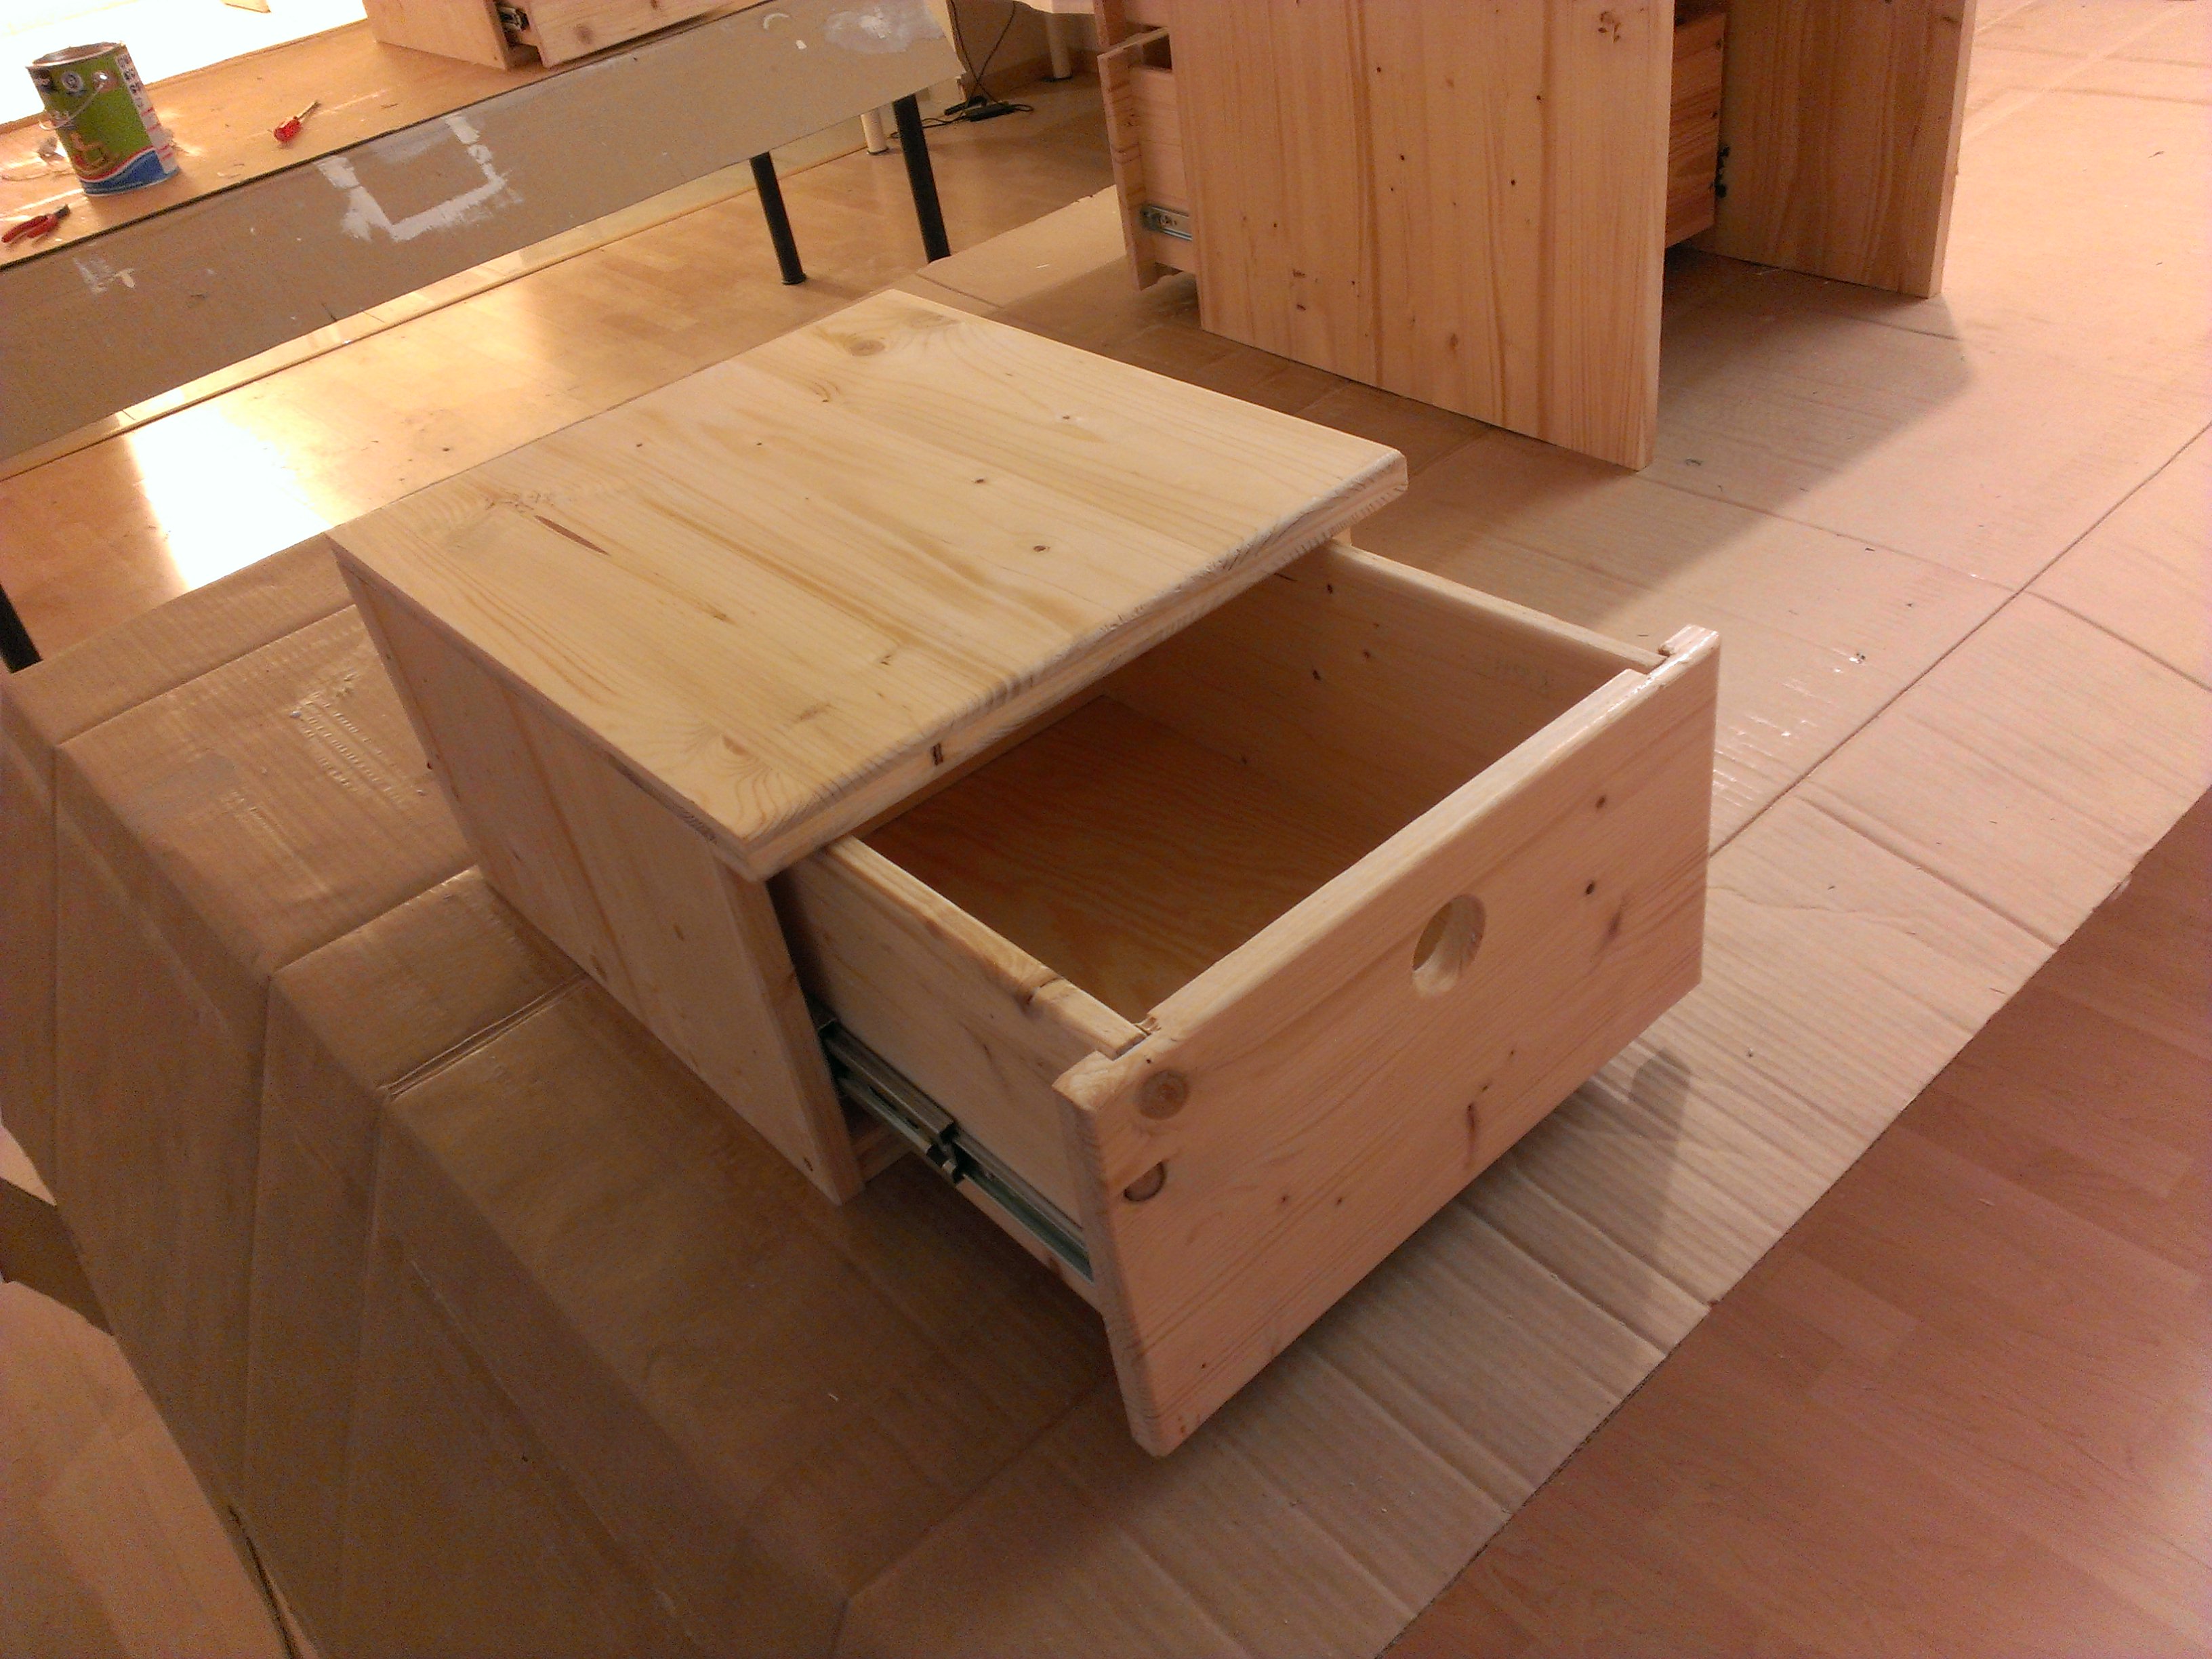
The drawers:
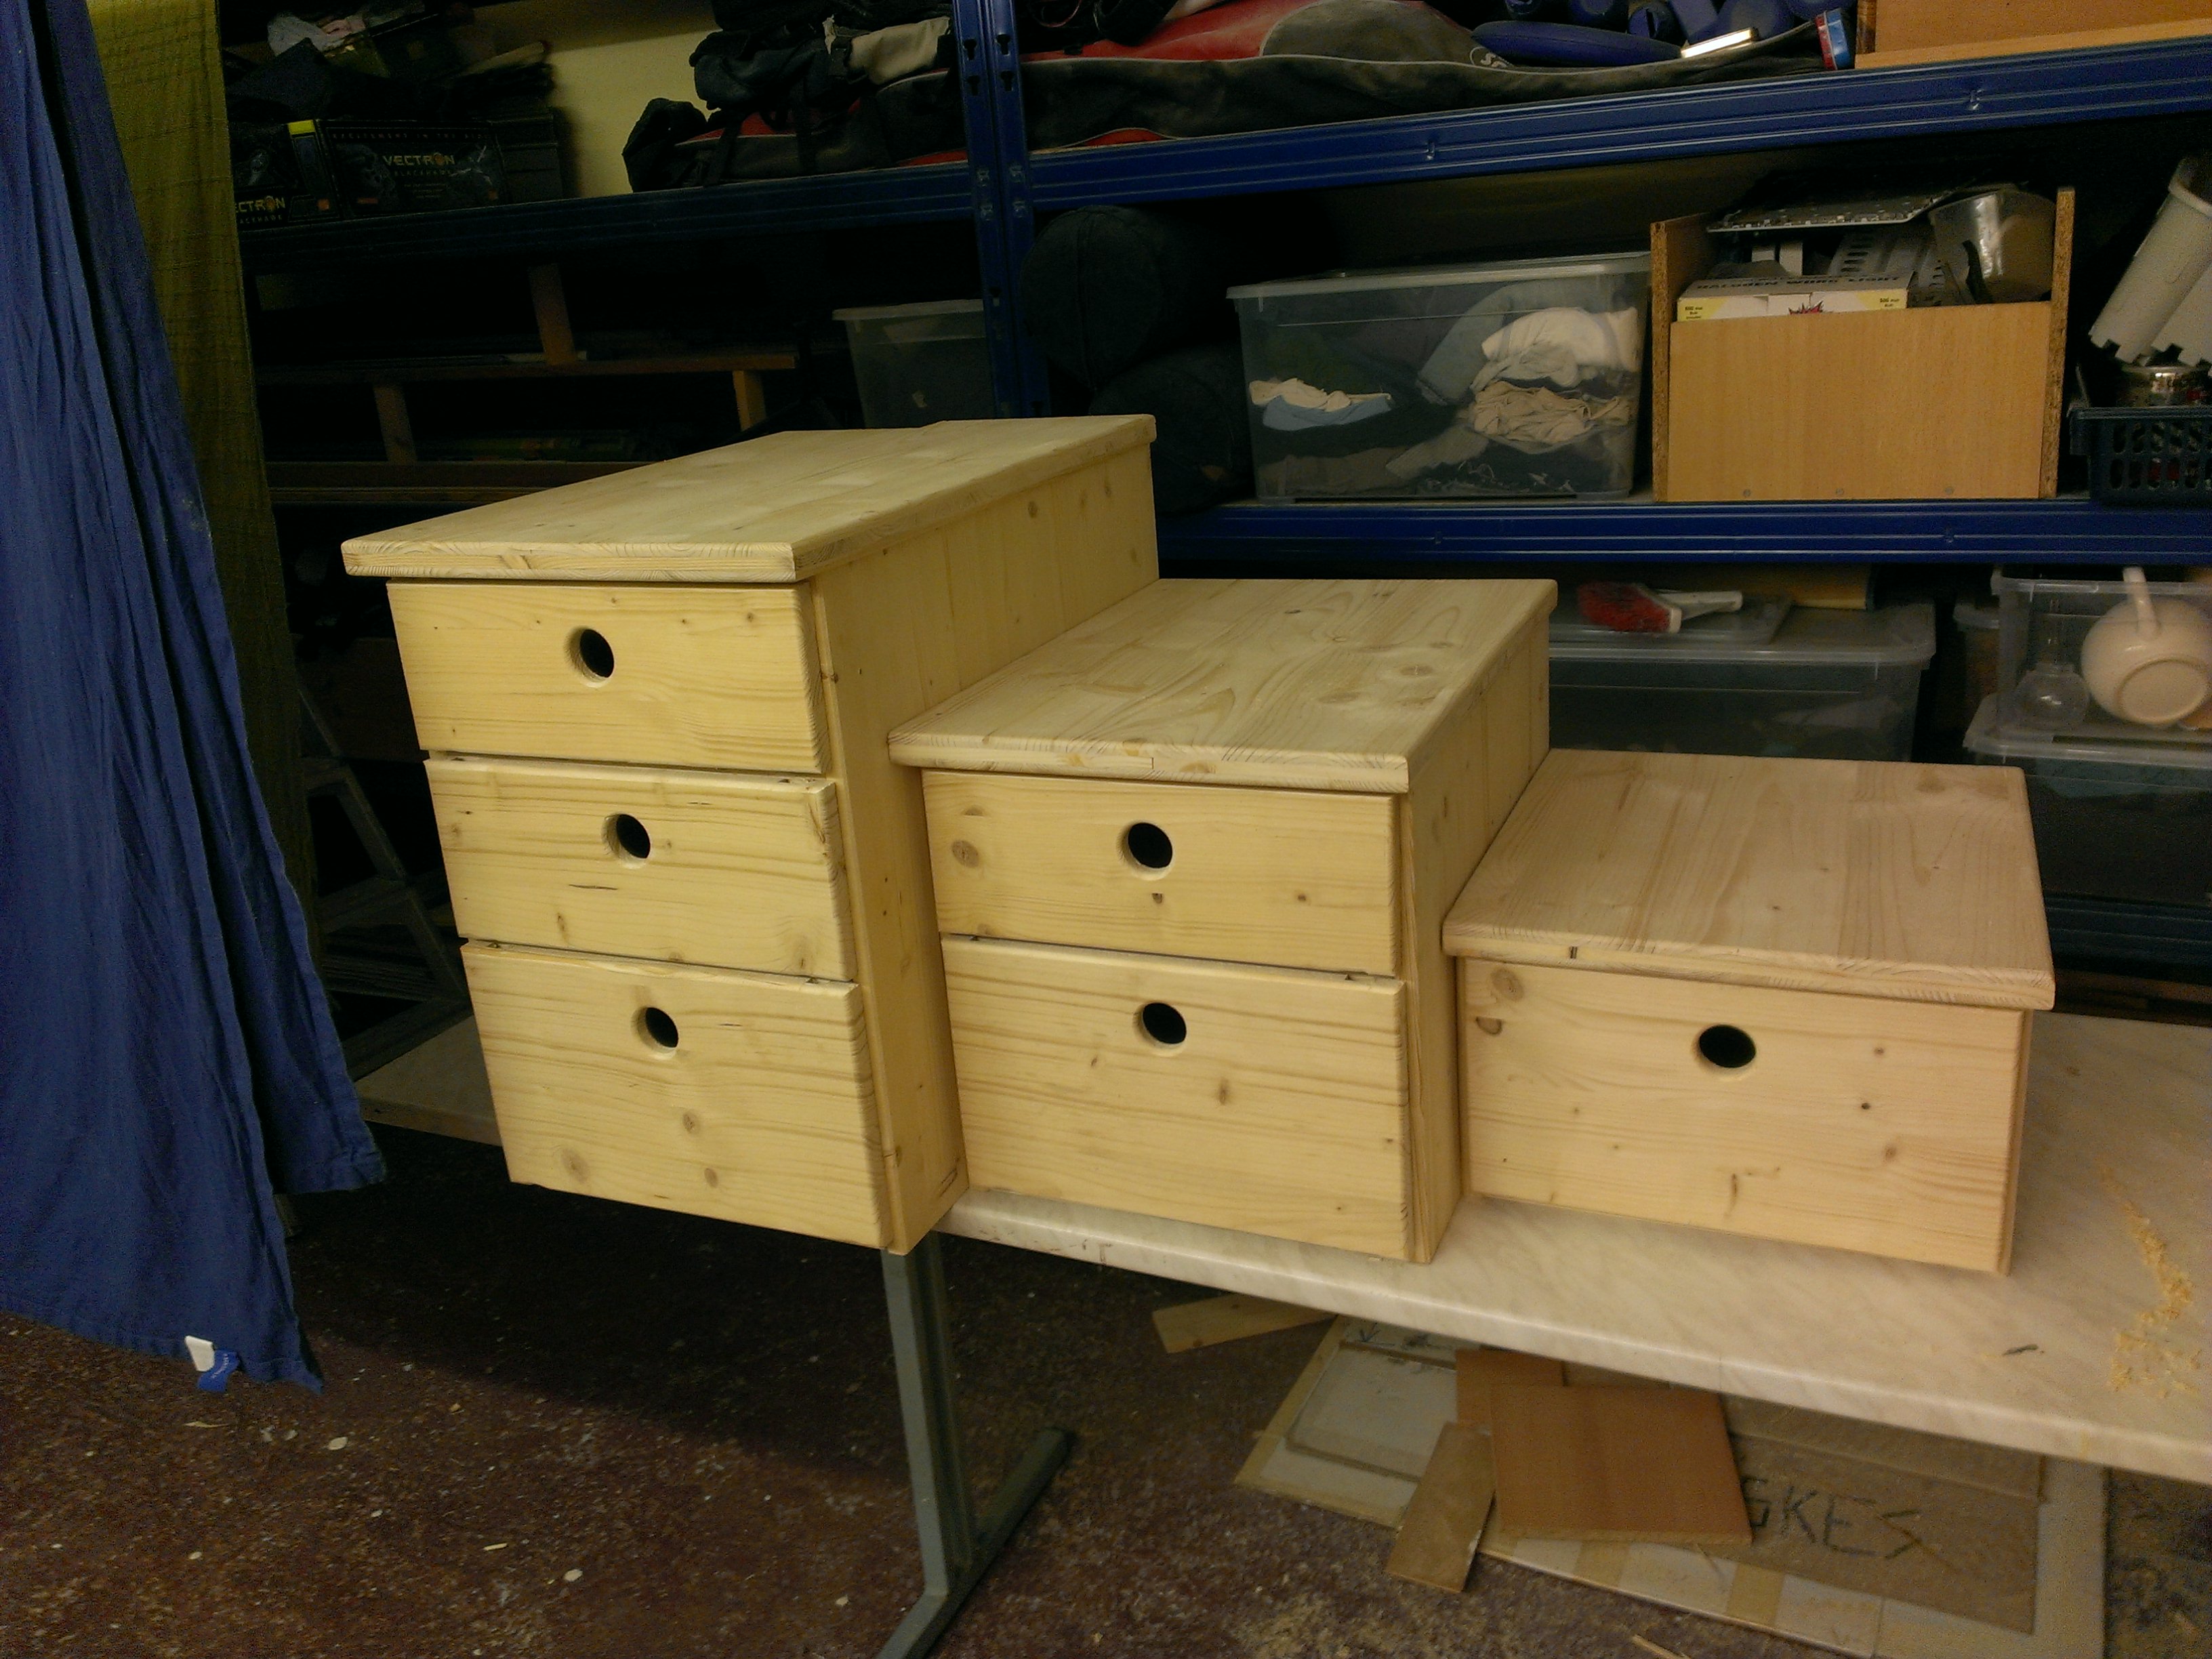
Everything put together:

