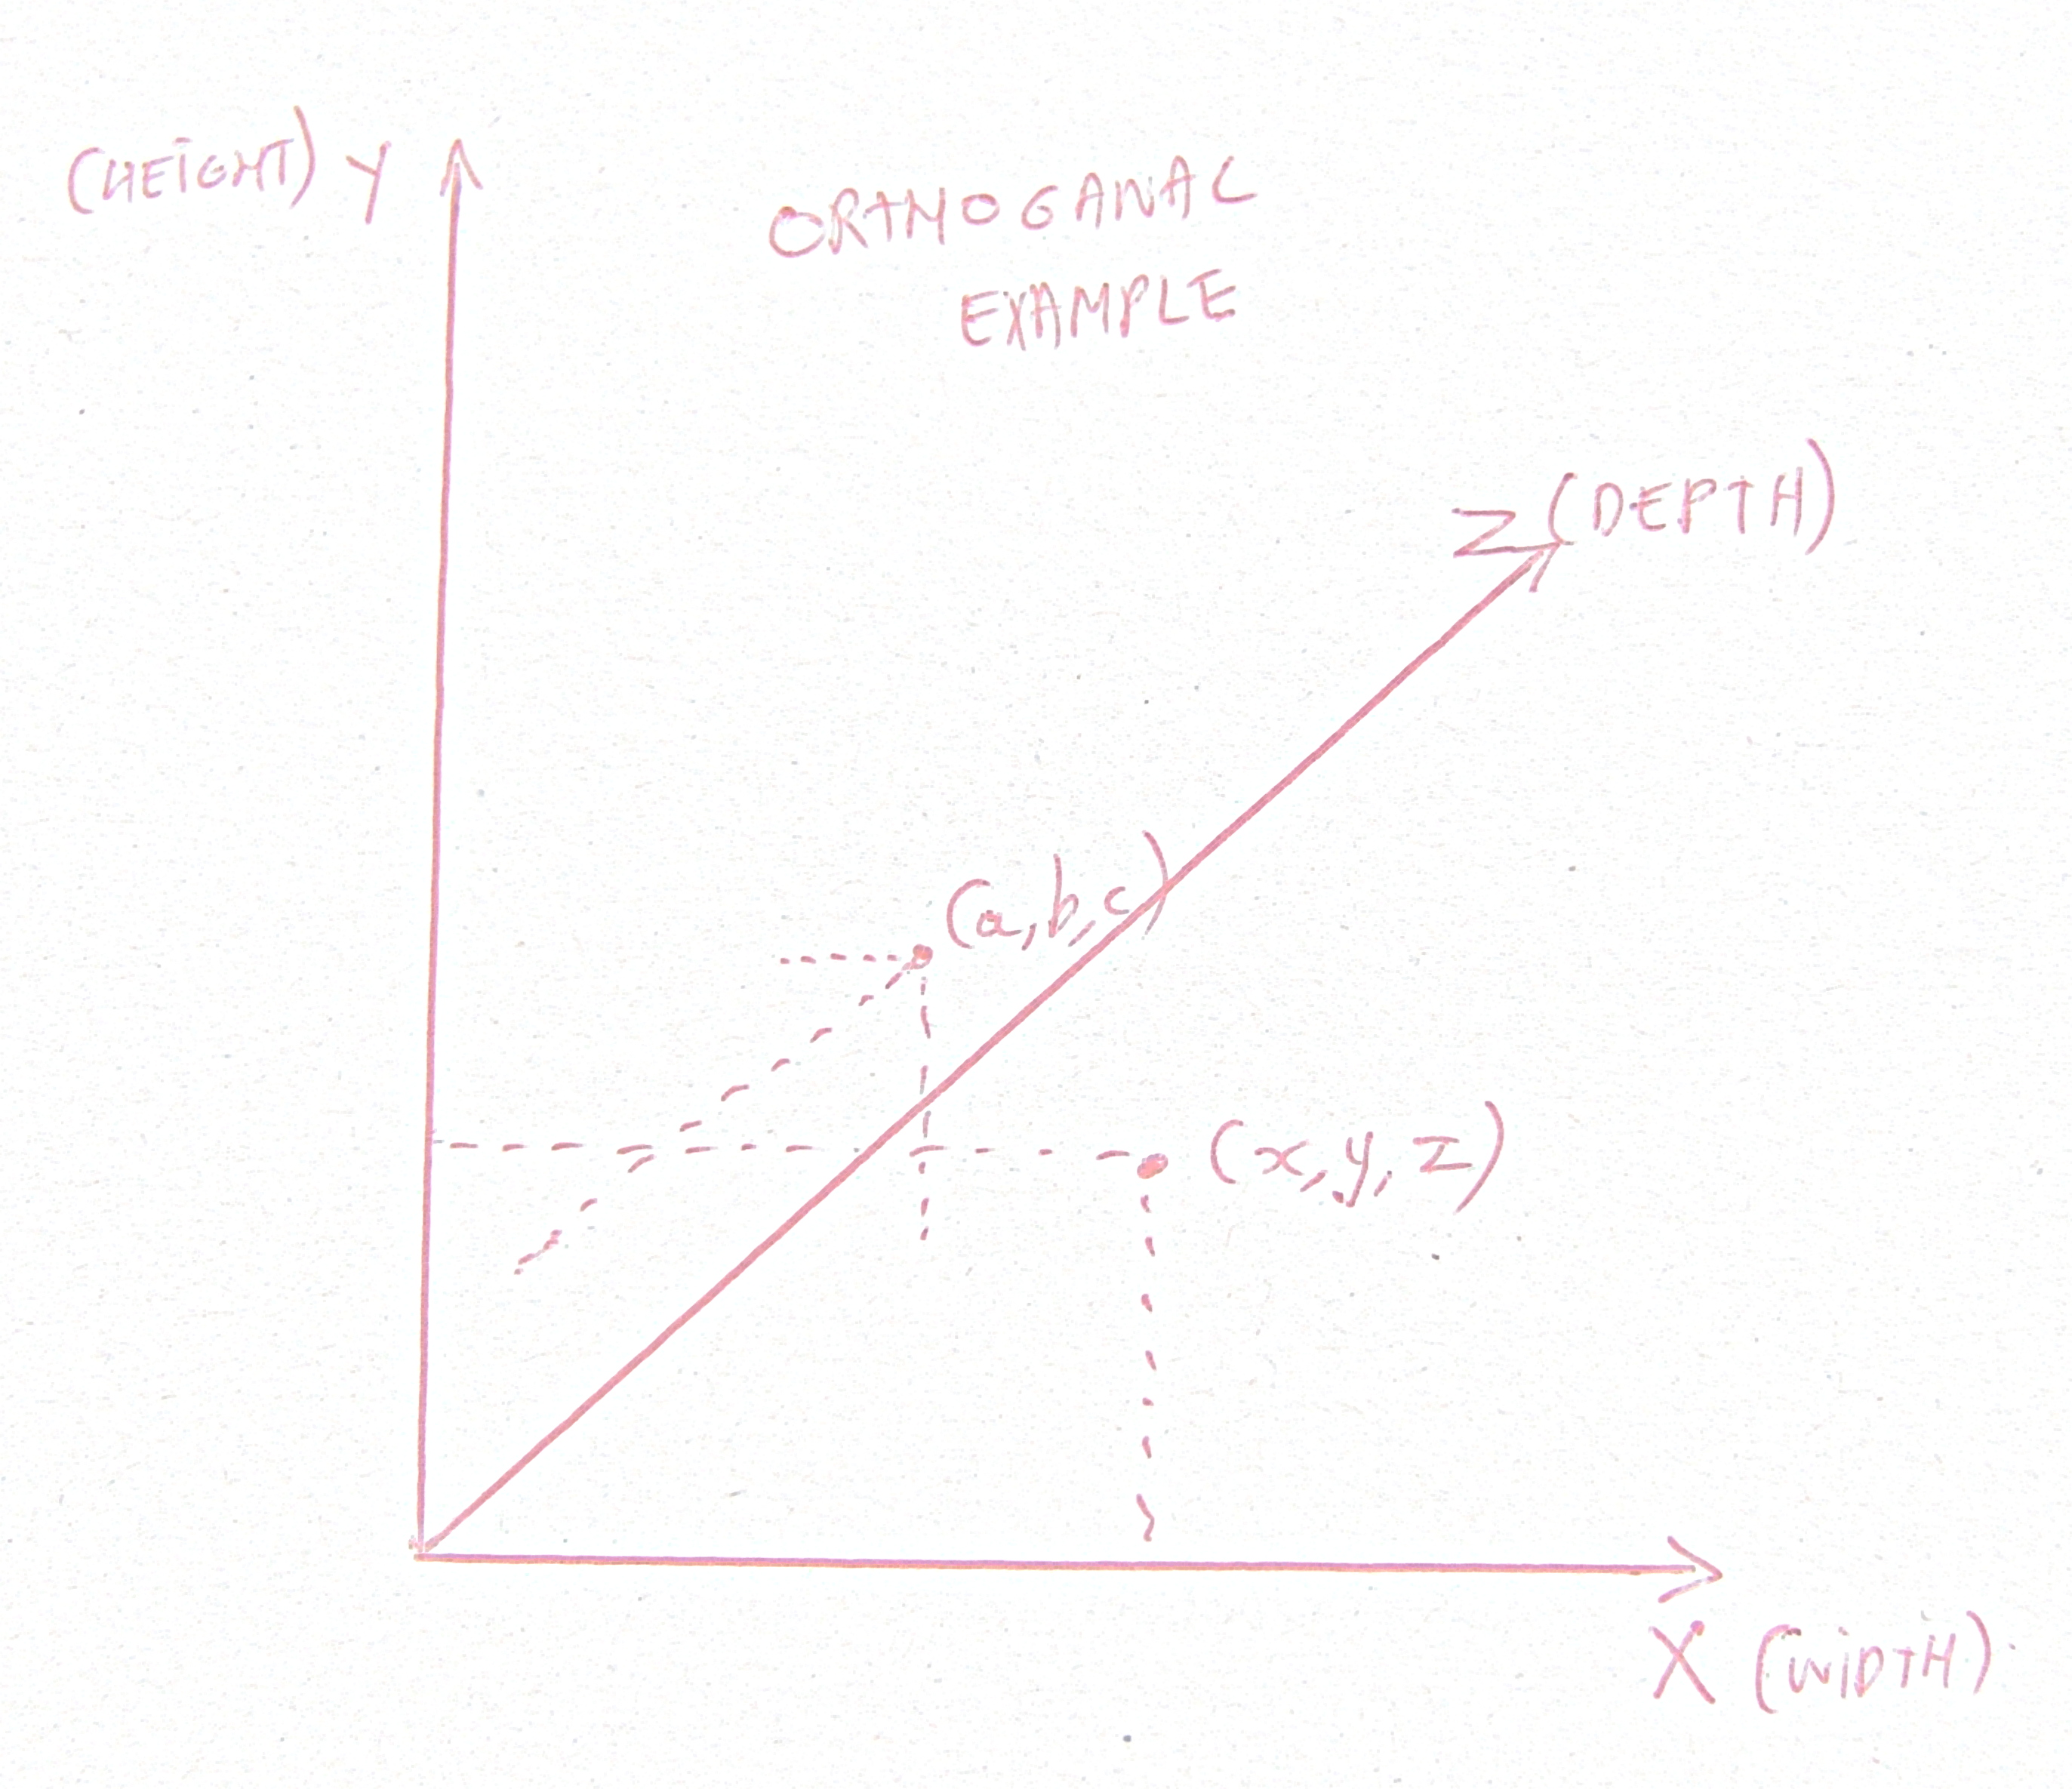
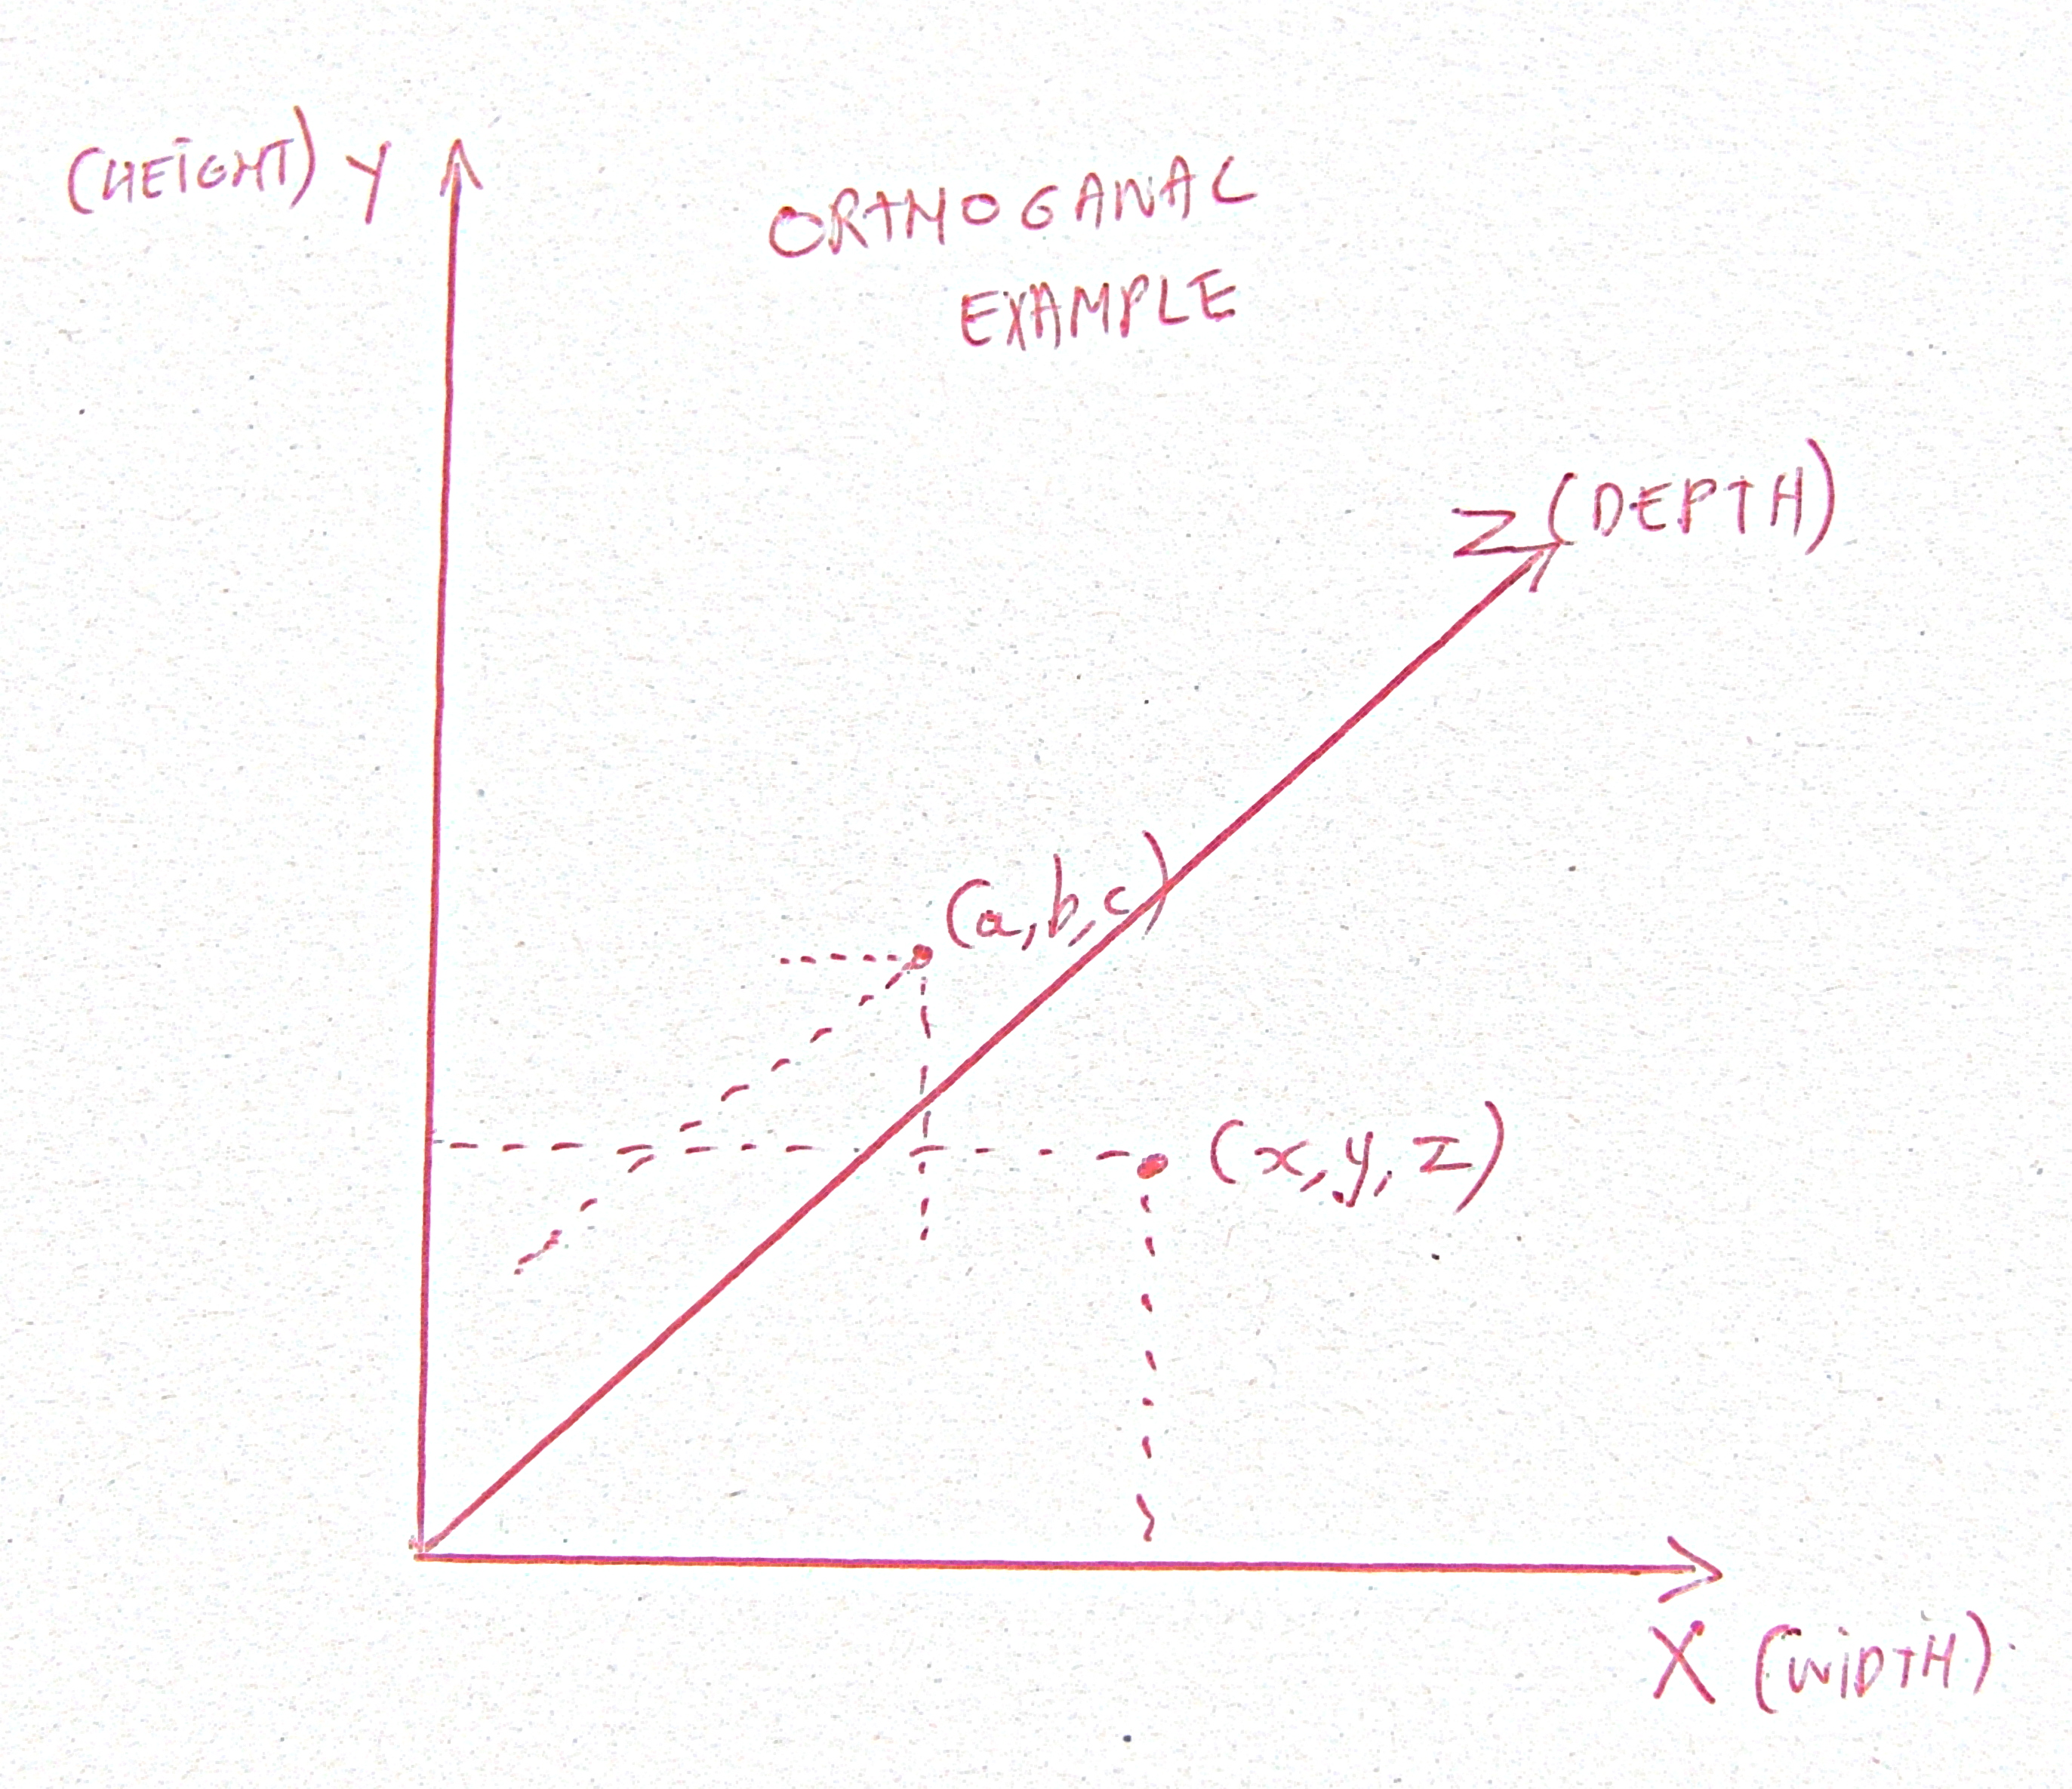
Original Photo
Value Propagation
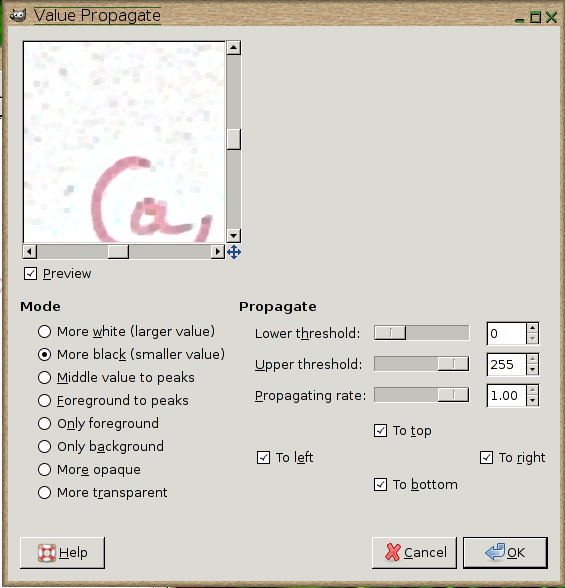
The first step we perform is to propagate dark values. This can be found in the Gimp menu Filters | Distorts | Value Propagate. The settings are shown below
The total image after this step has a more consistent value distribution throughout the writing. This is better visible if we look in detail at the text.
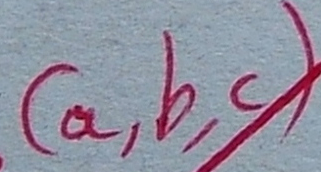 |
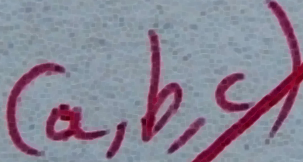 |
| Without dark value propagation | with dark value propagation |
Edge detection
The next step is an edge detection step based on the difference of Gaussians. This edge detection step will effectively make the background (which is currenltky still a bit grey) white. This is done with Gimp in Filters | Edge Detect | Difference of Gaussians. The settings are shown below
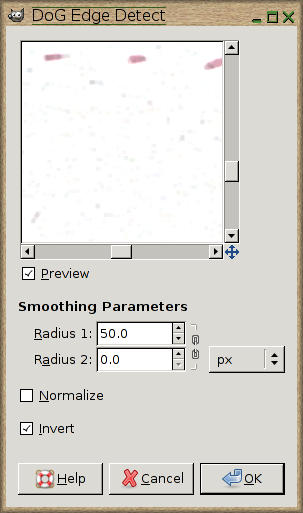
The effect on our example is shown below
An obvious effect of this operation is that the image becomes lighter in general
Light Intensitity
To solve this problem we apply an histogram normalization. In gimp this is in Colors | Auto | Normalize. The result:
Removing the speckle
The remaining speckle can be removed with a selective gaussian blur. Filters | Blur | Selective Gaussian Blur.
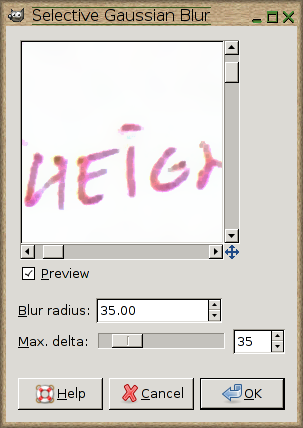
Beware that this operation can take quite some time and might only be necessary when there is some anyoying speckle present.
Crop, rotate and perspective
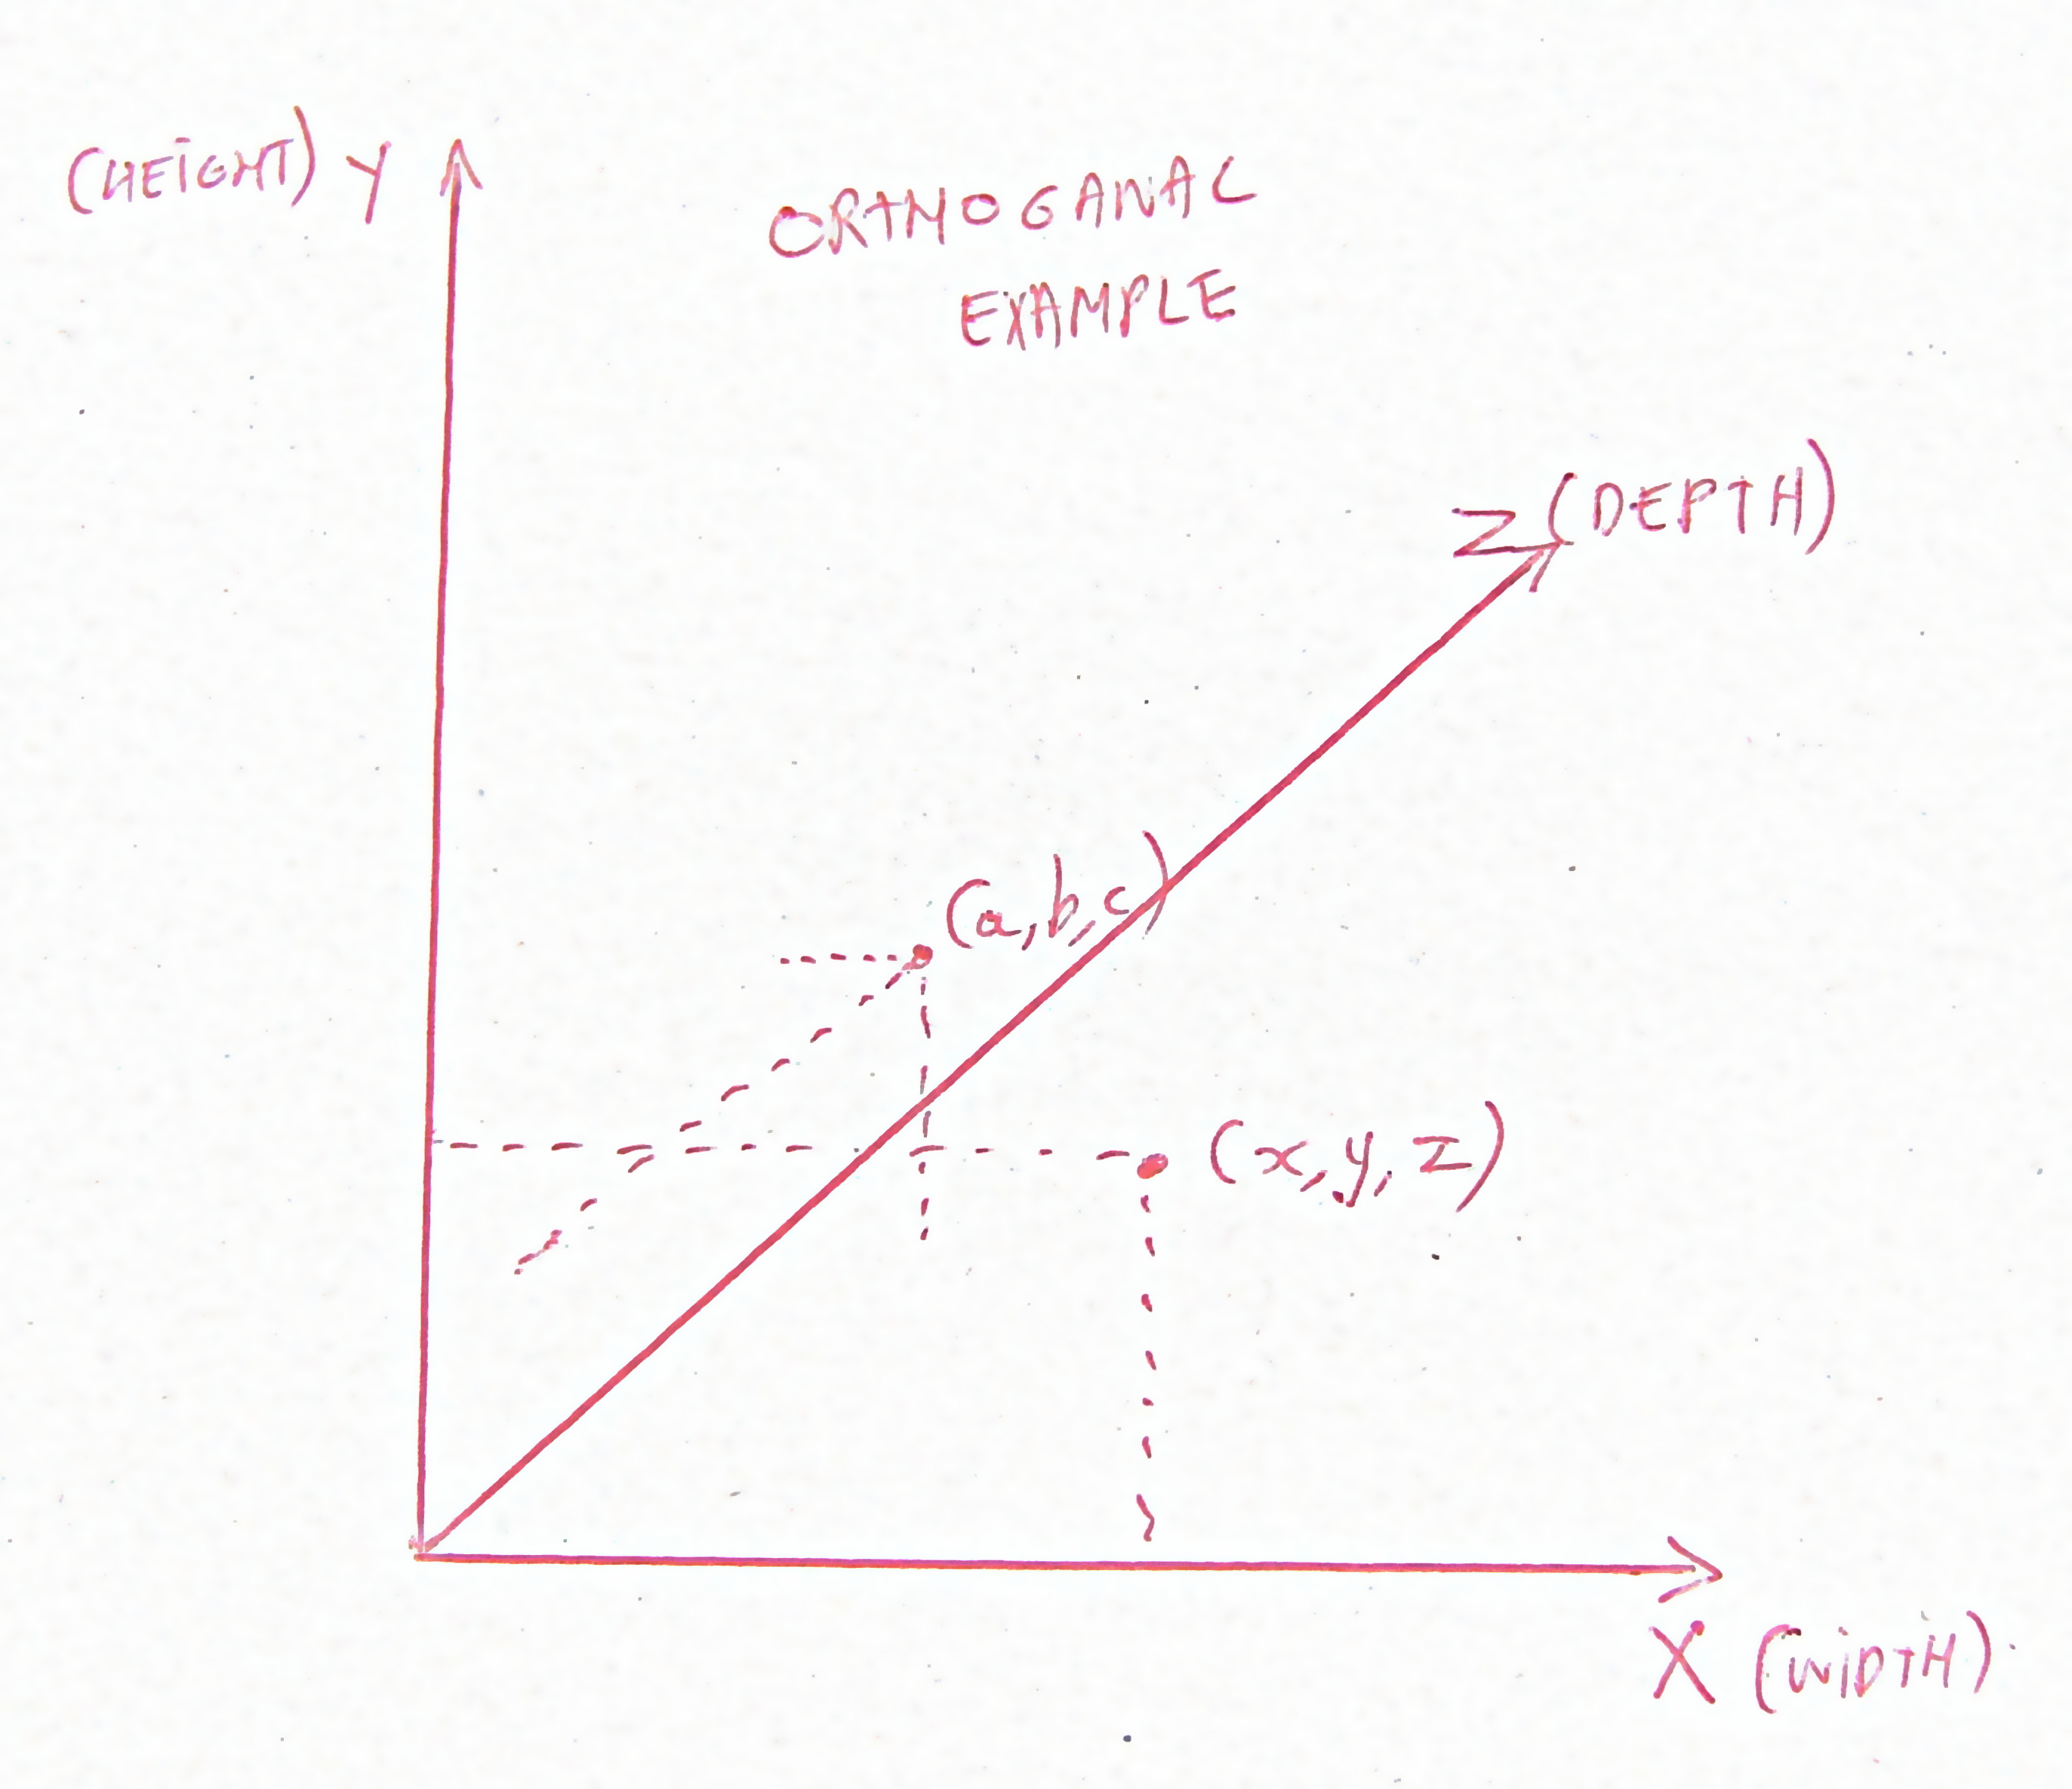
The last step that can be performed is a rotation / cropping to align the image properly. The results are shown below, comparing the original image against the transformed image and then the pre-scaled image for your browser.

The prescaled image looks like